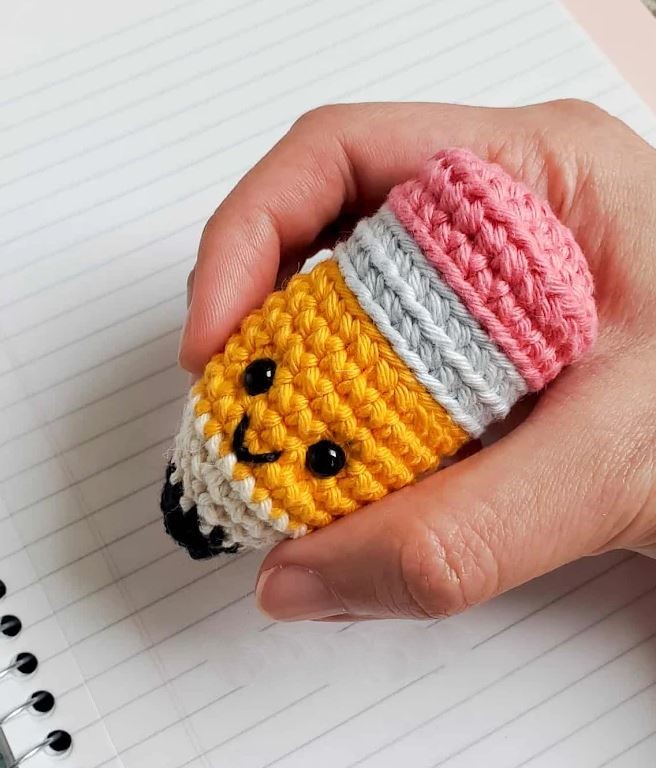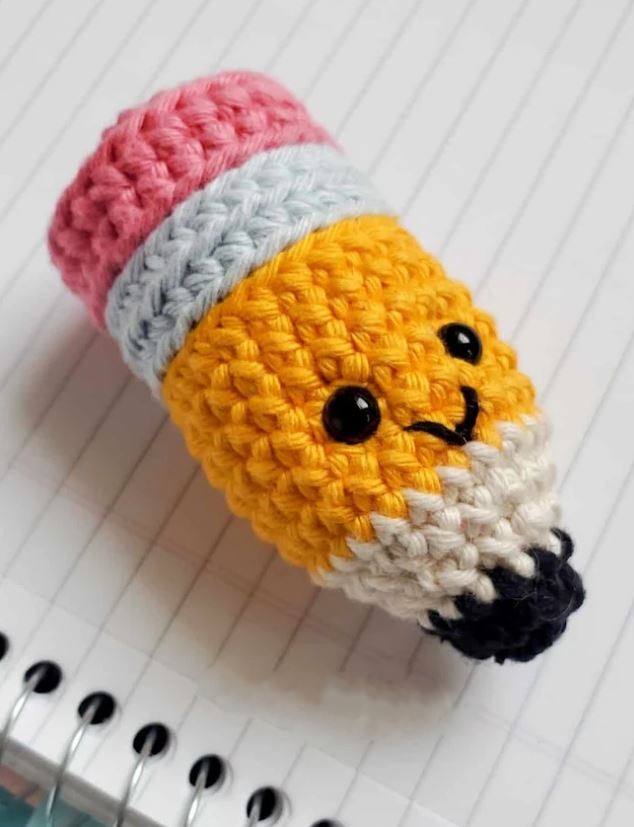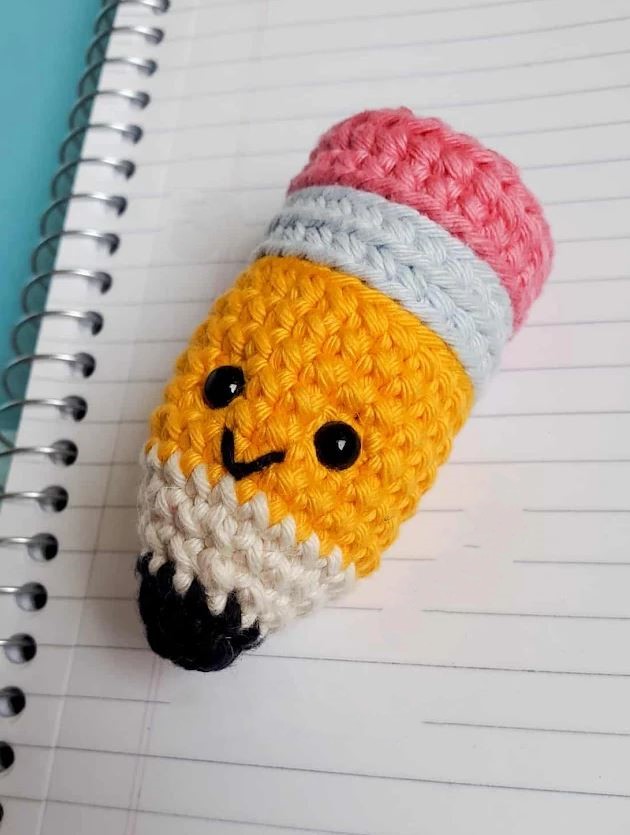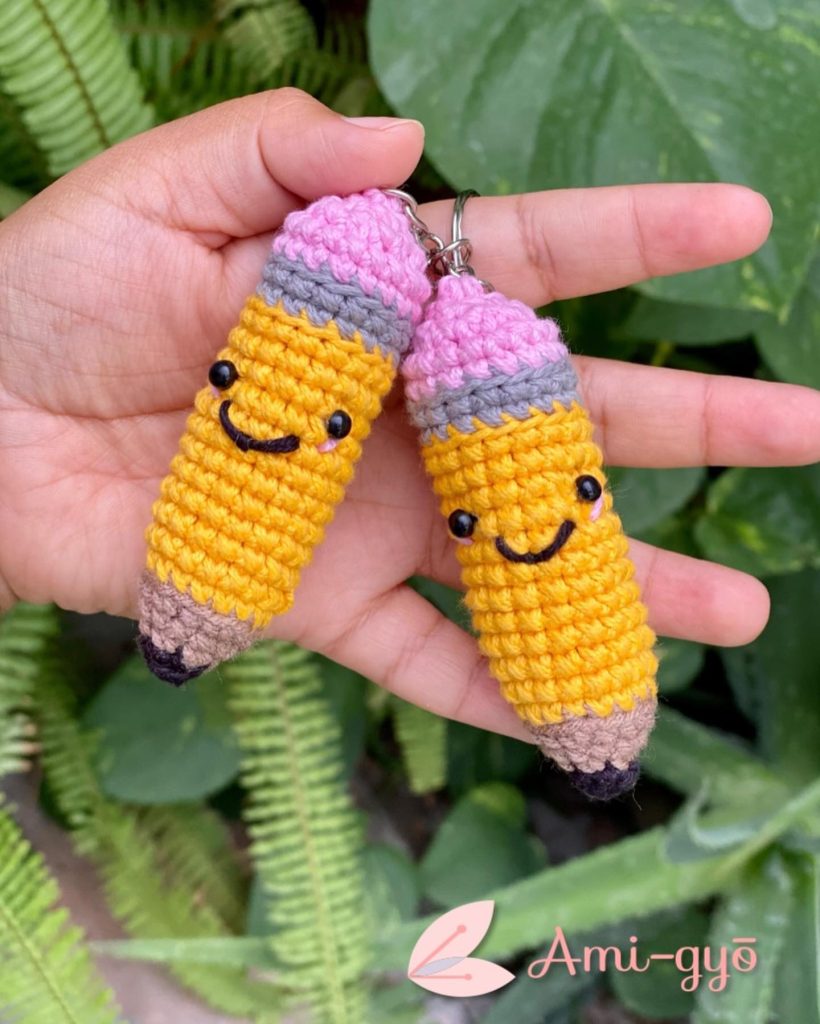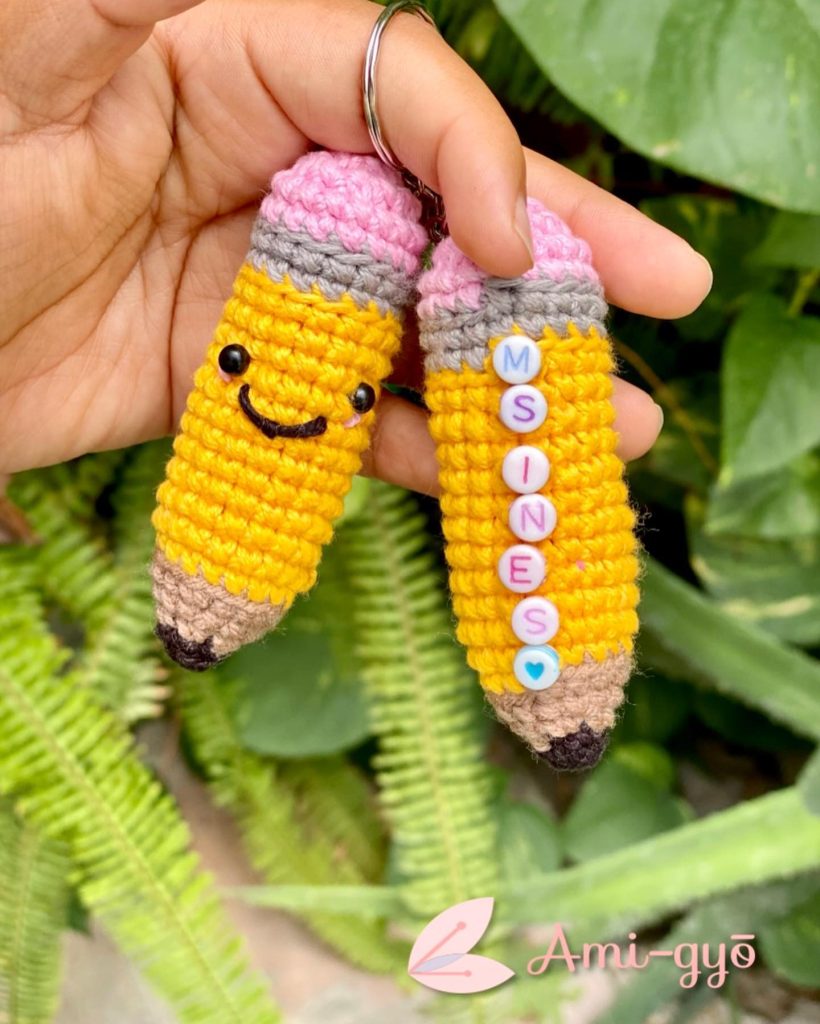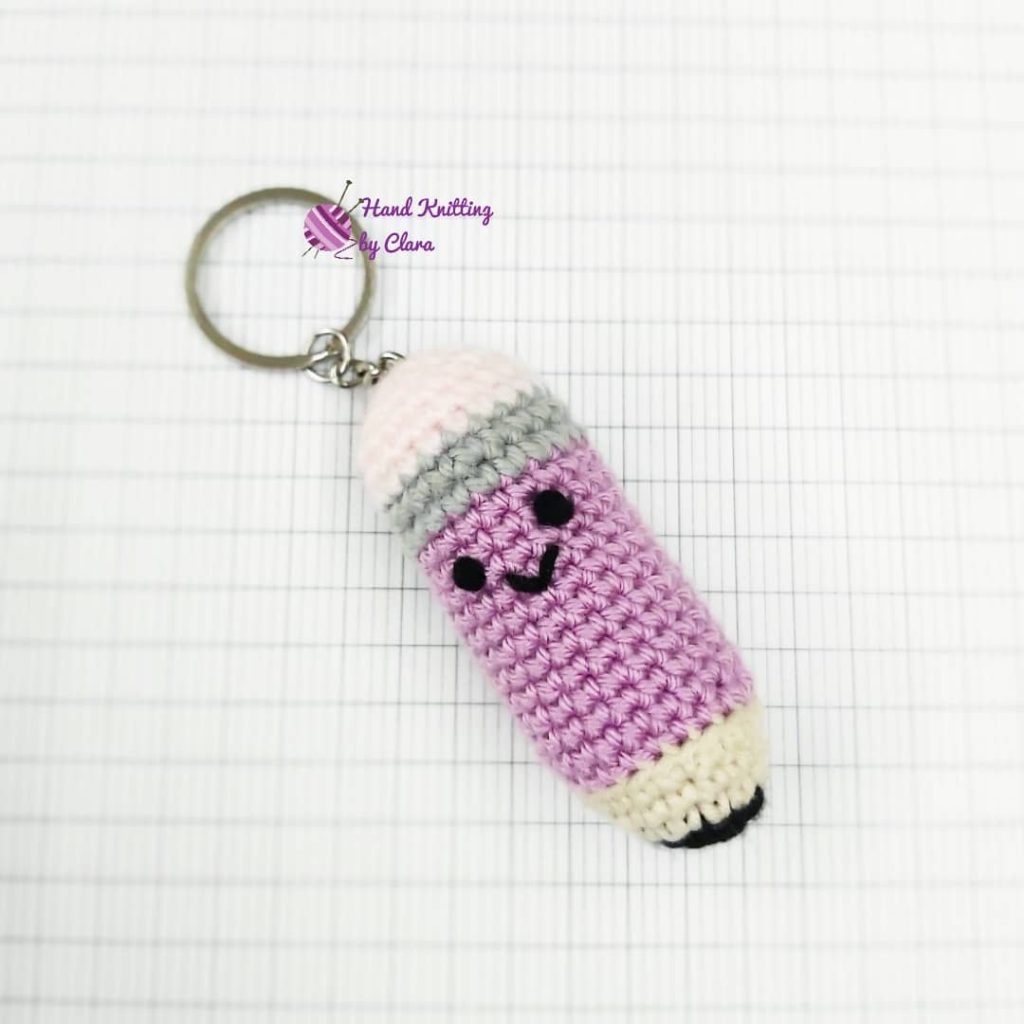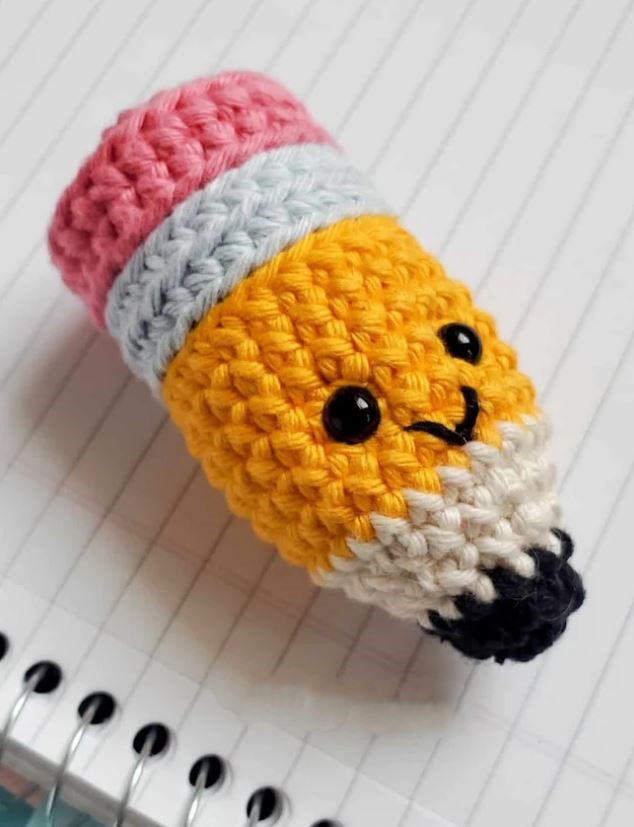
Hello amigurumi lovers and beautiful visitors, I wanted to share the free amigurumi patterns for you here. In my article I will share 1 pattern and how to make it for you. At the end of my article, I will share amigurumi patterns that can generate ideas for you.
Materials
Worsted weight yarn:
Pink (I used Hobbii Friends Cotton 8/8 in Candyfloss #45)
Grey (I used Hobbii Friends Cotton 8/8 in Baby Blue #75)
Yellow (I used Hobbii Friends Cotton 8/8 in Dark Yellow #26)
Off-White (I used Hobbii Friends Cotton 8/8 in Oatmilk #3)
Black (I used Hobbii Friends Cotton 8/8 in Black #124)
Embroidery thread fingering yarn:
Black (I used Hobbii Friends Cotton 8/4 in Black #124)
3.25 mm Crochet Hook
Safety Eyes (I used 6.0 mm)
Poly-fil or any Polyester Stuffing of your choice
Yarn Needle
Stitch Markers
Scissors
Stitches & Abbreviations
st/sts – stitch/stitches
slst – slip stitch
sc – single crochet
sc inc – single crochet increase, 2 single crochets in one stitch
sc dec – single crochet decrease, single crochet 2 stitches together
BLO – back loop only
Notes
Beginner-friendly crochet pattern but you have the option of
learning some new skills
I made this amigurumi doll using the “Yarn Under Single Crochet”
technique. This technique makes the stitches tighter and appears
more aligned.
Crochet in continuous rounds. Do not join at the end of each round
unless otherwise stated. Use a running stitch marker to keep your
place when crocheting in rounds.
Use the ultimate finish to close up the tip of the pencil.
Use invisible decreases when making single crochet decreases for a
nicer finish.
Optional: I used the invisible increase method for my increases.
Final measurements: approximately 3 inches (7.5 cm).
Crochet Pattern
Using a 3.25 mm crochet hook and pink color yarn…
Round 1: Magic Ring with a base of 6 sc (6 sts)
Round 2: Sc inc in each st around (12 sts)
Round 3: [Sc, sc inc] x 6 times (18 sts)
Round 4: [Sc, sc inc, sc] x 6 times, join with a slst to the first st of the
round (doesn’t count as a st) (24 sts)
Round 5: Sc BLO in each st around (24 sts)
Round 6: Sc in each st around (24sts)
Change to grey color yarn…
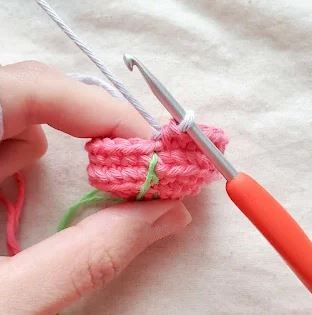
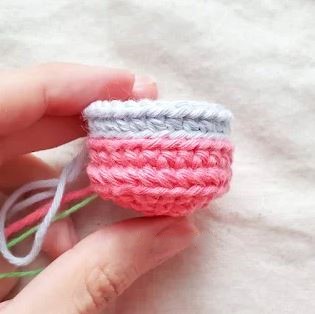
See the GUIDE below for photographs.
Round 7: Slst BLO in each st around (24 sts)
Round 8: Sc BLO in each st around (24 sts)
Round 9: Sc BLO in each st around (24 sts)
Change to yellow color yarn…
Round 10: Slst BLO in each st around (24 sts)
Round 11: Sc BLO of each st around (24 sts)
Round 12-16: Sc in each st around (24 sts)
Place safety eyes between rounds 14 and 15 approximately 4 sts apart.
Use black embroidery thread to embroider the mouth over round 16,
approximately 2 sts wide.
Begin stuffing the amigurumi pencil and continue stuffing as you start
to close up the amigurumi.
Change to off-white color yarn…
Round 17: Sc in each st around (24 sts)
Round 18: [Sc, sc dec, sc] x 6 times (18 sts)
Round 19: [Sc, sc dec] x 6 times (12 sts)
Change to black color yarn…
Round 20: Sc in each st around (12 sts)
Round 21: Sc dec in each st around (6 sts)
Cut and fasten off using the ultimate finish.
Gauge is not super important for this project as long as you keep
your tension consistent.
Maker may substitute a different yarn weight/category and
appropriate hook size for this project to make it bigger/smaller.
Feel free to tag me (@freeamigurumii) in your photos on Instagram or Facebook if you’d like!
All Finished.
