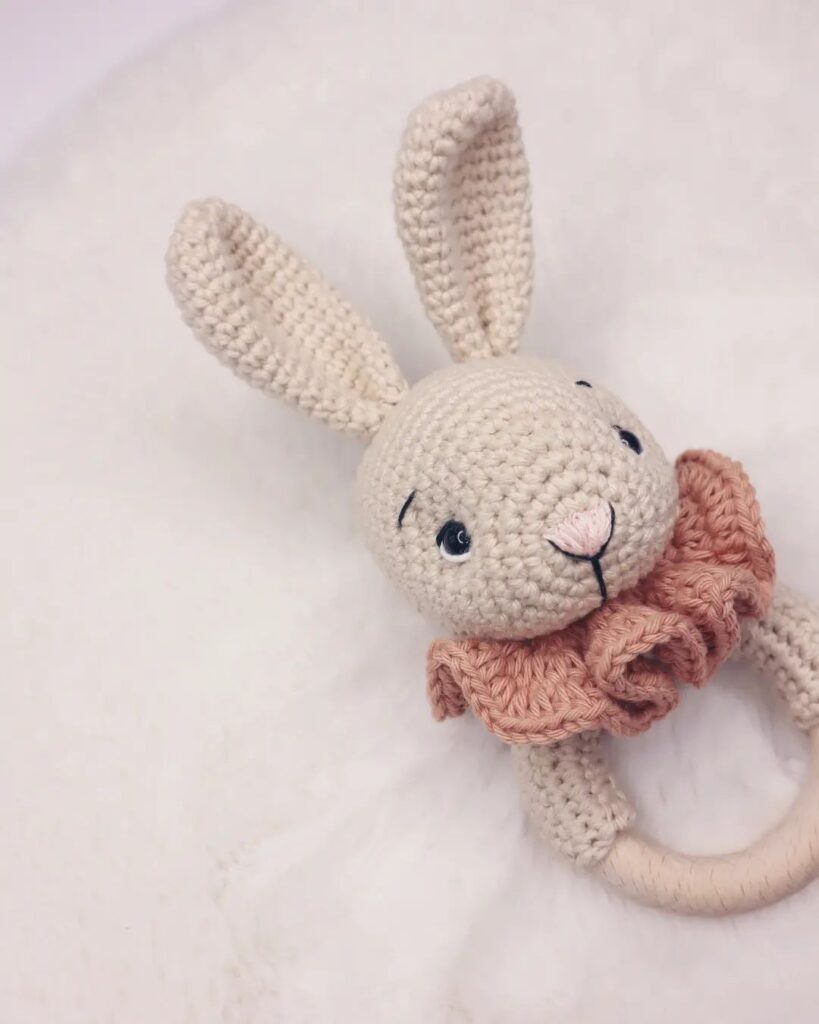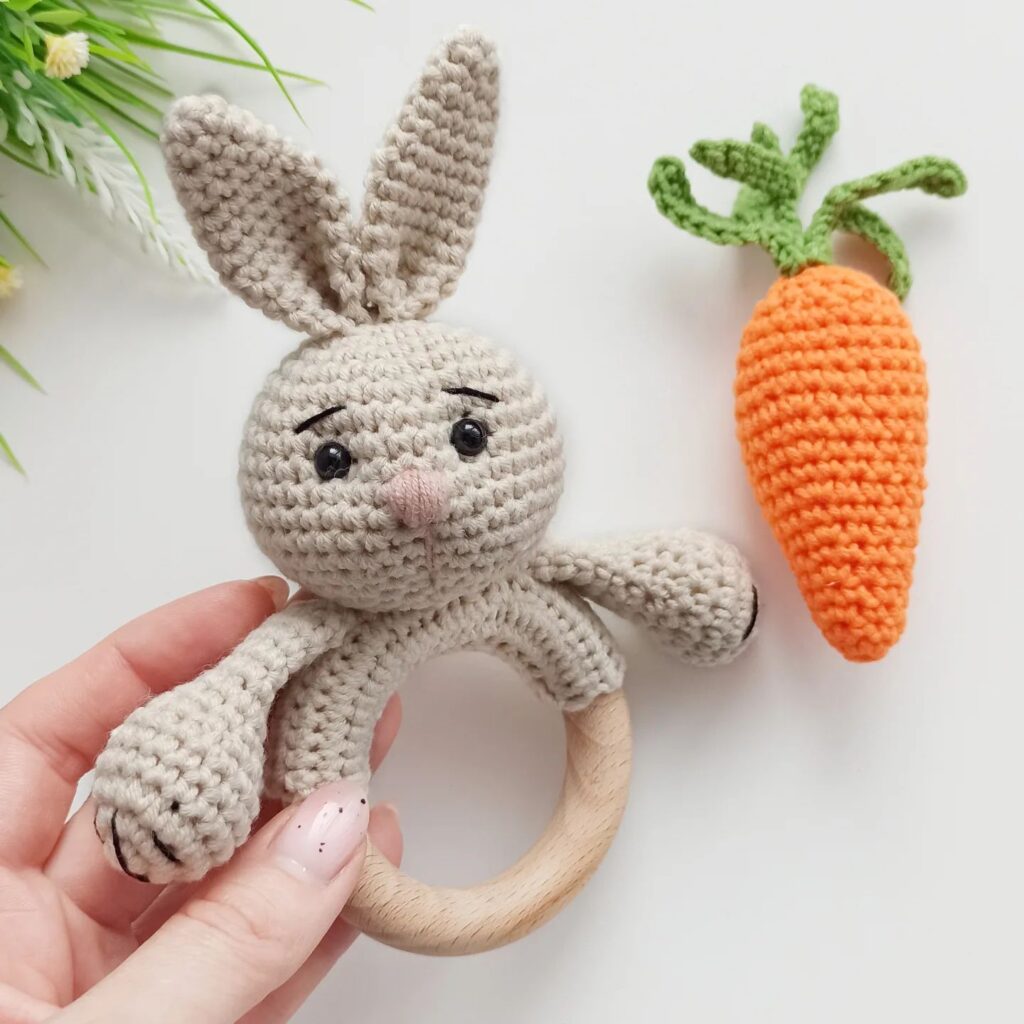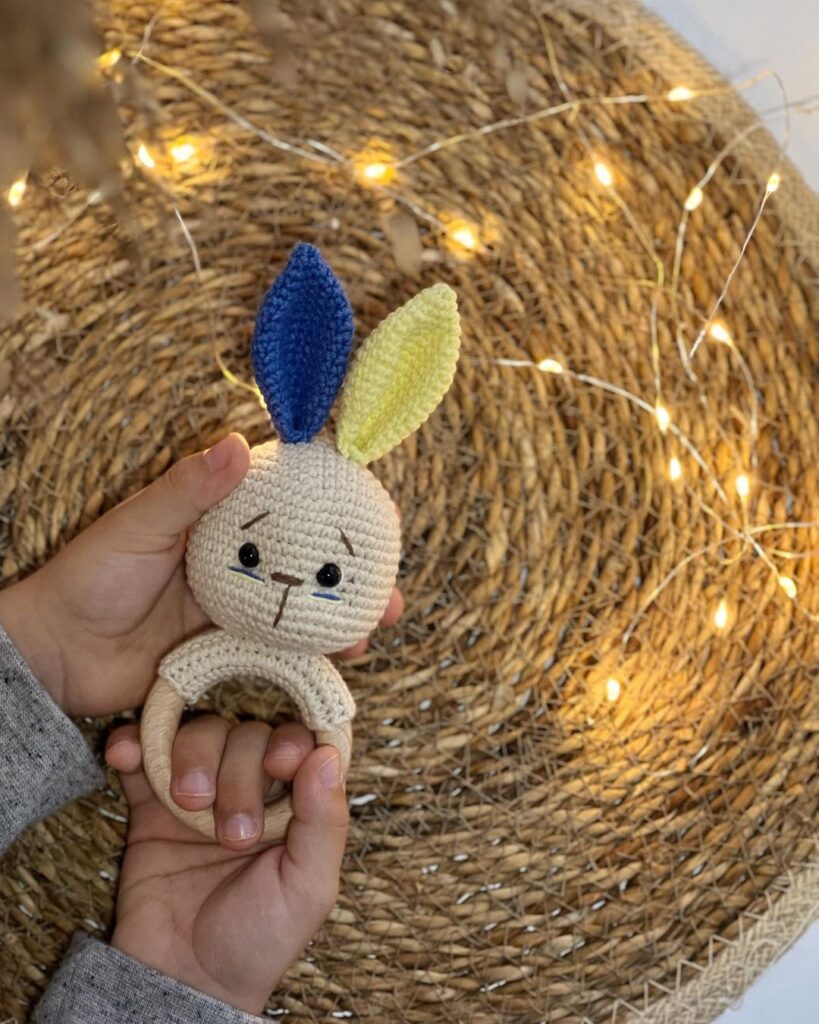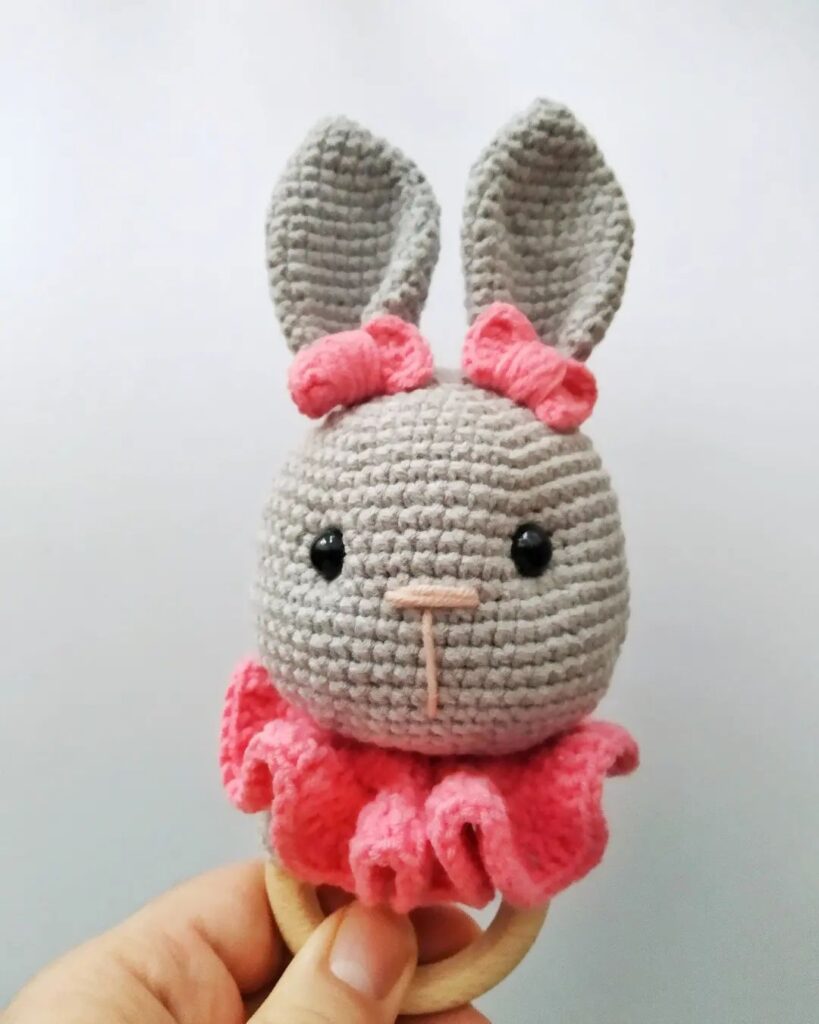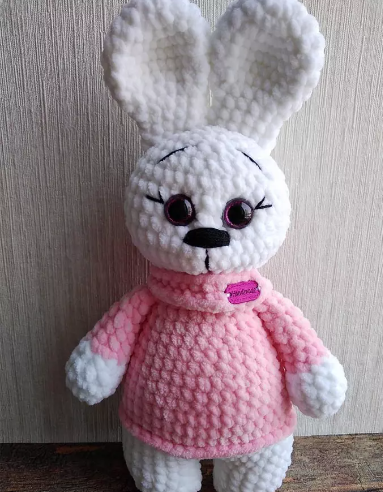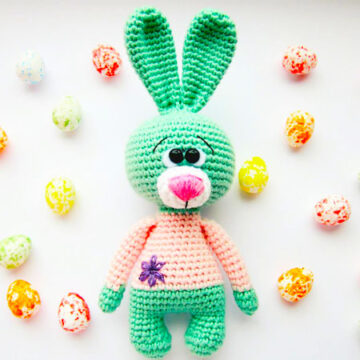
Hello amigurumi lovers and beautiful visitors, I wanted to share the free amigurumi patterns for you here. In my article I will share 1 pattern and how to make it for you. At the end of my article, I will share amigurumi patterns that can generate ideas for you.
Materials
Beige cotton thread, gauge 3.5
Pink cotton thread, gauge 3.5
Light blue cotton thread, gauge 3.5
Black or brown embroidery thread Rattle
box
Fiber stuffing
Scissors
Stitch marker
3.5 mm hook
Needle tapestry
Needle Embroidery
fabric marker
Brush
Abbreviations
(sc)/(sc): Single crochet
(BO) Hazelnut stitch
(ml)/(ch): Chainette, Air stitch
(MR): Magic ring
(dim)/(dec): decrease, decreasing, decrease
(augm) /(inc): increase
(M)/(st): Stitch (pt) stitch
(FLO): work only in front loops
(BLO): work only in back loops
(d-dc,dble.b)/( tr): Double treble crochet
(br)/(dc): Double treble crochet
(dB)/(hdc): Half treble crochet
(sc)/(sl-st): Slip stitch, small stitch
(db / dbr) (dtr): Double treble crochet
(mct)/(tch): chain stitches to turn
(3msm)/(sc3tog): 3 sc in the same stitch
(Fo): Stop the thread.
Ring
Beige cotton thread.
Rnd 1. 8 sc in MR (8)
Rnd 2-35. sc in the 8 stitches (8)
Fo and leave yarn for sewing.
fill with fiberfill.
Sew the two ends of this piece to make a ring shape.
Flowers (make 2)
Pink and light blue cotton thread.
In a MR: Chain 3, sl. Repeat 5 times.
Fo and leave thread for sewing.
Leaf Light green cotton thread .
In an MR: ms, ms, dB, dc, dB, ms, ms.
Fo and leave thread for sewing.
Head Beige cotton thread
. Rnd 1. 6 sc in MR (6)
Rnd 2. inc. repeat 6 times (12)
Rnd 3. BLO. ms, inc. repeat 6 times (18)
Rnd 4. 2 sc, inc. repeat 6 times (24)
Rnd 5. 3 sc, inc. repeat 6 times (30)
Rnd 6. 4 sc, inc. repeat 6 times (36)
Rnd 7-12. sc in the 36 stitches (36)
Rnd 13. 4 sc, dim. repeat 6 times (30)
Rnd 14. 3sc, dec. repeat 6 times (24)
Rnd 15-17. sc in the 24 stitches (24)
Rnd 18. dec. repeat 12 times (12)
filling the head with stuffing fiber.
Add a rattle box inside the bunny head.
Rnd 19. Sun repeat 6 times (6)
Fo and leave tail for sewing.
Ears (make 2)
Beige cotton thread.
Rnd 1. 6 sc in MR (6)
Rnd 2. inc. repeat 6 times (12)
Rnd 3. sc, inc. repeat 6 times (18)
Rnd 4. 2 sc, inc. repeat 6 times (24)
Rnd 5. 3 sc, inc. repeat 6 times (30)
Rnd 6-10. sc in the 30 stitches (30)
Rnd 11. 8 sc, dim. repeat 3 times (27)
Rnd 12. sc in the 27 stitches (27)
Rnd 13. 7 sc, dim. repeat 3 times (24)
Rnd 14. sc in the 24 stitches (24)
Rnd 15. 6 sc, dim. repeat 3 times (21)
Rnd 16. sc in the 21 stitches (21)
Rnd 17. 5 sc, dim. repeat 3 times (18)
Rnd 18. sc in the 18 stitches (18)
Rnd 19. 4 sc, dec. repeat 3 times (15)
Rnd 20. sc in the 15 stitches (15)
Rnd 21. 3sc, Sun. repeat 3 times (12)
Rnd 22. sc in the 12 stitches (12)
Rnd 23. 2 sc, dec. repeat 3 times (9)
Rnd 24. sc in the 9 stitches (9)
Rnd 25. sc, dim. repeat 3 times (6)
Rnd 26. sc in the 6 stitches (6)
Fo and leave the tail for the seam.
Do not stuff the ear with fiberfill.
Necklace
Light blue cotton thread.
Start crocheting in FLO from round 3 of the head.
Rnd 1. FLO: dc in first stitch, 2 dc in second stitch. Repeat the sequence all around.
Change color: pink cotton thread.
Rnd 2. On the first dc of round 1, chain 3, then sl st in the next stitch. Then chain 3 and sl st in the next stitch. Repeat this sequence all around.
Rnd 3. When you finish round 2 with the last 3 chains, sl st in the first arch of round 2 and this is how you start R3. Then continue to do the same: chain 3 and sl st in the next arc of round 2.
Rnd 4. In each arch of round 3, crochet: sc, hdc, sc. Repeat this sequence in each arc.
Fo hide all wires.
Assembly
• With brown or black embroidery thread, embroider the eyes between rows 9 and 10 leaving 5 stitches apart. The eyes should be 4 stitches wide.
• With 6 strand cotton thread, embroider the nose one turn lower than the eyes. The nose should be 3 stitches wide and 1 1/2 stitches long.
• With a textile felt brush the cheeks and the inner part of the ears.
• Sew the ears between rounds 17 and 18 of the head. The ears should be sewn down and back.
• Sew leaves and flowers on the bunny’s right ear.
• Sew the rattle ring to the bottom of the head using the blo from round 3 to sew it.
Feel free to tag me (@freeamigurumii) in your photos on Instagram or Facebook if you’d like!
All Finished.
