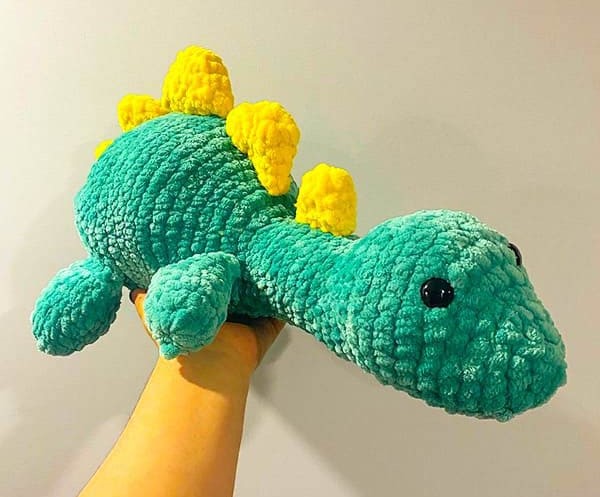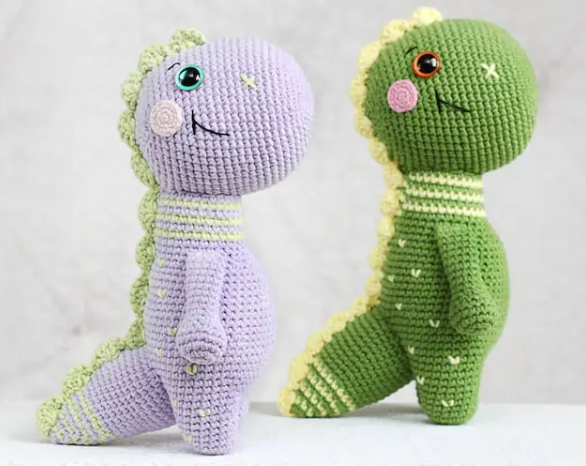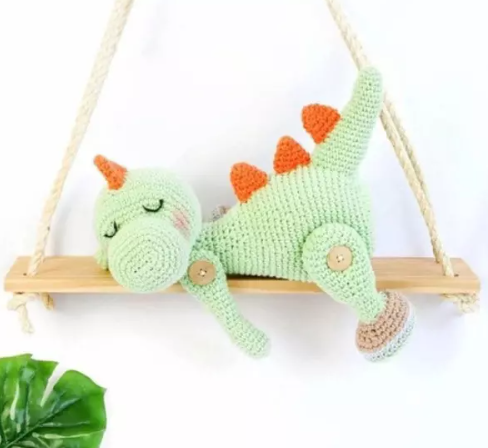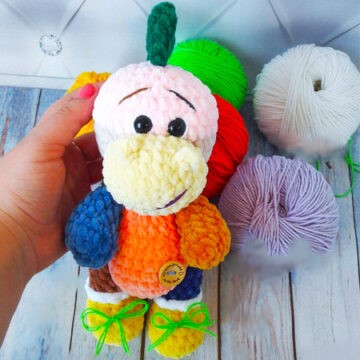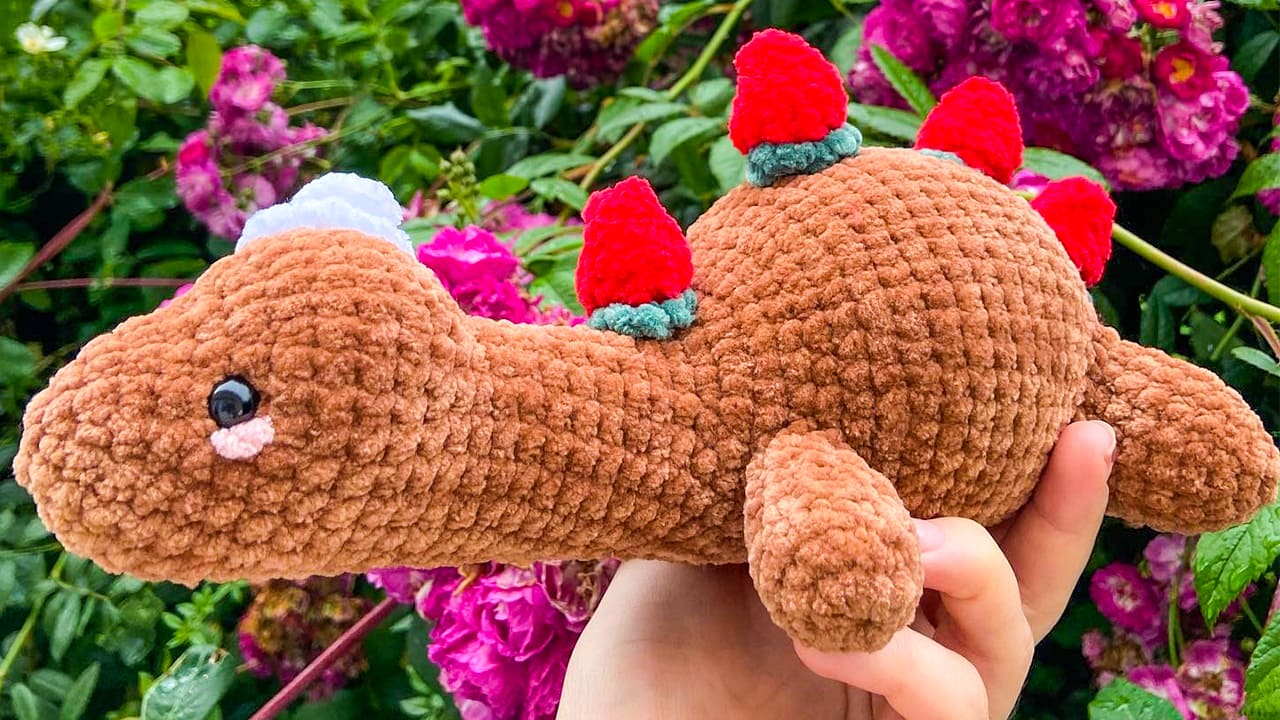
Hello amigurumi lovers and beautiful visitors, I wanted to share free amigurumi models with you here. In my article, I will share with you a model and how to make it. At the end of my article, I will share with you the detailed construction patterns of the mold.
Materials
• Yarn size 4
• Crochet hook size e/3.5 mm
• Stuffing
• Darning / yarning / tapestry needle
• 10 mm safety eyes
Abbreviations
MR: Magic ring
Sc: Single crochet
St(s): Stitch/es
Inc: Increase
Dec: Decrease
Rnd: Round
Anyting within the (round brackets) indicates what you need to repeat and the x number following the bracet is how many times you need to repeat it.
Anyting within the (square brackets) indicates the total stitch count.
If you see, for example, dec 2, you need to decrease for the next 2 stitches.
Dec2: dec, dec
Another example:
Dec, sc5, dec2= dec, sc, sc, sc, sc, sc, dec, sc
Head, Body and Tail Cont
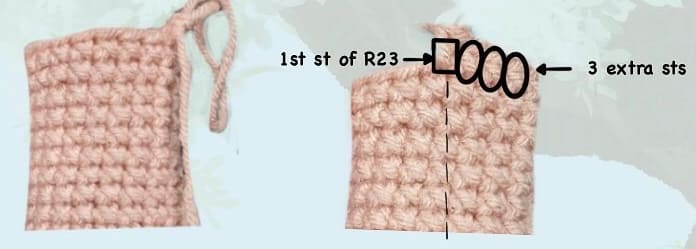
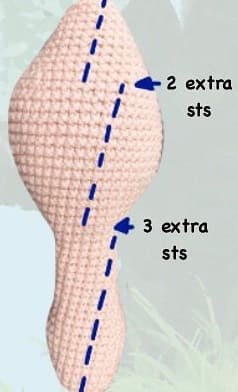
The beginning of the round should now be more heavily on the right side (left side if you’re left handed). To get back to the middle, we are going to do an extra sc 3 and start rnd 23 in the next st. See pic 1. Adjust these stitches so that your hook is in the middle of your dino. This step is important as it will prevent the dino from turning out uneven. After the extra stitches, you’ll now start rnd 23.
Rnd 23. sc 6, inc 6, sc 6 (24)
Rnd 24. sc 6 (inc,sc)*3, sc, (inc,sc)*3, sc 5 (30)
Rnd 25-26. sc in each st (30)
Rnd 27. sc 6, (inc,sc)*4, inc, (inc,sc)*5, sc 5 (40)
Rnd 28. sc in each st (40)
Rnd 29. sc 7, (inc,sc)*4, inc 2, (sc2,inc)*4, sc 7 (50)
Tip: You may expreience rippling, but it’ll even out by rnd 38.
Rnd 30-38. sc in each st (50)
Rnd 39. sc 6, (dec,sc2)*10, sc 4 (40)
Rnd 40. sc in each st (40)
Rnd 41. sc 6, (dec,sc)*10, sc 4 (30)
Head, Body and Tail
Rnd 1. 6 sc in MR (6)
Rnd 2. 6 inc (12)
Rnd 3. (sc,inc)*6 (18)
Rnd 4-5. 18 sc (18)
Tip: While crocheting to rnd 13, the beginning of each round will shift more and more to the side. This is normal.
Please continue with each round despite the shift as we will resolve this later in the pattern.
Rnd 6. sc6, inc6, sc6 (24)
Rnd 7. sc6, (inc,sc)*3, sc (inc,sc)*3, sc5 (30)
Rnd 8-11. sc in each st (30)
Rnd 12. sc7, (dec,sc)*3, sc, (dec,sc)*3, sc4 (24)
Rnd 13. sc8, dec6, sc4 (18)
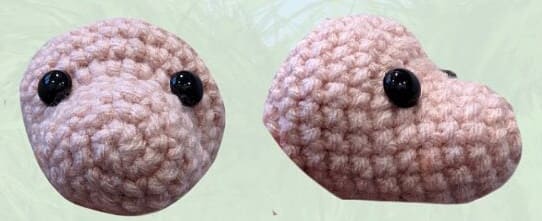
Place safety eyes between rnd 6-7 with 6 sts apart. Embroider blush beneath safety eyes.
Begin stuffing and continue to stuff as you go.
Rnd 14-22. sc in each st (18)
Eye placement guide.
Head, Body and Tail Cont
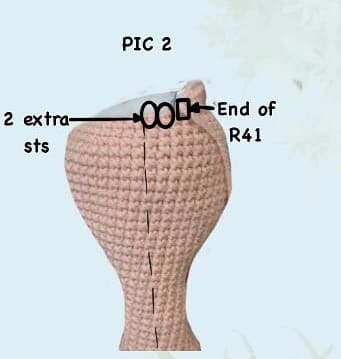
Continue stuffing while flattening the dino’s belly on a flat surface. At this point, you’ll notice the beginning of the round will begin to shift once again.
For me, it took 2 extra sts to get back to the middle but adjust these stitches as needed to get back to the middle.
See pic 2. Start rnd 42 after completing the extra stitches.
Rnd 42-43. sc in each st (30)
Rnd 44. sc6, (dec,sc)+*3, sc (dec,sc)*3, sc5 (24)
Rnd 45-46. sc in each st (24)
Rnd 47. sc7, (dec,sc)*5, sc2 (19)
Rnd 48. sc in each st (19)
Continue stuffing.
Rnd 49. sc4, (dec,sc)*5 (14)
Rnd 50. sc4, dec5 (9)
Rnd 51. (sc,dec)*3 (6)
Finish stuffing, close, and weave in the tail. Make sure to flatten the bottom of the body on a flat surface to esnure the perfect dino body shape.
Front legs (Make 2)
Tip: you can sew the legs and spikes wherever you would like. I’ve only written where ı placed mine in case anyone would like to use it as a guide.
Rnd 1. sc 6 in MR (6)
Rnd 2. 6 inc (12)
Rnd 3-8. sc in each st (12)
Fasten off with a long tail for sewing. Stuff before sewing onto the dino body between rnd 25-28. Try to flatten your dino body on the bottom side and sew the leg it’s flush with the underside of the body to make it look like he’s laying down with his legs out.
Back legs (Make 2)
Rnd 1. 6 sc in MR (6)
Rnd 2. 6 inc (12)
Rnd 3. (sc2,inc)*4 (16)
Rnd 4-8. sc in each st (16)
Fasten off with a long tail for sewing. Stuff before sewing onto the dino body between rnd 34-39. Try to flatten your dino body on the bottom side and sew the leg so it’s flush with the underside of the body to make it look he’s laying down with his legs out.
Spikes
Large spike (Make 2)
Rnd 1. 6 sc in MR (6)
Rnd 2. 6 inc (12)
Rnd 3. sc in each st (12)
Rnd 4. (sc,inc)*6 (18)
Fasten off and leave a long tail for sewing. There is no need to close the spike.
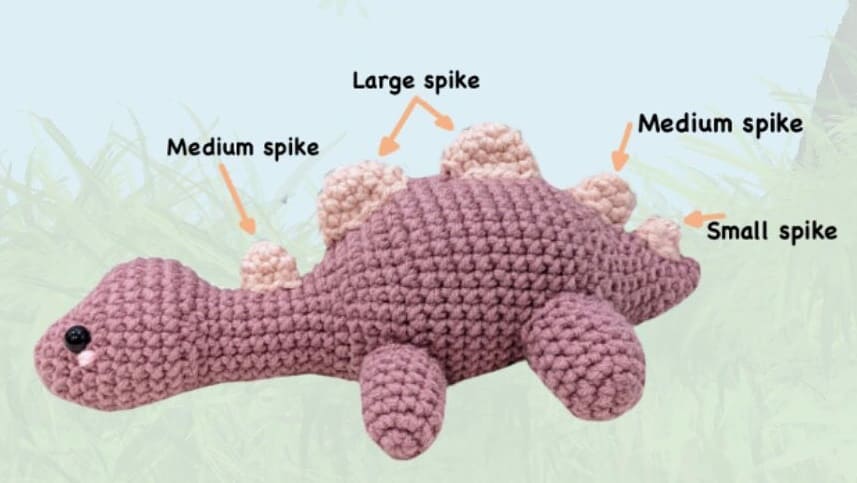
Flatten and sew between rnd 24-29 and rnd 32-37.
Medium spike (Make 2)
Rnd 1. 6 sc in MR (6)
Rnd 2. (sc,inc)*3 (9)
Rnd 3. sc in each st (9)
Fasten off and leave a long tail for sewing. There is no need to close the spike.
Flatten and sew between rnd 17-20 and rnd 40-44.
Small spike
Rnd 1. 6 sc in MR (6)
Rnd 2. (sc2,inc)*2 (8)
Fasten off and leave a long tail for sewing. There is no need to close the spike.
Flatten and sew between rnd 46-48.
Placement guide.
Feel free to tag me (@freeamigurumii) in your photos on Instagram or Facebook if you’d like!
All Finished.
