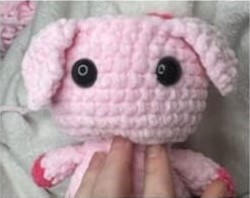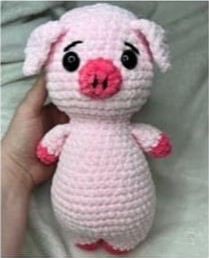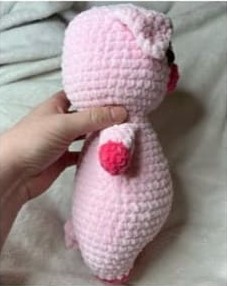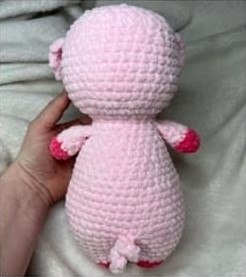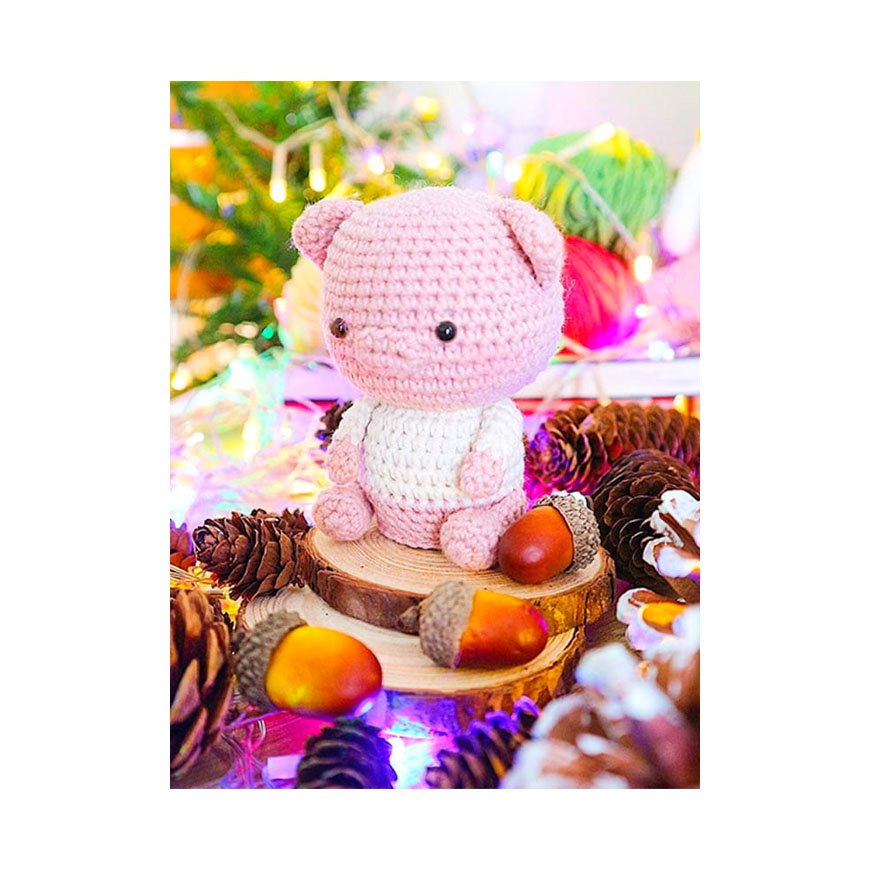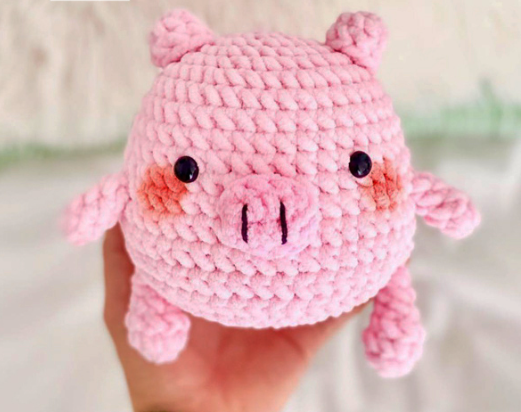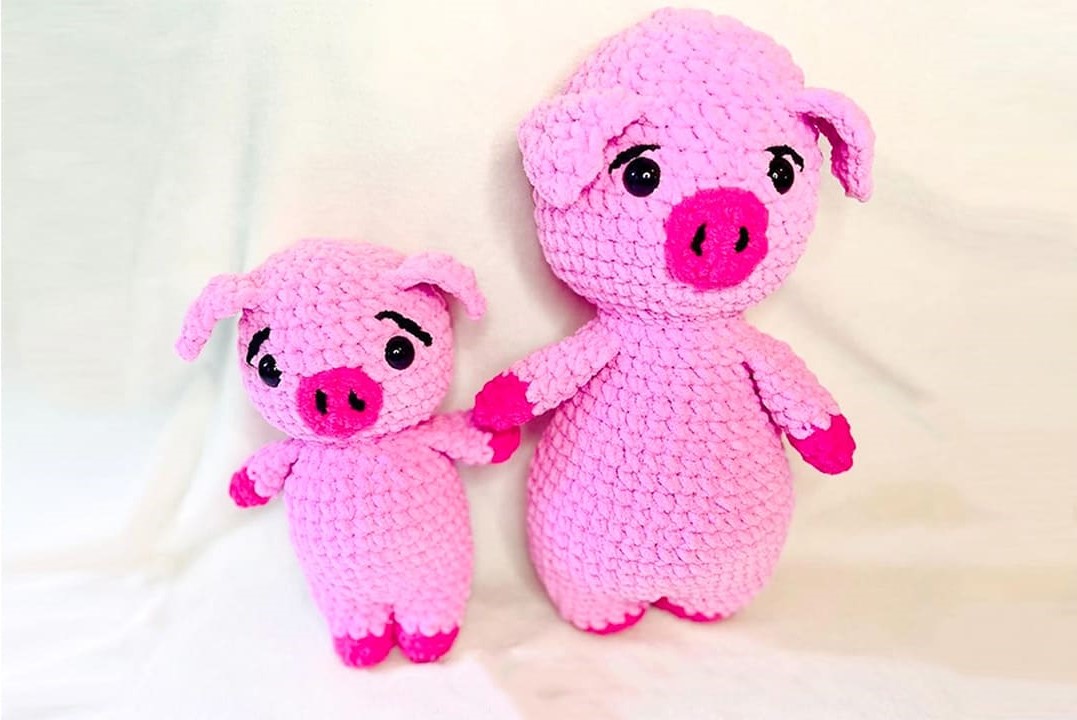
Hello amigurumi lovers and beautiful visitors, I wanted to share free amigurumi models with you here. In my article, I will share with you a model and how to make it. At the end of my article, I will share with you the detailed construction patterns of the mold.
Supplies:
• Size 6 super bulky yarn (I used parfait chunky)
• Polyfil
• Darning Needle
• Scissors
• Safety eyes (I use 16 mm for momma and 14 mm for baby)
• 4 mm crochet hook (this is what I personally use, hook size will vary depending on tension)
• 2 colors of yarn- I chose ballet pink & Hibiscus
Abbreviations:
• Dec– decrease
• Inc– increase
• Sc– single crochet
• Mc– magic circle
• ()– stitch count
• **– repeat
• Sc3tog– single crochet three together decrease (Click the link to learn how)
• SI st– slip stitch
• BLO– Back loop only
• FLO– Front loop only
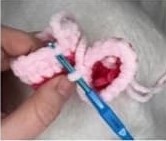
IMPORTANT NOTE: this pattern is super minimal sewing. You will be working in the round and crocheting the arms to the body. Ears are no sew and crocheted into the round as well. Only sewing done is the snout.
Arms (Make 2)
Start with darker color.
Rnd 1. 4 sc into mc (4)
Rnd 2. *Inc* x4 (8)
Rnd 3. 1 round of 8 sc (8)
Color change to lighter color
Rnd 4. BLO 8 sc (8)
Rnd 5-7. 3 rounds of 8 sc (8)
Stuff lightly, sc closed with 4 sc and fasten off.
Legs (Make 2)
Start with darker color.
Rnd 1. 8 sc into mc (8)
Rnd 2. *Inc* x8 (16)
Rnd 3. 1 round of 16 sc (16)
Color change to lighter color
Rnd 4. BLO 16 sc (16)
Rnd 5. 1 round of 16 sc (16)
Fasten off 1st leg but NOT the 2nd.
Starting the rest of the legs & body:
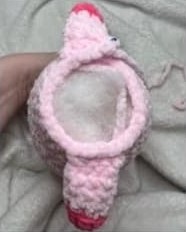
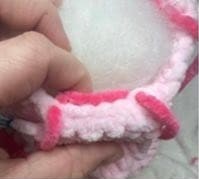
(Color change will be on the inside of the legs so that it’s hidden, see photos below for reference, don’t forget to close the gap between the legs as well)
Rnd 1. Join with 1 sc, 6 sc, *inc* x3, 13 sc, *inc* x3, 6 sc (38)
Rnd 2-3. 2 rounds of 38 sc (38)
Rnd 4. 17 sc, *inc. x4, 17 sc (42)
You will now be starting the tail: ch 6 and insert your hook into the 2nd ch from hook. Place 3 sc in each ch for a total of 15 sc. Slst into same stitch.
Rnd 5-6. 2 rounds of 42 sc (42)
make sure not to crochet into tail.
Rnd 7. 20 sc, *inc* x2, 20 sc (44)
Rnd 8-10. 3 rounds of 44 sc (44)
Rnd 11. 10 sc, dec, 22 sc, dec, 8 sc (42)
Rnd 12. *5 sc, dec* x6 (36)
Rnd 13-14. 2 rounds of 36 sc (36)
Rnd 15. *4 sc, dec* x6 (30)
Rnd 16-17. 2 rounds of 30 sc (30)
Rnd 18. *3 sc, dec* x6 (24)
Rnd 19. 1 round of 24 sc (24)
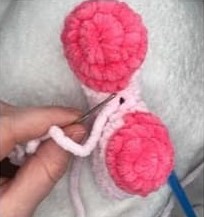
Now you will crochet the arms into body.
Rnd 20. 8 sc, take an arm and crochet into body with 4sc, 8 sc, take another arm and crochet into body with 4 sc (24)
NOTE: If you need to change stitch count to get the arms lined up where you want them to be you can do so. This is perfectly fine!
Rnd 21. 1 round of 24 sc (24)
Rnd 22. *2 sc, dec* x6 18)
Head
Rnd 23. *Inc* x18 (36)
Rnd 24. *5 sc, inc* x6 (42)
Rnd 25-31. 7 rounds of 42 sc (42)
Rnd 32. *5 sc, dec* x6 (36)
Starting stuffing and shaping the head now and continue stuffing as you go. Make the head nice and round
You will now be starting the ears: if you want, use a stitch marker or a piece of yarn to mark the back loops of the front loops you’ll be crocheting into, this will make finding the back loops easier when moving onto the next round.
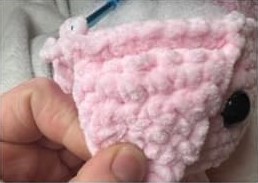
Rnd 33. 18 sc, FLO 6 sc: ch 1 & turn, 6 sc ch 1 & turn, dec, 2 sc, dec ch 1 and turn, 4 sc ch 1 and turn, dec, dec ch 1 and turn, dec then ch 1 and turn, then sc 1 and ch 1 then turn. Sc down the side of the ear to get back to the head. Sc 6, and repeat the underlined instructions for the 2nd ear.
NOTE: If you need to change stitch count to get the ears where you want them to be you can do so. This is perfectly fine!
Eyes are placed between rounds 29 & 30 of the 7 total rounds of 42 sc- 5 to 6 sts apart. Just make sure they’re even with the ears.
Rnd 34. 1 round of 36 sc (36)
Make sure when you get to the ears that you’re crocheting into the BLO of those stitches from the previous round.
Rnd 35. *4 sc, dec* x6 (30)
Rnd 36. 1 round of 30 sc (30)
Rnd 37. *3 sc, dec* x6 (24)
Rnd 38. *2 sc, dec* x6 (18)
Rnd 39. *1 sc, dec* x6 (12)
Rnd 40. *dec* x6 (6)
Fasten off and sew closed.
Snout
Rnd 1. 6 sc into mc (6)
Rnd 2. *inc* x6 (12)
Fasten off and leave a long tail for sewing on the nose.
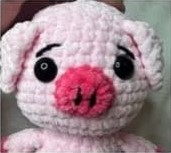
Nose is sewn on slightly between the eyes. Thank you for visiting our website amigurumireceitas.com.
Leaving about a stitch gap on each side. Add the eye brow details and the snout slits.
Feel free to tag me (@freeamigurumii) in your photos on Instagram or Facebook if you’d like!
All Finished.

