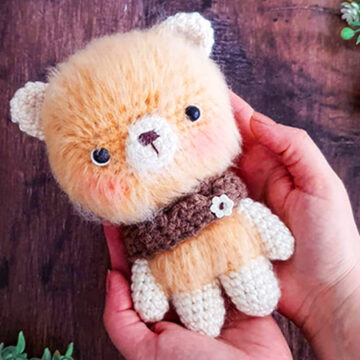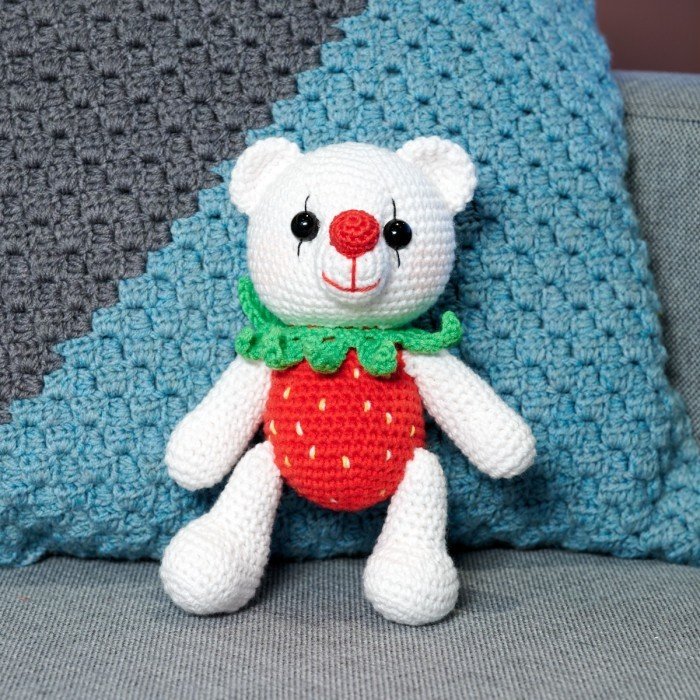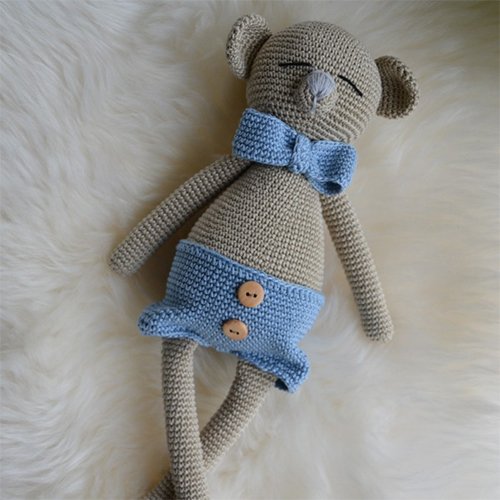
Hello amigurumi lovers and beautiful visitors, I wanted to share the free amigurumi patterns for you here. In my article I will share 1 pattern and how to make it for you. At the end of my article, I will share amigurumi patterns that can generate ideas for you.
Materials
• 3.75 gauge honey acrylic yarn +
• 4.0 caliber chocolate acrylic yarn
• Natural silky acrylic with cotton thread
• 3-strand brown cotton yarn
• 6-strand white cotton yarn
• Fiber padding
• 10 mm safety eyes
• 15 mm button
• Scissors
• 4.0 mm hook
• Point marker
Abbreviations
( ms ) / ( sc ): greenhouse mesh
( bo ): popcorn point
( ml ) / ( ch ): Chainette, Air mesh
( MR ): Magic ring
( dim ) / ( dec ): decrease, decrease, decrease
( augm ) / ( inc ): increase
( M ) / ( st ): Point ( pt ) mesh
( FLO ): work only in the front loops
( BLO ): work only in rear loops
( d-br, dble.b ) / ( tr ): Double flange
( br ) / ( dc ): flange
( dB ) / ( hdc ): half flange
( mc ) / ( sl-st ): casting mesh, small mesh
( db / dbr ) ( dtr ): Double flange
( mct ) / ( tch ): chain meshes to rotate
( 3msm ) / ( sc3tog ): 3 ms in the same mesh
( F.o. ): Stop the wire.
Arm ( x2 )
Silky natural acrylic with cotton thread
Rnd 1. 8 ms in MR ( 8 )
Rnd 2-10. ms in the 8 meshes ( 8 )
F.o. and leave thread for sewing.
Fill with padding fiber.
Ear ( x2 )
Honey acrylic yarn gauge 3.75
Rnd 1. 6 ms in MR ( 6 )
Rnd 2. augm, repeat 6 times ( 12 )
Rnd 3-5. ms in the 12 meshes ( 12 )
F.o. and leave thread for sewing.

Scarf
4.0 gauge acrylic yarn
Hook scarf in rows and not in circles.
Rnd 1. ml 4 ( 4 )
Rnd 2-46. From the 3rd chain of the hook, hook 3 ms, chain 1, turn ( 3 )
In the next row, you will pick the buttonhole
Rnd 47. Channel 3, 3ms
F.o. and hide all the wires.
At the end, you sew the button.
Muzzle
Cotton with silky acrylic butter
Rnd 1. 6 ms in MR ( 6 )
Rnd 2. augm, repeat 6 times ( 12 )
F.o. and leave thread for sewing

Head
Honey acrylic yarn gauge 3.75
Rnd 1. 6 ms in MR ( 6 )
Rnd 2. augm, repeat 6 times ( 12 )
Rnd 3. ms, augm, repeat 6 times ( 18 )
Rnd 4. 2ms, augm, repeat 6 times ( 24 )
Rnd 5. 3ms, augm, repeat 6 times ( 30 )
Rnd 6. 4ms, augm, repeat 6 times ( 36 )
Rnd 7. 5ms, augm, repeat 6 times ( 42 )
Rnd 8-17. ms in the 42 meshes ( 42 )
Rnd 18. 5ms, dim repeat 6 times ( 36 )
Rnd 19. 4ms, dim repeat 6 times ( 30 )
Place the safety eyes between towers 13 and 14, leaving 8 spaced meshes. Sew the muzzle in the center of the eyes, leaving 2 points of separation between the eyes. Continue to pick the head
Rnd 20. 3ms, dim repeat 6 times ( 24 )
Rnd 21. 2ms, dim repeat 6 times ( 18 )
Fill the head with a little padding
In turn 22, start picking up the body.

Body
Honey acrylic yarn gauge 3.75
Rnd 22. ms in the 18 meshes ( 18 )
Rnd 23. 2ms, 1 augm repeat 6 times ( 24 )
Rnd 24-30. ms in the 24 meshes ( 24 )
Change color to natural silky acrylic with cotton thread. Fill the body with padding fiber. Now divide the 24 meshes of the body in half so that the legs count down 12 meshes from the last meshes of the 30 turn and place the mesh marker. These 12 meshes will correspond to JAMBE 1
The remaining 12 correspond to leg 2
Leg 1
Silky natural acrylic with cotton thread
Row 31-35. ms in the 12 meshes ( 12 )
Fill the fiber padding leg
Row 36. dim, repeat 6 times ( 6 )
Close the last 6 points and hide the wire
Repeat this pattern with the remaining 12 meshes and this is how you hook leg 2.

Assembly
• Before sewing I advise you to make your amigurumi hairy. To do this, you need a metal hairbrush. You can find them in hardware stores or pet stores.
• Brush only the acrylic wire part of the teddy using the metal hairbrush. As you brush, the fur appears. The more you rush. The more fur volume the bear will have. Remember to always do it gently. ( You can visit the Youtube page of the creator of the boss Amigurumi to see how it is done. )
• Sew your arms on each side of the body just below your head.
• Sew the muzzle between the eyes.
• Sew the ears between laps 6 and 11 of the head.
• Sew the button at the opposite end of the scarf. Then pass it twice in the neck of the bear and pass the button in the buttonhole.
• With nose to embroider in 3-stranded brown cotton thread.
• With 6-strand white cotton thread, embroider the light of the eyes.
• Optional: blush
Feel free to tag me (@freeamigurumii) in your photos on Instagram or Facebook if you’d like!
All Finished.


