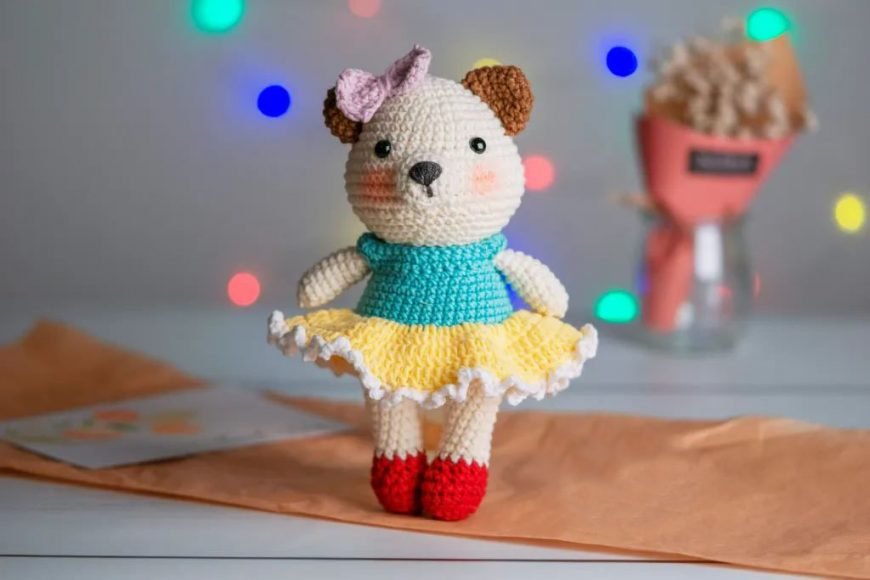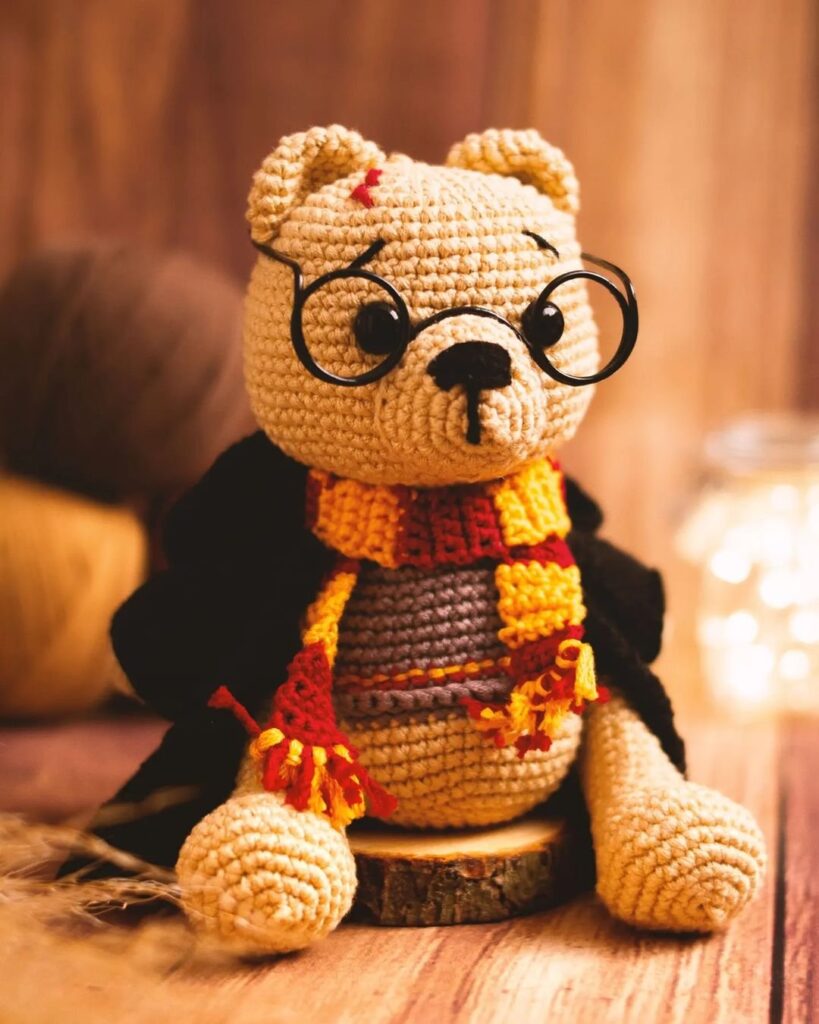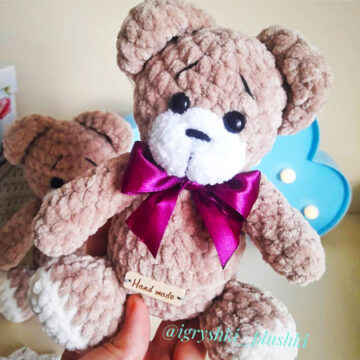
Hello amigurumi lovers and beautiful visitors, I wanted to share the free amigurumi patterns for you here. In my article I will share 1 pattern and how to make it for you. At the end of my article, I will share amigurumi patterns that can generate ideas for you.
Abbreviations
MR: Magic ring
ch: chain
sts: stitch(es)
sl st: slip stitch
sc: single crochet
inc: increase
dec: decrease
decrease.
dc: double crochet
hdc: half double crochet
fo: fasten off
FLO: Front loop only
BLO: Back loop only
rep: repeat
(number): total number of stitches in the round/row.
HEAD
Use cream yarn
Row 1: 6sc in MR (6)
Row 2: 6 inc (12)
Row 3: (1sc, 1inc) * 6 (18)
Row 4: (2sc, 1inc) * 6 (24)
Row 5: (3sc, 1inc) * 6 (30)
Row 6: (4sc, 1inc) * 6 (36)
Row 7: 36 sc (36)
Row 8: (8sc, 1 inc) * 4 (40)
Row 9: 40 sc (40)
Row 10: 8 sc, 1inc, 22 sc, 1 inc, 8 sc (42 sc)
Row 11: 8 sc, 1inc, 24sc, 1 inc, 8 sc (44)
Row 12: 11sc, (1sc;1inc) * 11, 11 sc (55)
Row 13 – Row 16: 55sc (55)
Row 17: 11sc, (1sc;1dec) * 11, 11 sc (44)
Row 18 : 44sc (44)
Row 19: (9sc, 1dec) * 4 (40)
Row 20: (3sc, 1 dec) * 8 (32)
Row 21: (1sc, 1dec,1sc) * 8(24)
Row 22: (1sc, 1dec) * 8 (16)
Cut and secure the yarn. Place safety eyes between R 10 and R11 of the head at about 10 sts apart. Stuff with the fiberfill.
MUZZLE
Use cream yarn
Row 1: 6sc in MR (6)
Row 2: 6 inc (12)
Row 3: (1sc, 1inc) * 6 (18)
Row 4: BLO, 18 sc (18)
Cut the yarn and sew the muzzle to the head. Use black yarn to embroider the nose.
EAR (Make 2)
Use brown yarn
Row 1: 6sc in Mr (6)
Row 2: 6inc (12)
Row 3: (3sc, 1inc) * 3 (15)
Row 4: (4sc, 1inc) * 4 (18)
Row 5: 18 sc (18)
Don’t stuff the ear. Cut and secure the thread leaving enough for sewing. Fold it and sew the open edges closed. Sew the ear to the head between the row 4 and row 10.
MAKE UP
Apply pink blush on the face.
LEG (Make 2)
Use red yarn
Row 1: 6sc in MR (6)
Row 2: 6inc (12)
Row 3: (1sc, 1inc) * 6 (18)
Row 4: BLO, 18 sc (18)
Row 5: 18 sc (18)
Row 6: 6sc, 3dec, 6sc (15)
Row 7: 4sc, 3dec, 5sc (12)
Change to cream yarn
Row 8 – Row 13: 12sc (12)
Cut and secure the thread. Make the other leg but don’t cut the thread and continue working the body.
BODY
Use cream yarn
Continue working and put the second leg near to the first one and go ahead with these steps:
Row 1: sc in the next 5 sts of the second leg, chain 3 and join with slip stitch through both loops of the 10th sts on the first leg, sc in the following 12 sts of the first leg, 3 sc in 3ch, sc in the following 7 sts of the second leg, place a stitch marker in the last sts [30]
Row 2: (4sc, 1inc) * 6 (36)
Row 3: (5sc, 1inc) * 6 (42)
Row 4 – Row 9: 42 sc (42)
Row 10: (5sc, 1dec) * 6 (36)
Row 11: 36 sc (36)
Row 12: (4sc, 1dec) * 6 (30)
Row 13 – Row 14: 30 sc (30)
Row 15: (3sc, 1dec) * 6 (24)
Row 16: (1sc, 1dec) * 8 (16)
Stuff the body. Cut and secure the thread leaving enough. Sew the body to the head.
ARM (Make 2)
Use cream yarn
Row 1: MR 5sc (5)
Row 2: 5inc (10)
Row 3 – Row 12: 10sc (10)
Stuff the arms. Cut and secure the thread leaving enough. Flatten it and sew the open edges closed. Leave a long tail.
Sew on the arms between rounds 15 and 16of the body.
BOW
Use purple yarn
Chain 11
Row 1: Starting in second ch from hook, 10 sc, turn back (10 sts).
Row 2 – Row 5: ch1, 10 sc, turn back (10 sts).
Fasten off and leave long end for sewing. Wrap the middle of the bow with a yarn a couple of times. Sew the bow to the head.
Congratulations! Your bear is ready!
Feel free to tag me (@freeamigurumii) in your photos on Instagram or Facebook if you’d like!


