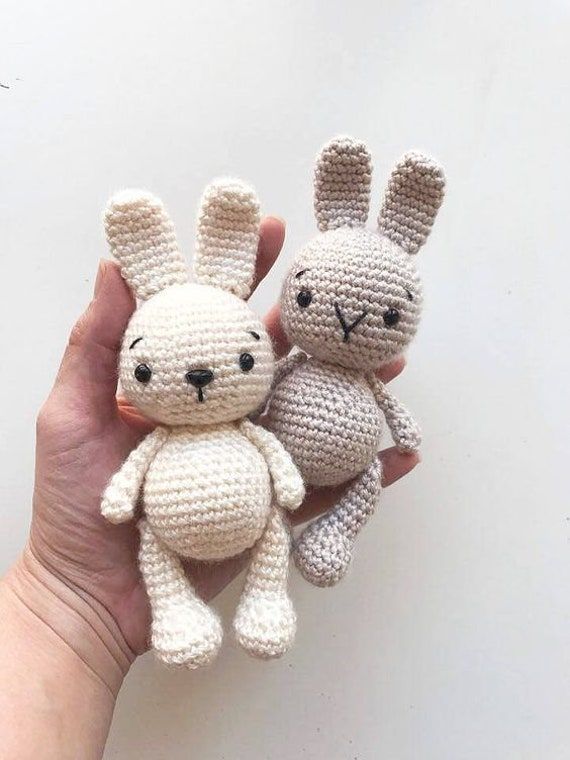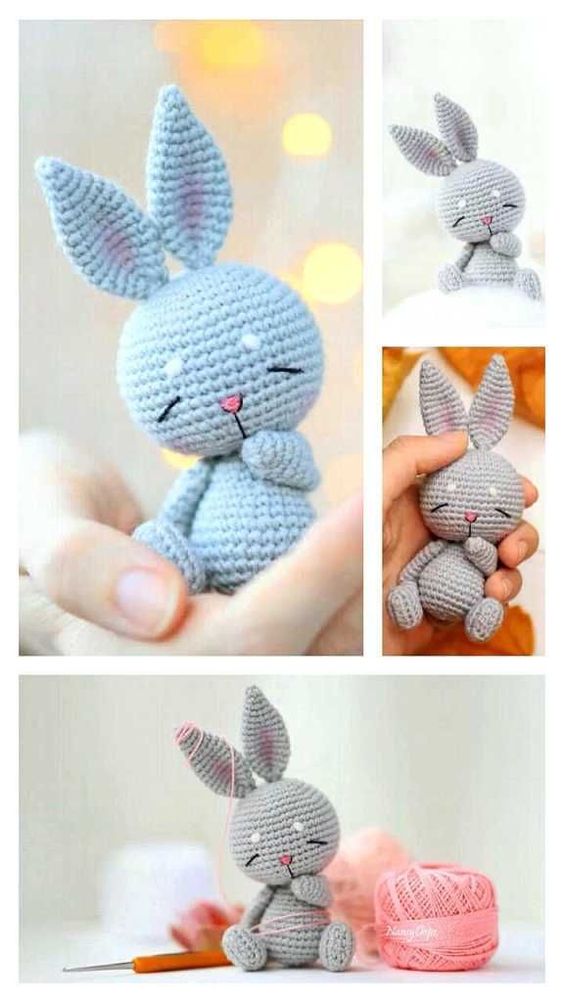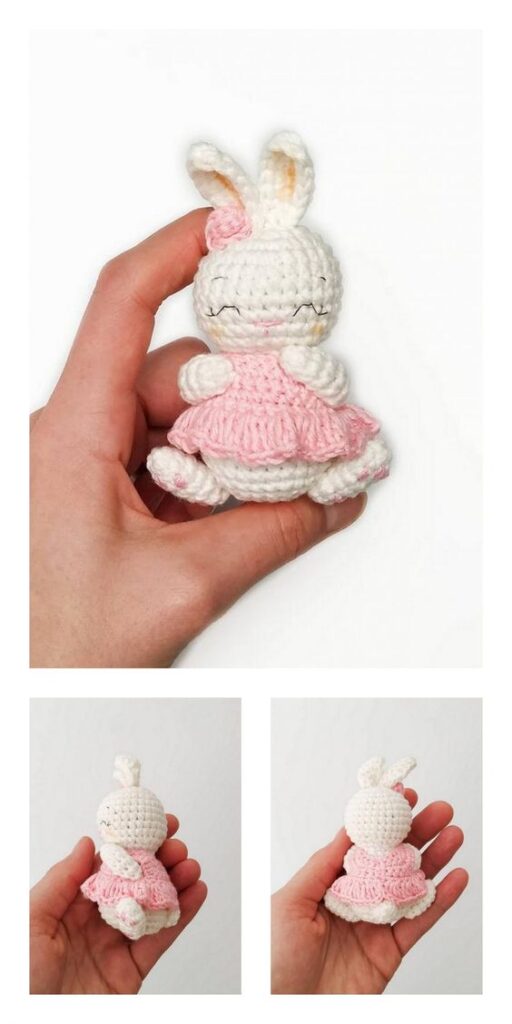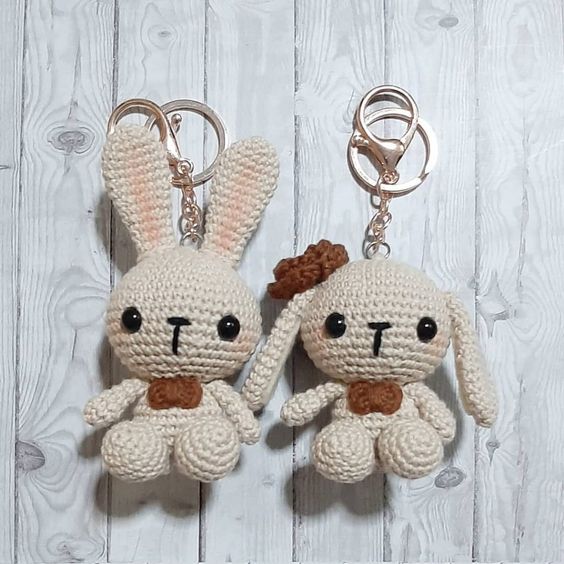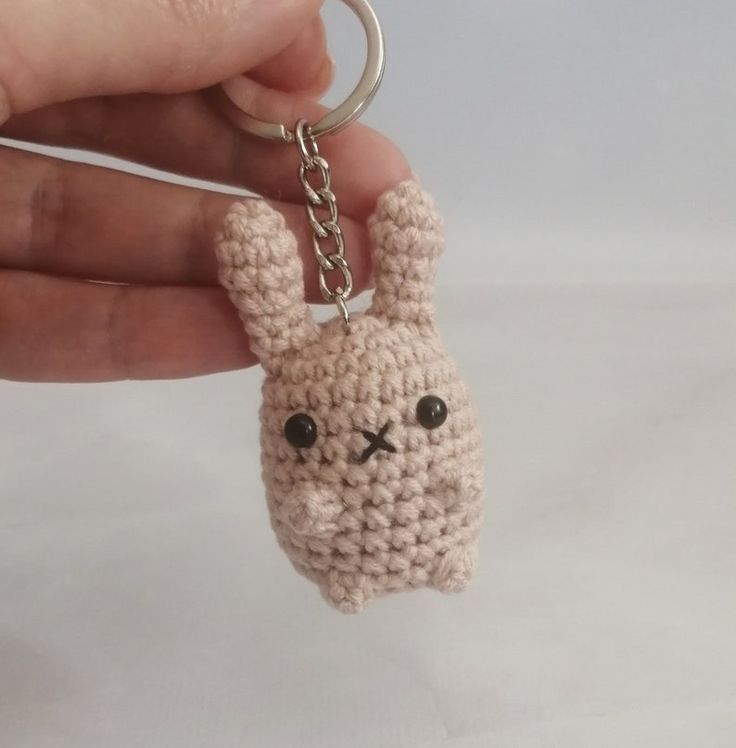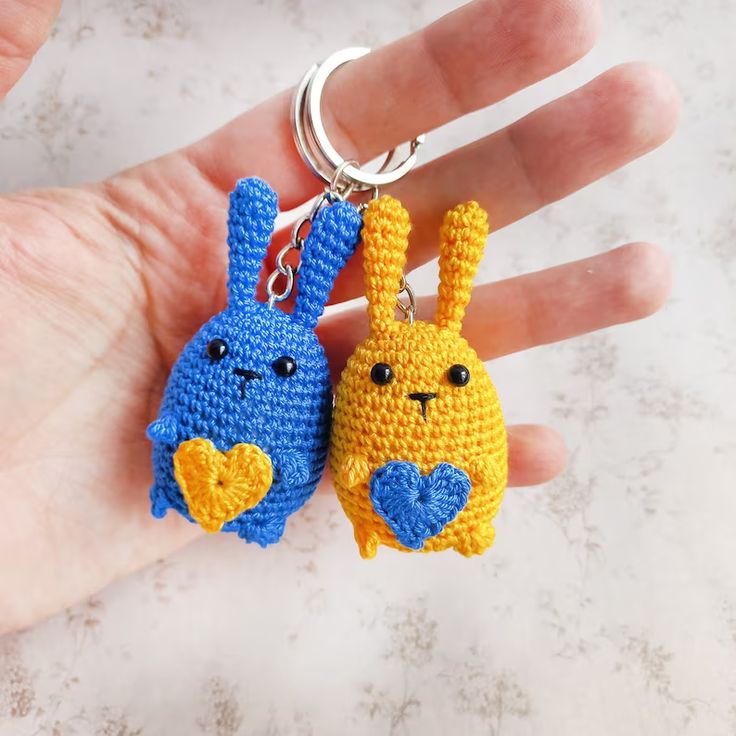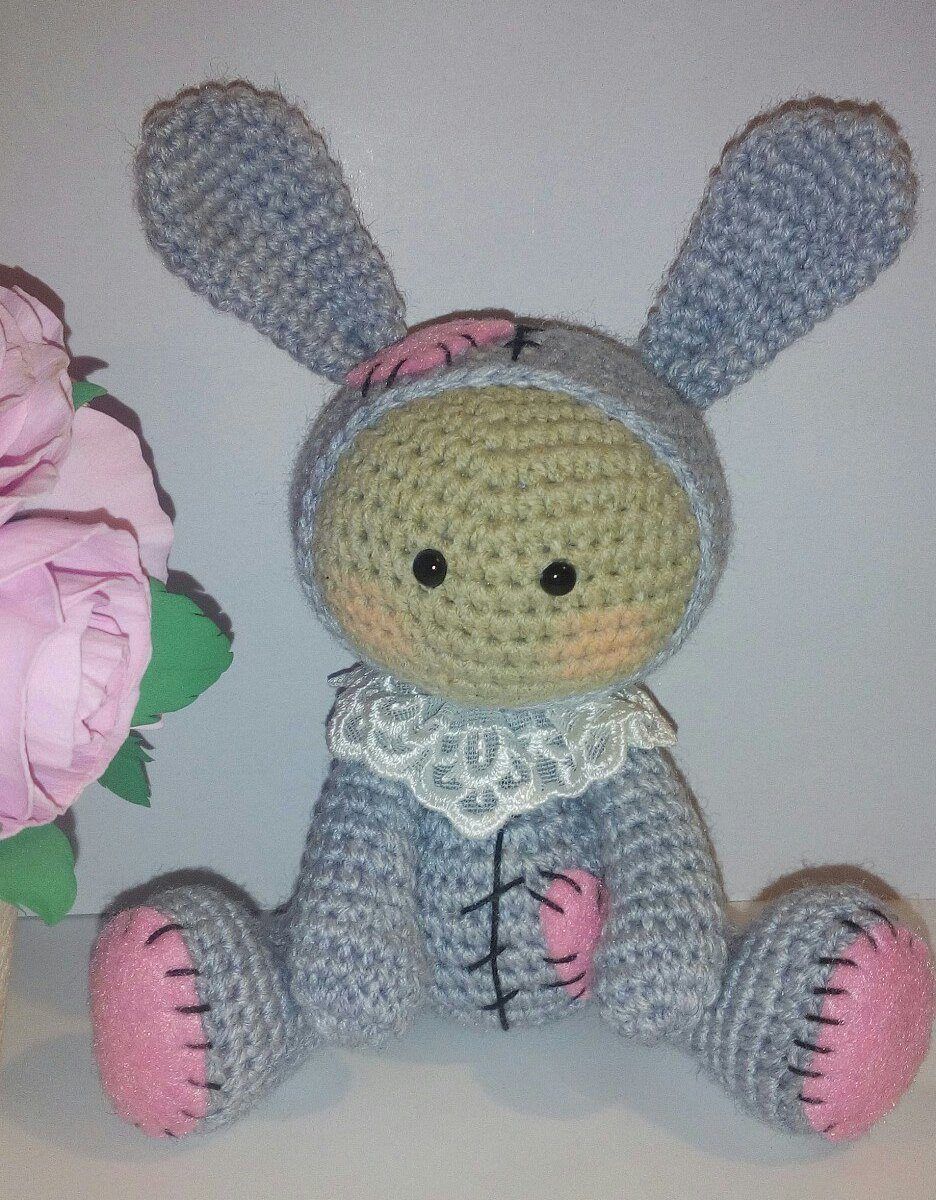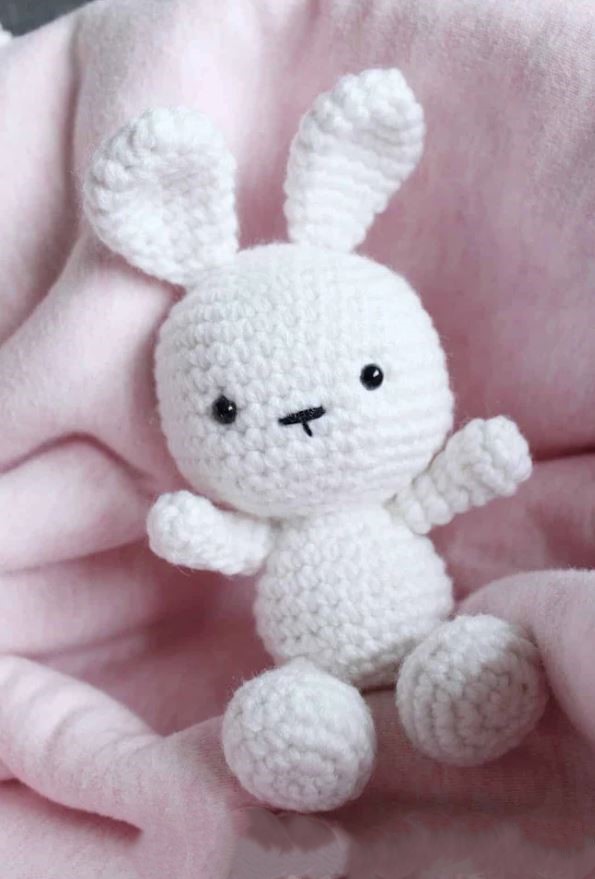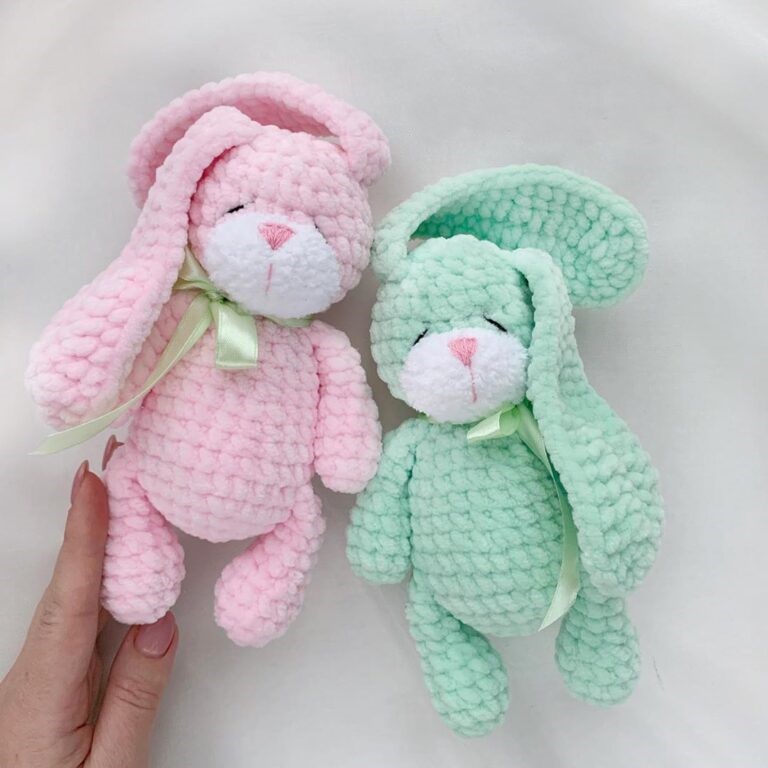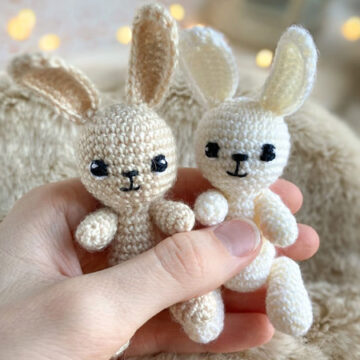
Hello amigurumi lovers and beautiful visitors, I wanted to share the free amigurumi patterns for you here. In my article I will share 1 pattern and how to make it for you. At the end of my article, I will share amigurumi patterns that can generate ideas for you.
Materials:
Yarn: Vita Brilliant (45% wool, 55% acrylic, 380m/100g)
Hook size: 1.5-1.75mm
Iris YarnArt yarn (138m/20g) black and white for the eyes or you can use 4mm safety eyes
Sewing needle and scissors
Stuffing
Abbreviations
(sc)/(sc): single crochet
(bo): popcorn stitch
(ml)/(ch): chain, air stitch
(MR): magic ring
(dim)/(dec): decrease, decrease, decrease
(increase )/(inc): increase
(M)/(st): Stitch (st) stitch
(FLO): work only in front loops
(BLO): work only in back loops
(d-dc,dble.b)/ (tr): Double treble crochet
(br)/(dc): treble crochet
(dB)/(hdc): half treble crochet
(sc)/(sl-st): slip stitch, small stitch
(db / dbr) (dtr): Double flange
(mct)/(tch): chain stitches to turn
(3msm)/(sc3tog): 3 sc in the same stitch
(Fo): Stop the thread.
Head
R 1: 6 sc in MR
R 2: (inc)*6 (12)
R 3: (1 sc, inc)*6 (18)
R 4: (2 sc, inc)*6 (24)
R 5: (3 sc, inc)*6 (30)
Rows 6-11: 30 sc (6 rows)
Row 12: (3 sc, dec)*6 (24)
Row 13: (2 sc, dec)*6 (18)
Row 14: (1 sc, dec)*6 (12)
Secure yarn, cut and hide inside. Fill.
Ears (make 2)
Row 1: ch 10, from 2nd ch from hook: 5 sc, 3 hdc, 6 dc in last st, turn and crochet on the other side of chain: 3 hdc , 5 sc
R 2: 23 sc
Leave yarn for sewing.
Body
Row 1: 6 sc in MR
Row 2: (inc)*6 (12)
Row 3: (1 sc, inc)*6 (18)
Row 4: (2 sc, inc)*6 (24)
Row 5- 7: 24 sc (3 rows)
Row 8: 6 dec, (1 sc, dec)*4 (14)
Rows 9-11: 14 sc (3 row)
Row 12: (5 sc, dec)*2 (12)
R 13: 12 sc
Leave yarn for sewing. Fill.
Legs (make 2)
Row 1: 6 sc in MR
Row 2: (inc)*6 (12)
Row 3-5: 12 sc (3 rows)
Row 6: (2 sc, dec)*3 (9)
Row 7-10: 9 sc (4 rows)
Fill.
Pull the opening, secure the thread and hide inside.
Arms (make 2)
Row 1: 6 sc in MR
Row 2: (1 sc, inc)*3 (9)
Row 3-4: 9 sc (2 rows)
Row 5: (1 sc, dec)*3 ( 6)
R 6-7: 6 sc (2 rows)
Fill.
Pull the opening, secure the thread and hide inside.
Tail
R 1: 6 sc in MR
R 2: (inc)*6 (12)
R 3: 12 sc
R 4: (dec)*6 (6)
Leave yarn for sewing. Fill when sewing.
Assembly
1. Sew the ears in 2-4 rows to the sides of the head.
2. Embroider the nose between the 9th and 10th rows, the smile between the 11th and 12th rows, and a vertical line between them.
3. Embroider/glue/sew the eyes on the 9th row, there are 5 sc between the eyes.
4. Sew the head to the body.
5. Fasten the legs using binding thread (or sew) between the 4th and 5th rows of the body on the sides.
6. Tie the arms with binding thread (or sew) 1 row under the seam between the head and the body.
7. Sew the tail to the back of the toy for about 5-6 rows.
Feel free to tag me (@freeamigurumii) in your photos on Instagram or Facebook if you’d like!
All Finished.
