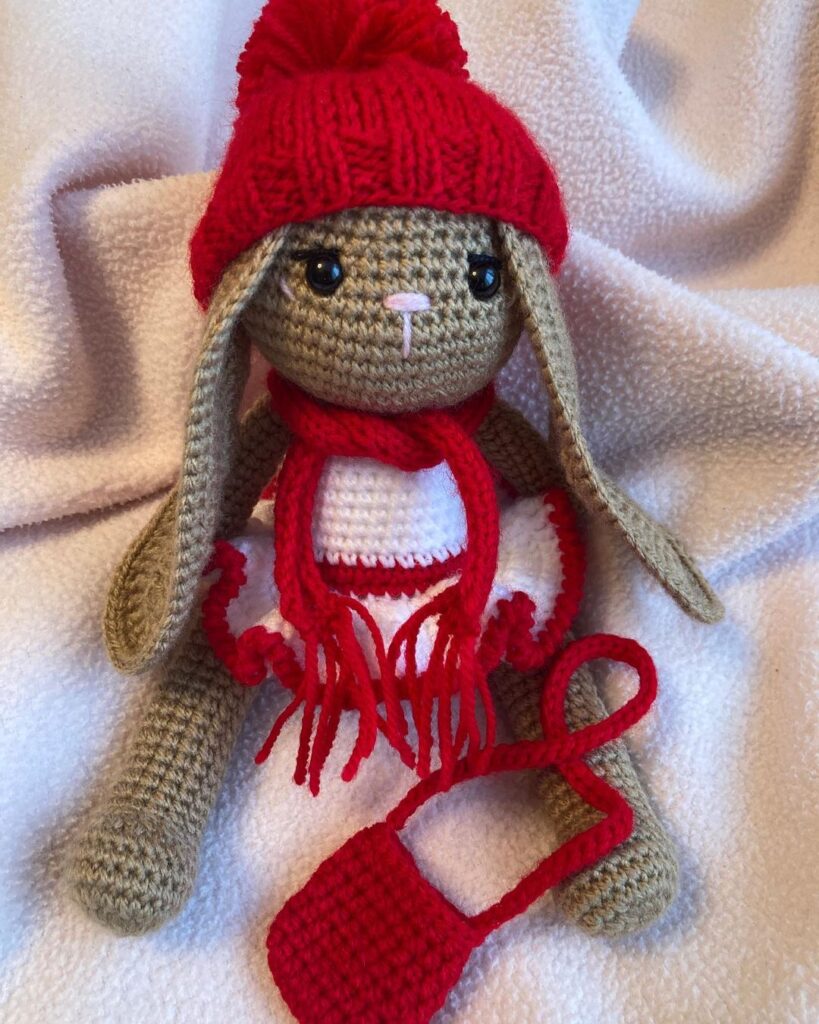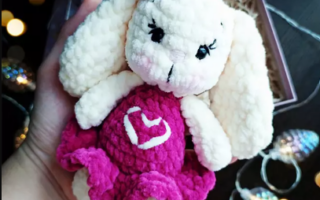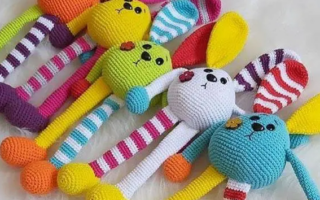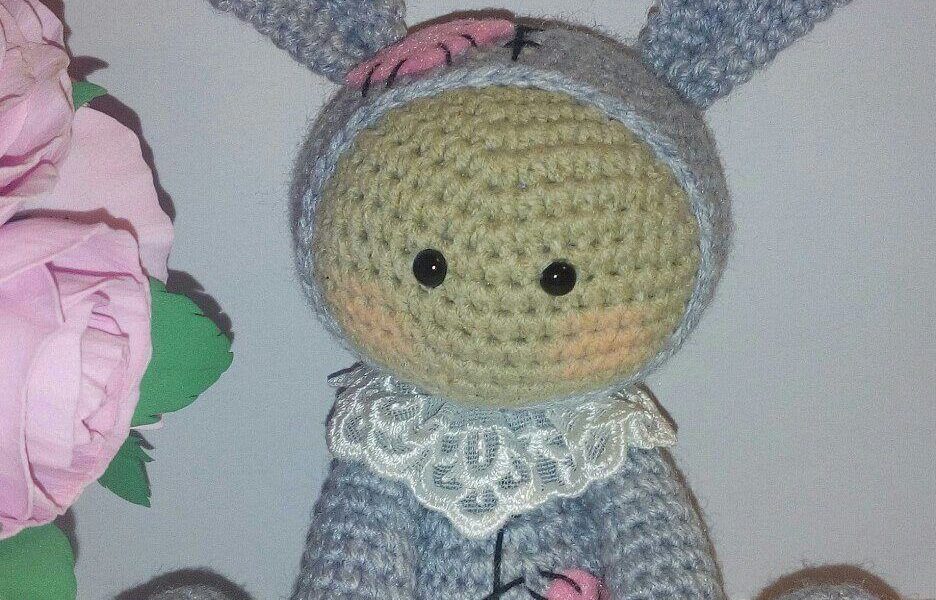
Hello amigurumi lovers and beautiful visitors, I wanted to share the free amigurumi patterns for you here. In my article I will share 1 pattern and how to make it for you. At the end of my article, I will share amigurumi patterns that can generate ideas for you.
Abbreviations:
KA, amigurumi ring;
sc – single crochet;
ss – connecting column;
pr – increase (two columns in one loop);
ub – decrease (two columns knitted together).
Head
1) 6 sc in KA (=6)
2) inc x6 times (12)
3) (1 sc, inc) x 6 times (18)
4) (2 sc, inc) x 6 times (24)
5) (3 sc, inc) x 6 times (30)
6) (4 sc, inc) x 6 times (36)
7) (5 sc, inc) x 6 times (42)
8) (6 sc, inc) x 6 times (48)
9-13) sc in a circle (48)
14) (6 sc, dec) x 6 times (42)
15) (5 sc, dec) x 6 times (36)
16) (4 sc, ub) x 6 times (30)
17) (3 sc, ub) x 6 times (24)
Stuff the head tightly.
18) (2 sc, dec) x 6 times (18)
At this stage, we thread a nylon thread into the button and insert it into the hole in the head. We continue to knit.
19) (1 sc, dec) x 6 times (12)
20) dec x 6 times (6)
Hood
1) 6 sc in KA (=6)
2) inc x6 times (12)
3) (1 sc, inc) x 6 times (18)
4) (2 sc, inc) x 6 times (24)
5) (3 sc, inc) x 6 times (30)
6) (4 sc, inc) x 6 times (36)
7) (5 sc, inc) x 6 times (42)
8) (6 sc, inc) x 6 times (48)
9-15) sc in a circle (48)
16) (6 sc, dec) x 6 times (42)
17) (5 sc, dec) x 6 times (36)
18) 36 sc, 1slst .
Cut and hide the thread. Who wants to sew a hood to the head, leave a long thread.
Ears for a bunny (2 parts)
1) 6 sc in KA (= 6)
2) inc x 6 times (12)
3) (1 sc, inc) x 6 times (18)
4-6) sc in a circle (18)
7 ) (dec, 2 sc, dec, 3 sc) x 2 times (14)
8) 14 sc in a circle (14)
9) (dec, 5 sc) x 2 times (12)
10-14) sc in a circle (12 ), ss
Leave the thread for sewing.
Tail
1) 6 sc in KA (=6)
2) inc x6 times (12)
3-4) sc in a circle (12)
5) dec x 6 times, sl-st.
Leave a long thread for stitching.
Body
1) 6 sc in KA (=6)
2) inc x 6 times (12)
3) (1 sc, inc) x 6 times (18)
4-5) sc in a circle (18) Pass the
ends of the threads from the button that is hidden in the head through the hood and body, then insert the 2nd button inside the body, tie it tightly, and the head will rotate. If you tighten the thread in the body tightly enough so that there are no gaps between the body and the head, then the head will be very firmly attached to this mount.
6) (2 sc, inc) x 6 times (24)
7) 24 sc
8) 8 sc; (pr) x 6 times; 10 sc (30)
9) 8 sc, (inc, 1 sc) x 6 times, 10 sc (36)
10-14) sc in a circle (36)
15) (4 sc, dec) x 6 times (30)
16) (3 sc, dec) x 6 times (24)
We stuff the body very tightly.
17) (2 sbn, ub) x 6 times (18)
18) (1 sbn, ub) x 6 times (12)
19) ub x 6 times (6)
We tighten the hole. The convex part of the body is the tummy.
The head can now be rotated.
If you don’t understand everything with a button fastening, you should type “master class button hinge” in the search engine and study this issue in more detail.
Handles and legs in the process of knitting tightly stuffed.
Handles (2 parts)
1) 6 sc in KA (=6)
2) inc x6 times (12)
3) (1 sc, inc) x 6 times (18)
4-5) sc in a circle (18)
6) dec x 6 times; 6 sc (12)
7-9) sc in a circle (12)
10) (dec, 4 sc) x 2 times (10)
11-16) sc in a circle (10)
17) dec x 6 times (4)
Pull the hole , hide the thread.
Legs (2 parts)
1) 6 VP
We knit in a circle.
2) Pr from 3 sbn to the 2nd loop from the hook; 3 sc; pr from 3 sc; 3 sc (=12)
3) Pr x 3 times; 3 sc; pr x 3 times; 3 sc (18)
4) (1 sc, inc) x 3 times; 3 sc; (1 sc, inc) x 3 times; 3 sbn +1 sbn for displacement (24)
5) We knit sbn for the back wall of the loop without increments (24)
6-8) 24 sbn (24)
9) 11 sbn, 6 dec, 1 sbn (18)
10) 10 sbn, 4 dec (14)
11-19) 14 sc (14)
20) 7 dec (7)
Pull the hole.
Feel free to tag me (@freeamigurumii) in your photos on Instagram or Facebook if you’d like!
All Finished.