Hello amigurumi lovers and beautiful visitors, I wanted to share the free amigurumi patterns for you here. In my article I will share 1 pattern and how to make it for you. At the end of my article, I will share amigurumi patterns that can generate ideas for you.
Materials
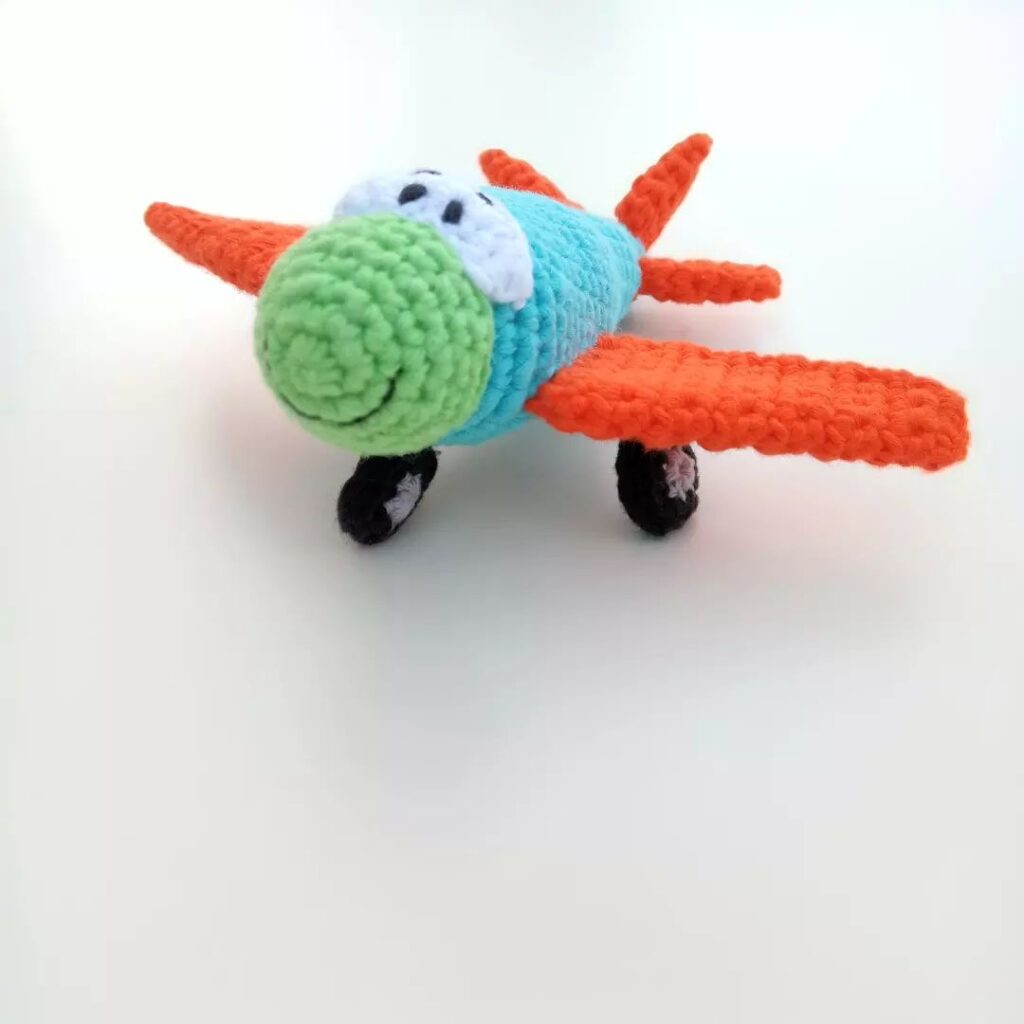
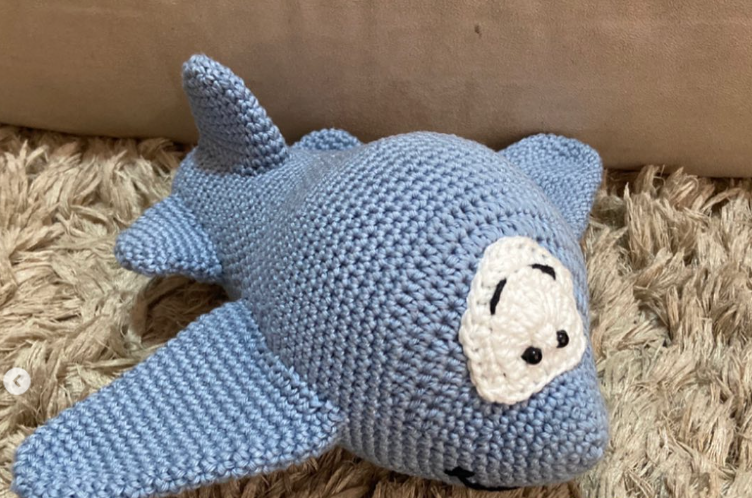
• Alize Cotton Gold yarn in blue color, number 374 (main color, if you want to make
a blue airplane)- small quantity
• YarnArt Jeans yarn in red color, number 51- just a little
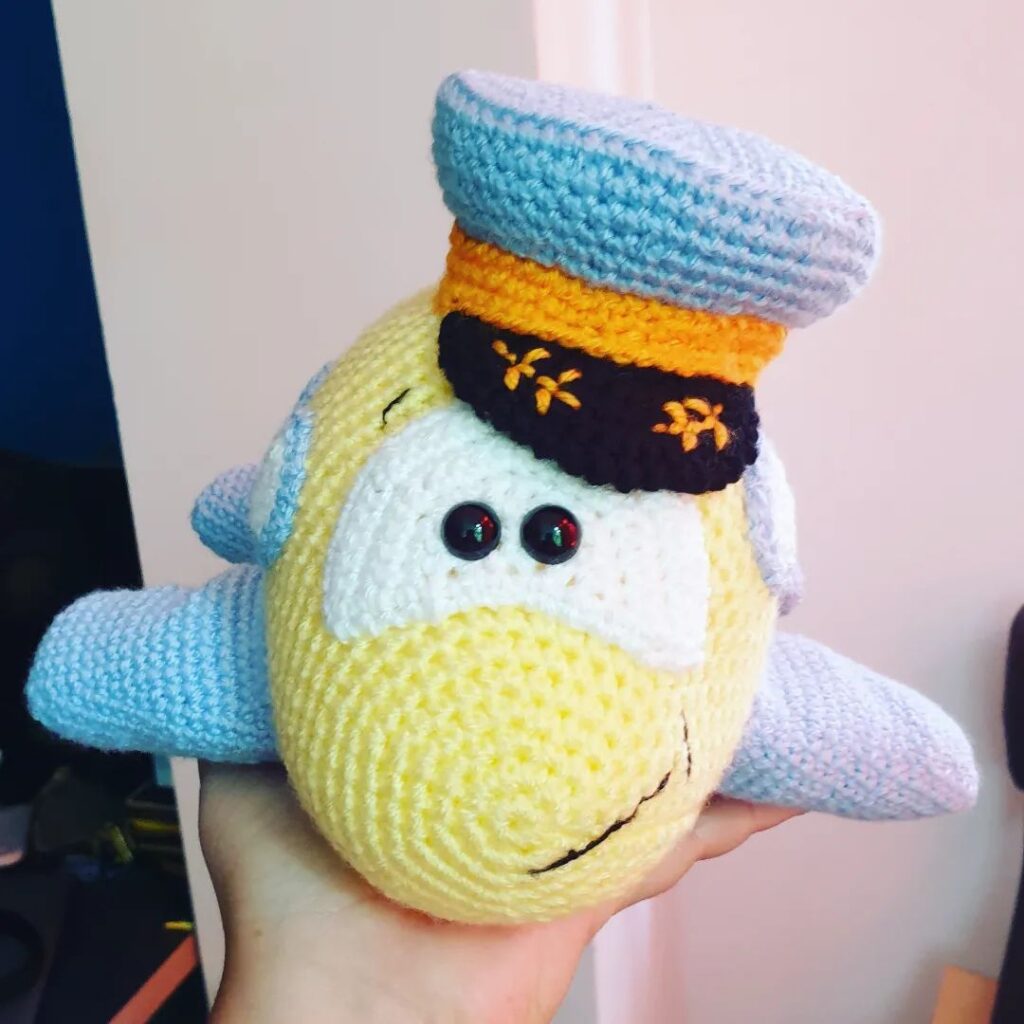
• YarnArt Jeans yarn in yellow color, number 88- just a little.
• YarnArt Jeans yarn in light blue color, number 75 – just a little.
• Small amount of white or cream colored yarn for eye details.
• Small amount of black colored yarn for eye details (I used YarnArt Jeans)
• Toy stuffing (hollow fiber)
• 2mm (US 4) crochet hook, I use clover (or 1.75mm yarn) any other brand)
• 1-1.5 mm hook to make the eyes (US 6)
• Needle, scissors, pins
• Stitch marker
Abbreviations
(sc)/(sc): Single crochet
(BO) Hazelnut stitch
(ml)/(ch): Chainette, Air stitch
(MR): Magic ring
(dim)/(dec): decrease, decreasing, decrease
(augm) /(inc): increase
(M)/(st): Stitch (pt) stitch
(FLO): work only in front loops
(BLO): work only in back loops
(d-dc,dble.b)/( tr): Double treble crochet
(br)/(dc): Double treble crochet
(dB)/(hdc): Half treble crochet
(sc)/(sl-st): Slip stitch, small stitch
(db / dbr) (dtr): Double treble crochet
(mct)/(tch): chain stitches to turn
(3msm)/(sc3tog): 3 sc in the same stitch
(Fo): Stop the thread.
Note:
The toy pieces are crocheted in continuous rounds not joined
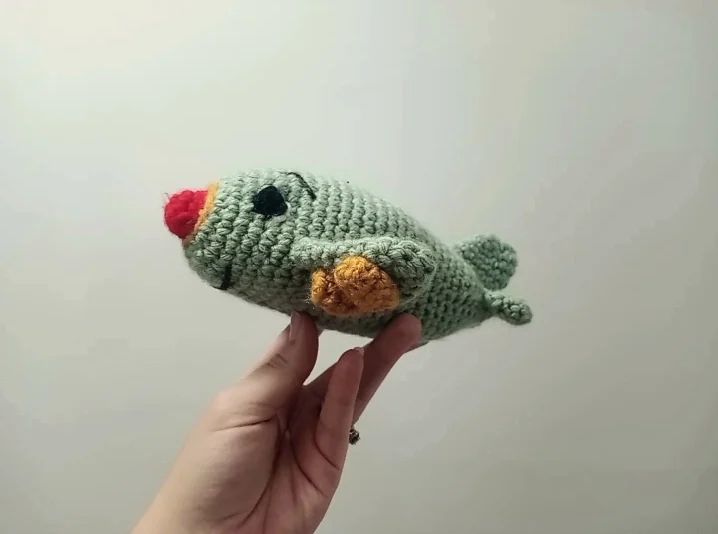
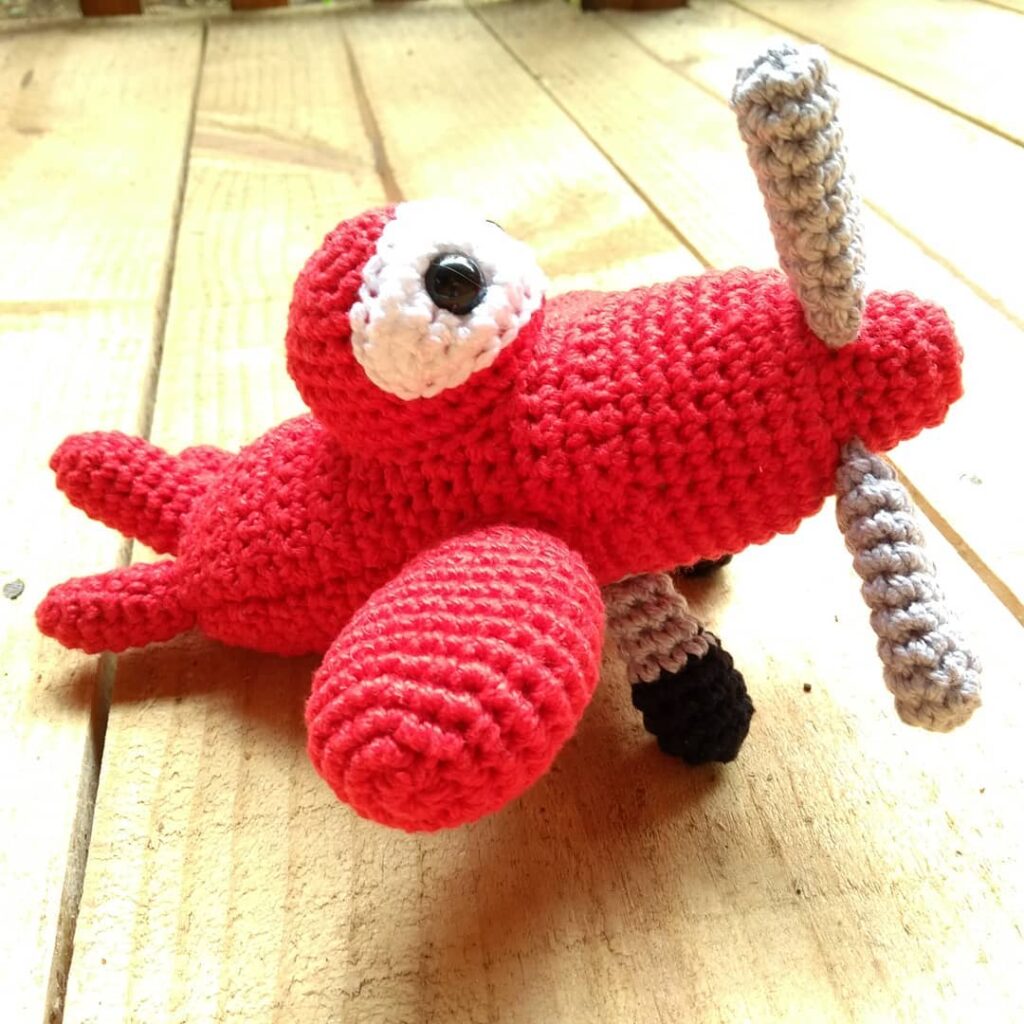
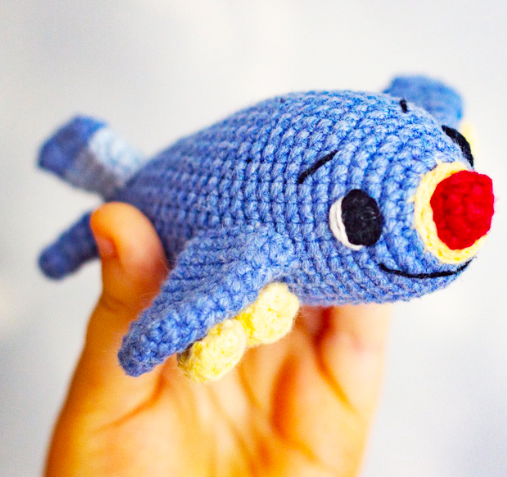
The finished toy is approximately 10cm long and 3cm high when using the materials shown, wingspan approximately 9cm. My stitches have a half-x shape (I make a yarn under, then a yarn over when working a stitch). If your dots have a V-shape, your toy will be bigger.
Difficult – medium level. You must know how to crochet the main stitches
Body
Start crocheting in red
Fill pieces as you go
Rnd 1. 6sc in MR (6)
Rnd 2. (inc, 1sc)*3 (9)
Rnd 3. 9sc (9)- change yarn color to yellow when you knit the last stitch on the round
Cut the red colored yarn
Rnd 4. Crochet in BLO (inc, 2 sc) * 3 (12) – change the yarn color to blue when working the last stitch on the round. Cut the yellow color yarn leaving a long tail of yarn. We will use it to crochet in FLO from round 4 later
Rnd 5. Crochet in BLO 12 inc (24)
Rnd 6. 24 sc (24)
Now pull the yellow colored yarn outside the work and crochet 12 sl sts in the FLO around. Then put the wire back on the other side and Fo.
Rnd 7. (1sc, inc)*6, 12sc (30)- The part of the piece with inc will be the top part of our plane.
Rnd 8. 30sc (30)
Rnd 9. 6sc, inc, 2sc, inc, 2sc, inc, 17sc (33)
Rnd 10-18. 33ms (33) – 9 rounds
Remember to fill the room as you go.
Rnd 19. 10sc, Sun, 21sc (32)
Rnd 20-21. 32ms (32)- 2 rounds
Rnd 22. 7ms, Sun, 5ms, Sun, 16ms (30)
Rnd 23-24. 30ms (30)- 2 rounds
Rnd 25. (sun, 8ms)*3 (27)
Rnd 26. 27ms (27)
Rnd 27. (sun, 7ms)*3 (24)
Rnd 28. (sun, 6ms)*3 (21)
Rnd 29. (sc, 5sc)*3 (18)
Rnd 30. (sc, 4sc)*3 (15)
Rnd 31. 15sc (15)
Rnd 32. (sc, 3sc)*3 (12)
Rnd 33. ( dec, 2sc)*3 (9)
Rnd 34. (dec, 1sc)*3 (6)
Cut the thread leaving a thread tail. Pull the opening closed by pulling a needle through FLO stitches. Weave in the yarn tail inside the piece
Wings (2 pieces)
Crochet two identical pieces in blue.
Rnd 1. ch 6, crochet from the 2nd ch from the hook: 4 sc, 3 sc in the last ch, along the other side of the chain: 3 sc, 1 sc in the 1st ch (11) Rnd
2 5 sc, inc, 5 sc (12)
Rnd 3. 5 sc, inc, 6 sc (13)
Rnd 4. 6 sc, inc, 5 sc, then work the last stitch of this round with the 1st stitch of the 5th round (decrease in the FLO) and insert the marker (13)
Rnd 5. 5 sc, inc, 7 sc (14)
Rnd 6. 6 sc, inc, 7 sc (15)
Rnd 7. 7 sc, inc, 6 sc, then work the last stitch of this round with the 1st stitch of 8th round (decrease in sts flow) and insert marker (15)
Rnd 8. 6sc, inc, 8sc (16)
Cut the thread leaving a long tail of thread for sewing
Jet engine (4 pieces)
Crochet 4 identical pieces of yellow color. Do not fill.
Rnd 1. 8sc in MR (8)
Join a circle with sl st.
Rnd 2. into BLO: 8sc (8)
Rnd 3. (dim, 2sc)*2 (6)
Rnd 4. 4sc, not finishing round (4)
Pull the opening closed by pulling the yarn through FLO of the stitches . Cut the thread leaving a long tail of thread for sewing, Fo.
Tail
Side Part (make 2)
Rnd 1. 5sc in MR (5)
Rnd 2. inc, 2sc, inc, 1sc (7)
Rnd 3. 7sc (7)
Rnd 4. (1sc, inc)*3, 1sc ( 9)
Cut the thread leaving a long tail of thread for sewing. Do not fill
The upper part
Rnd 1. ch 6, crochet from the 2nd ch from the hook: 4 sc, 3 sc in the last ch, along the other side of the chain: 3 sc, 1 sc in the 1st ch (11 )
Rnd 2. 5 sc, inc, 5 sc (12)
Change yarn color to light blue
Rnd 3. 5 sc, inc, 6 sc (13)
Rnd 4. 6 sc, inc, 5 sc, then work the last stitch on this round with the 1st st of 5th round (decrease in FLO of sts) and insert marker (13)
Rnd 5. 5 sc, inc, 7 sc (14)
Cut the thread leaving a tail for sewing. Do not fill the
Crochet room in rounds. The tail consists of two parts: two identical side parts and an upper part
Assembly and details
1. Sew the wings to the body of the plane between rounds 7 and 16, after securing them with pins.
2. Start assembling the tail. Sew the upper part of the tail exactly in the middle of the body. Then sew the side parts. Weave in the yarn tails inside the body.
3. Fix the motors on the wings, two pieces on each wing. Sew them. Weave the yarn tails inside. Thank you for visiting our website amigurumireceitas.com.
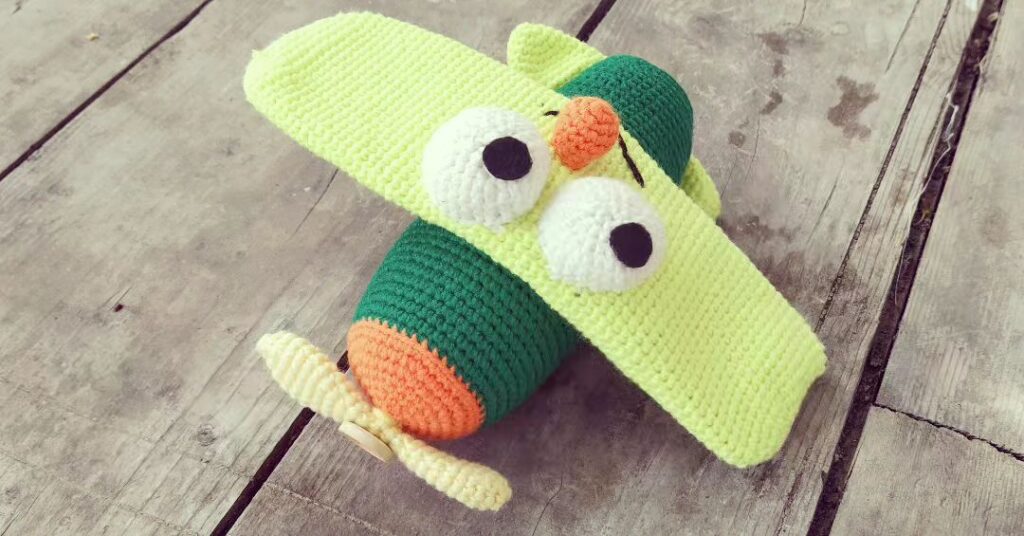
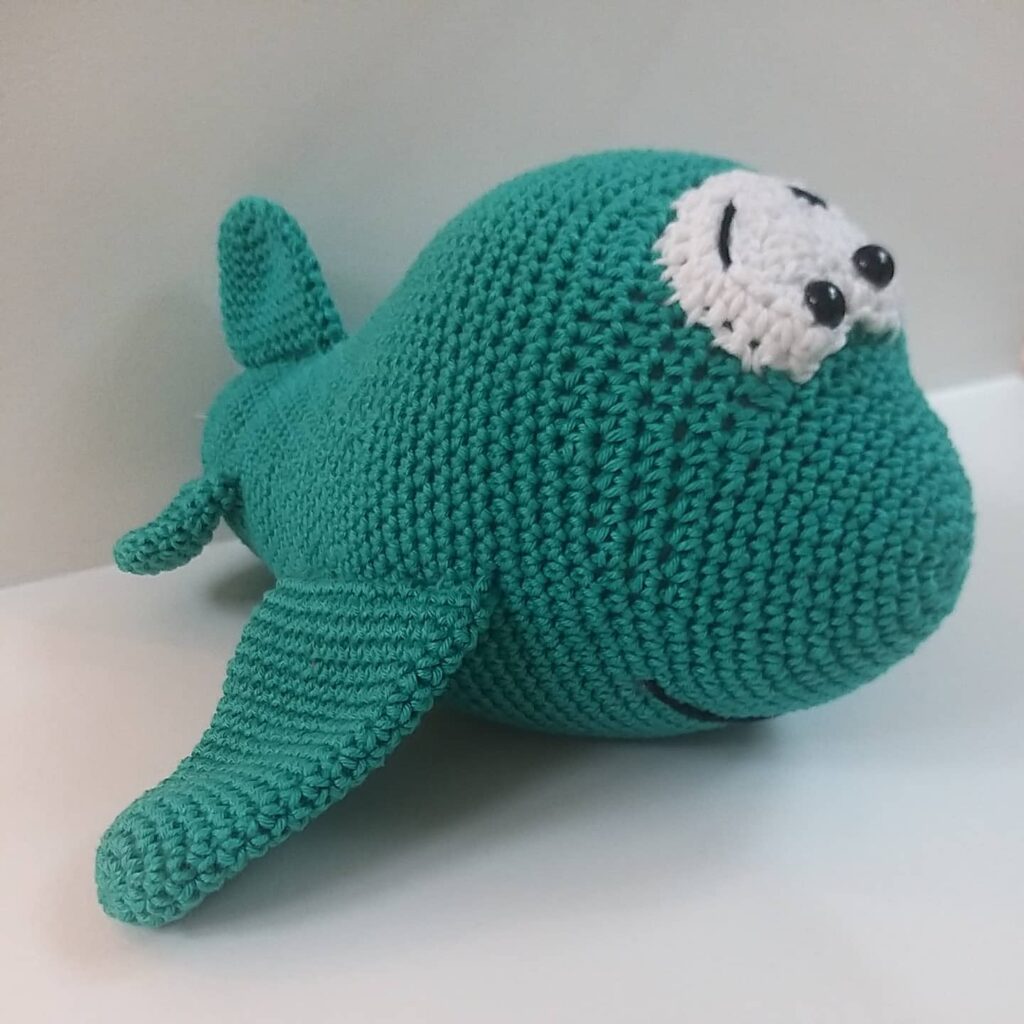
4. Now let’s do the details of our plane’s face and start with the eyes. You can crochet the eyes using fine black cotton threads or cut them out of black felt circles and glue them. The pattern for the crochet eyes: simply do 7 sc in SR and join with sl st in a circle. Use a small hook (1-1.5 mm).
Cut the thread leaving a long tail of thread for sewing. Then you can use the same yarn tail to embroider the eyebrows and mouth. Sew the eyes, leaving 1-2 turns from the yellow strip. Then embroider the mouth with a long stitch. Embroider the eyebrows above the eyes. Make white dots around the eyes. Weave in the yarn tails inside the plane.
Feel free to tag me (@freeamigurumii) in your photos on Instagram or Facebook if you’d like!
All Finished.