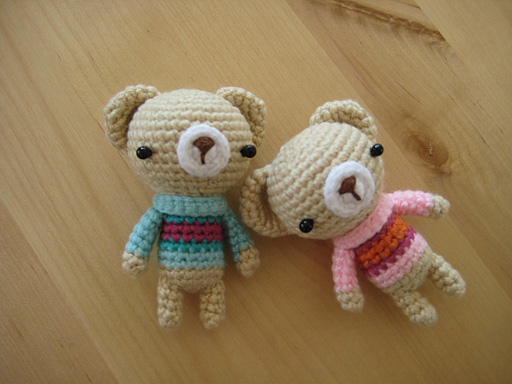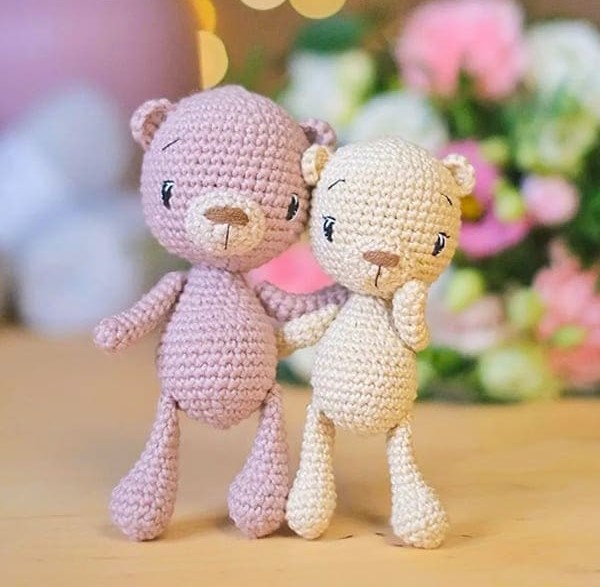
Hello amigurumi lovers and beautiful visitors, I wanted to share the free amigurumi patterns for you here. In my article I will share 1 pattern and how to make it for you. At the end of my article, I will share amigurumi patterns that can generate ideas for you.
Materials
• Yarn of your choice (I’ve used rainbow 8/4 with a hook 2.20 mm and friends cotton 8/6 with a hook 2.5 mm.
• White and black yarn to embroider the eyes.
• A little bit of pink yarn to make the cheeks.
• Stuffing materials.
• Scissors.
• Needle.
Abbreviations
MR: Magic ring
Sc: Single crochet
Inc: Increase
Dec: Decrease
Ch: Chain
Slst: Slip stitch
Head
Rnd 1. 6 sc in MR (6)
Rnd 2. 6 inc (12)
Rnd 3. sc, inc x3, 3sc, inc x3, 2 sc (18)
Rnd 4. (2sc,inc)x6 (24)
Rnd 5. 3sc, (inc,sc)x3, 6sc, (inc,sc)x3, 3 sc (30)
Rnd 6. (4sc,inc)x6 (36)
Rnd 7. (5sc,inc)x6 (42)
Rnd 8-17. 42 sc (10 rnds)
Rnd 18. (5sc,dec)x6 (36)
Rnd 19. (4sc,dec)x6 (30)
Rnd 20. (3sc,dec)x6 (24)
Rnd 21. (2sc,dec)x6 (18)
Rnd 22. (sc,dec)x6 (12)
Body
Rnd 1. 6 sc in MR (6)
Rnd 2. 6 inc (12)
Rnd 3. (sc,inc)x6 (18)
Rnd 4. (2sc,inc)x6 (24)
Rnd 5. (3sc,inc)x6 (30)
Rnd 6-11. 30 sc (6 rnds)
Rnd 12. 9sc, dec x6, 9 sc (24)
Rnd 13. 24 sc
Rnd 14. (2sc,dec)x6 (18)
Rnd 15. 18 sc
Rnd 16. (sc,dec)x6 (12)
Rnd 17. 12 sc
Snout
Rnd 1. 6 sc in MR
Rnd 2. 6 inc (12)
Rnd 3. sc, incx 3, 3sc, incx3, 2sc (18)
Arms (Make 2)
Rnd 1. 6 sc in MR (6)
Rnd 2. 2sc, incx2, 2sc (8)
Rnd 3-4. 8 sc (2 rnds)
Rnd 5. 2sc, decx2, 2sc (6)
Rnd 6-11. 6 sc (6 rnds)
Stuff the arms only in hand part.
Legs (Make 2)
Rnd 1. 5 sc in MR
Rnd 2. 5 inc (10)
Rnd 3. 2sc, inc x5, 3sc (15)
Rnd 4-5. 15 sc (2 rnds)
Rnd 6. 5sc, dec x3, 4sc (12)
Rnd 7. 4sc, dec x2, 4sc (10)
Rnd 8-13. 10 sc (6 rnds)
Rnd 14. 10 sc
Fold in half and make 5sc through both sides. Stuff the leg only to 7 round.
Ears (Make 2)
Rnd 1. 6 sc in MR (don’t close the ring)
Rnd 2. 1 ch, turn, 6sc.
Assembly
Sew the ears symmetrically on both sides of the head (appoximately between rounds 5 and 9).
Sew the snout to the head between rounds 12 and 18. Stuff it just a little bit. Embroider little nose and mouth. Embroider eyes and eyebrows.
Sew the head to the body.
Sew the arms and legs as you like the most, depending on whether you want that the little bear should be sitting or standing.
Feel free to tag me (@freeamigurumii) in your photos on Instagram or Facebook if you’d like!
All Finished.
