Hello amigurumi lovers and beautiful visitors, I wanted to share the free amigurumi patterns for you here. In my article I will share 1 pattern and how to make it for you. At the end of my article, I will share amigurumi patterns that can generate ideas for you.
You will need:
- One small skein of white yarn
- One small skein of brown yarn
- One small skein of red yarn
- One small skein of blue yarn
- Thread of black embroidery yarn
- Polyester stuffing
- One pair of safety eyes
- Your favourite crochet hook
- Your favourite sewing needle
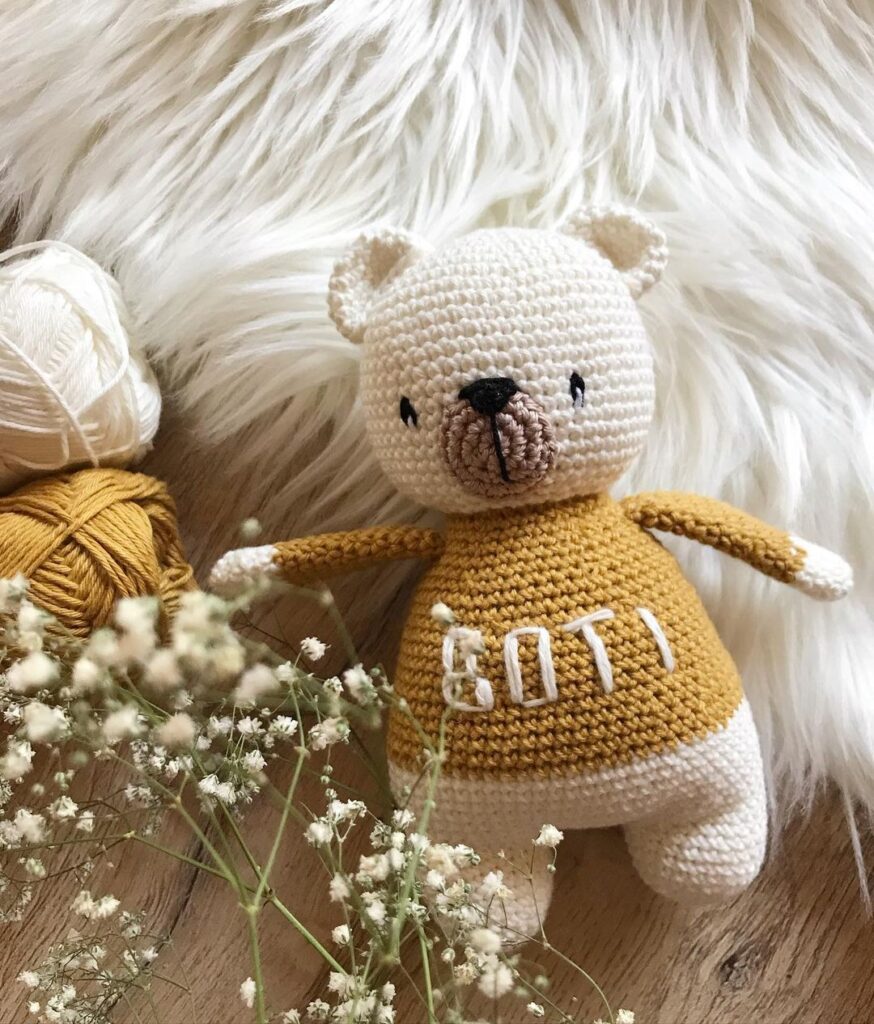
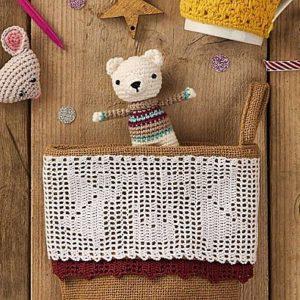
For the bear in the picture I personally used 4.5 mm eyes and a 2.25 mm hook. I also used KPC gossyp 4-ply yarn in the following colours:
- White: Optic White
- Brown: Chinchilla
- Red: Beetroot
- Blue: Lido
Abbreviations:
sc = stitch
inc = increase
dec = decrease
hdc = half double crochet stitch
dc = double crochet stitch
sl = slip stitch
blo = back loop only
flo = front loop only
fo = finish off
( … ) = repeat whatever is in between the brackets
[ .. ] = total amount of stitches in that round
Head
Use white
1: 6 in a magic circle [ 6 ]
2: ( inc ) x 6 [12]
3. ( sc, inc) x 6 [18]
4. ( 2 sc, inc) x 6 [24]
5. ( 3 sc, inc) x 6 [30]
6-11. sc around [30]
12. (3 sc, dec) x 6 [24]
Place the safety eyes between round 8 and 9
13. (2 sc, dec) x 6 [18]
Slowly start stuffing as you crochet along
14. (sc, dec) x 6 [12]
15. (dec) x 6 [ 6 ]
Finish off and close. Work away your thread.
The snout is made in continuous rounds too, but it is started in an oval shape.
Snout
Use white
1. Start with a chain of 3 stitches
2. Sc in the second stitch of the chain. 3 sc in the next sc for the curvy edge. Continue onto the other side of the chain. Sc in the next stitch of the chain. 3 sc in the last space for the second curvy edge [ 8 ]
3. (sc, inc) x 4 [12]
4. sc around [12]
Finish off and leave a long thread.
With black embroidery thread, embroider a mouth and nose on the snout. The easiest way is to make repeated diagonal lines from top to bottom to one center point. Then even out the top of the nose by making one horizontal line. Complete it by making one small vertical line under the center point for a mouth.
Ear (make 2)
Use white
1. 6 in a magic circle [ 6 ]
2. (inc) x 6 [12]
3. sc around [12]
Finish off and leave a long thread.
Fold the ears into two flat pieces. Now sew the ears with a slight curve on top of the head.
Leg (make 2)
Use white
1. 6 in a magic circle [ 6 ]
2. (inc) x 6 [12]
3-12. sc around [12]
Finish off the first leg.
Do not finish off the second leg.
Merge the two rounds of the two legs into one round. Continuing from the last stitch you made in leg two, now sc around leg 1. After all 12 sc, continue onto leg 2 again and sc around. This makes one larger round of 24 sc in total.
Body
Continue from the two merged legs
1-2. sc around [24]
Stuff the legs
Switch to blue
3. sc around [24]
Switch to brown
4-6. sc around [24]
Switch to red
7. sc around [24]
Switch to blue
8. sc around [24]
Switch to red
9. (4 sc, dec) x 4 [20]
Switch to brown
Stuff the body while crocheting along
10. (3 sc, dec) x 4 [16]
11. (2 sc, dec) x 4 [12]
Switch to white
12. In back loops only: sc around [12]
Finish off and finish stuffing. Leave a long thread.
Reattach brown yarn at the back of the body, in one of the front loops that have become visible by crocheting round 12 in the body in the back loops only. The collar is worked in continuous rounds, going up like you did with all other pieces. The complete first round will be made in these front loops. The collar will form an extra layer around the neck and go up higher.
Collar
1. (3 sc, inc) x 3 [15]
2. (4 sc, inc) x 3 [18]
3. sc around [18]
Finish off and work away your thread.
Flip the collar over so the end of the neck and the collar are an even length. The top of the collar (round 3) will now be the bottom of the collar that is on the main body.
Tail
Use white
1. 5 in a magic circle [ 5 ]
2. sc around [ 5 ]
Finish off and leave a long thread.
Arms (make 2)
Use white
1. 5 in a magic circle [ 5 ]
Switch to blue
2. sc around [ 5 ]
Switch to brown
3-8. sc around [ 5 ]
Finish off by pushing the last round of the arm towards
each other and closing the hole with two stitches across.
Sew the tail onto the lower back of the bear. Sew the arms to both sides of the body, at the top of the sweater but just below the collar. Be aware that you don’t accidentally sew the arms onto the collar!
Tip:
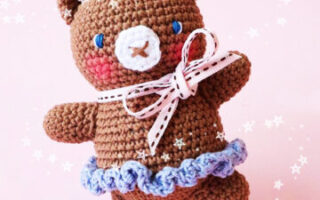
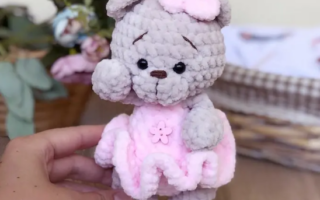
You can make these little bears in all types of colours, with many different coloured sweaters!
Feel free to tag me (@freeamigurumii) in your photos on Instagram or Facebook if you’d like!
All Finished.