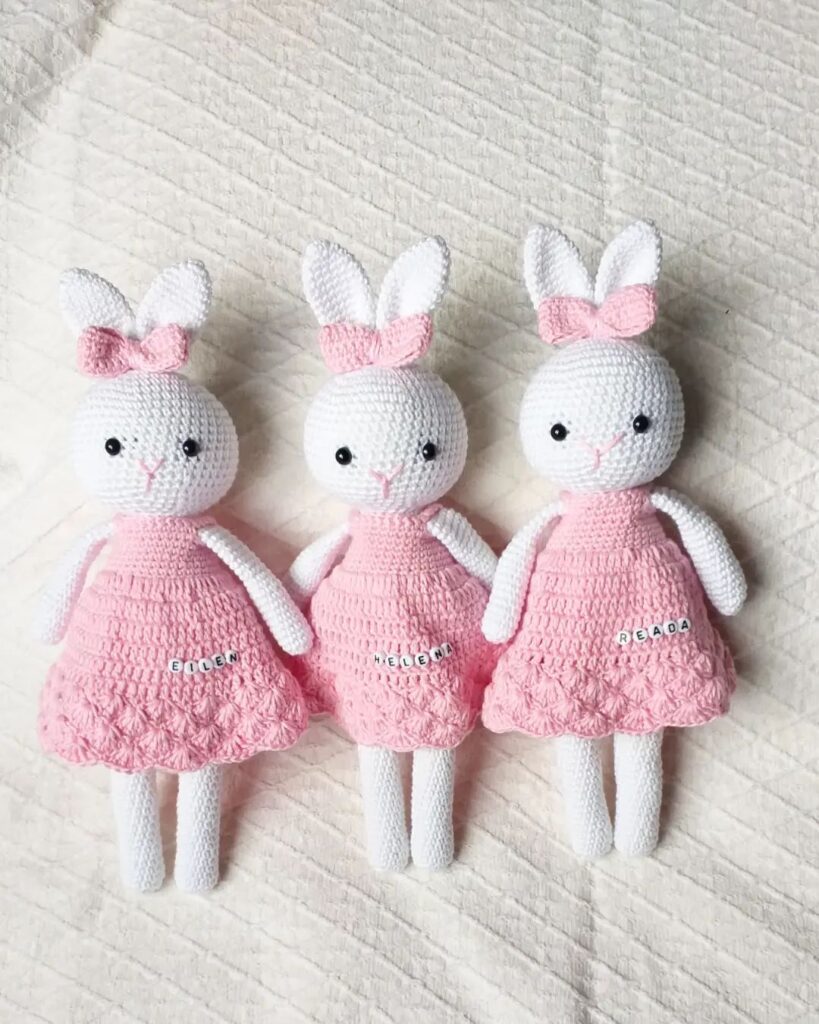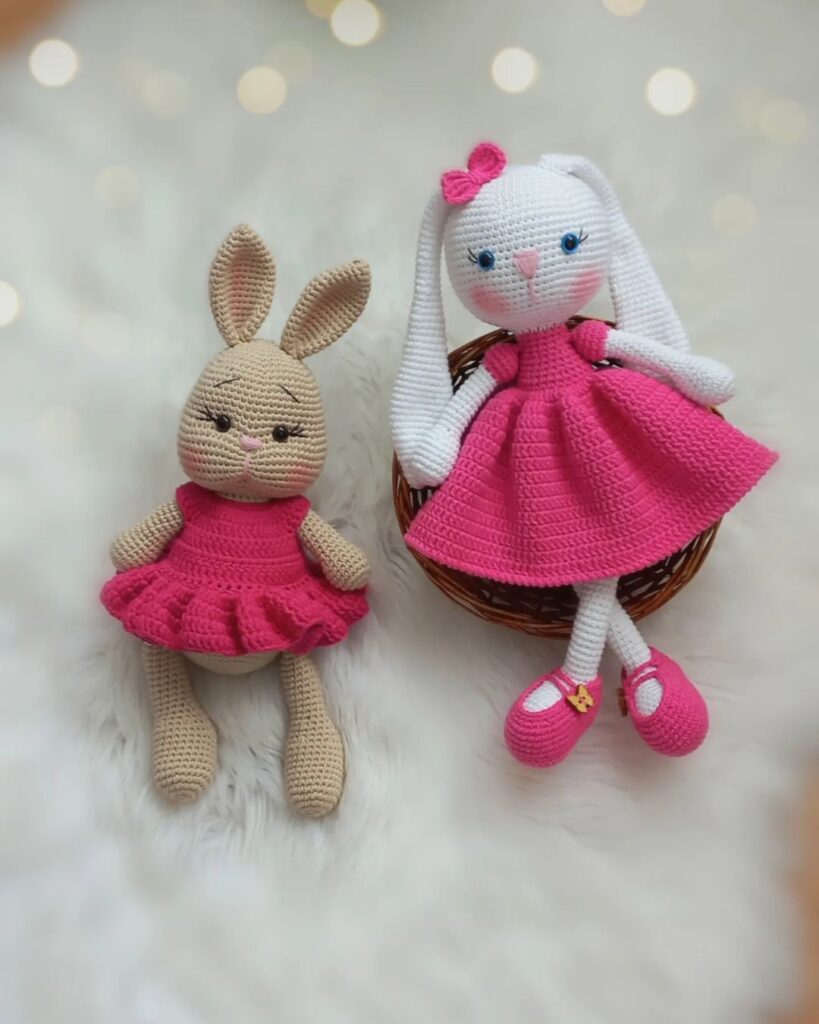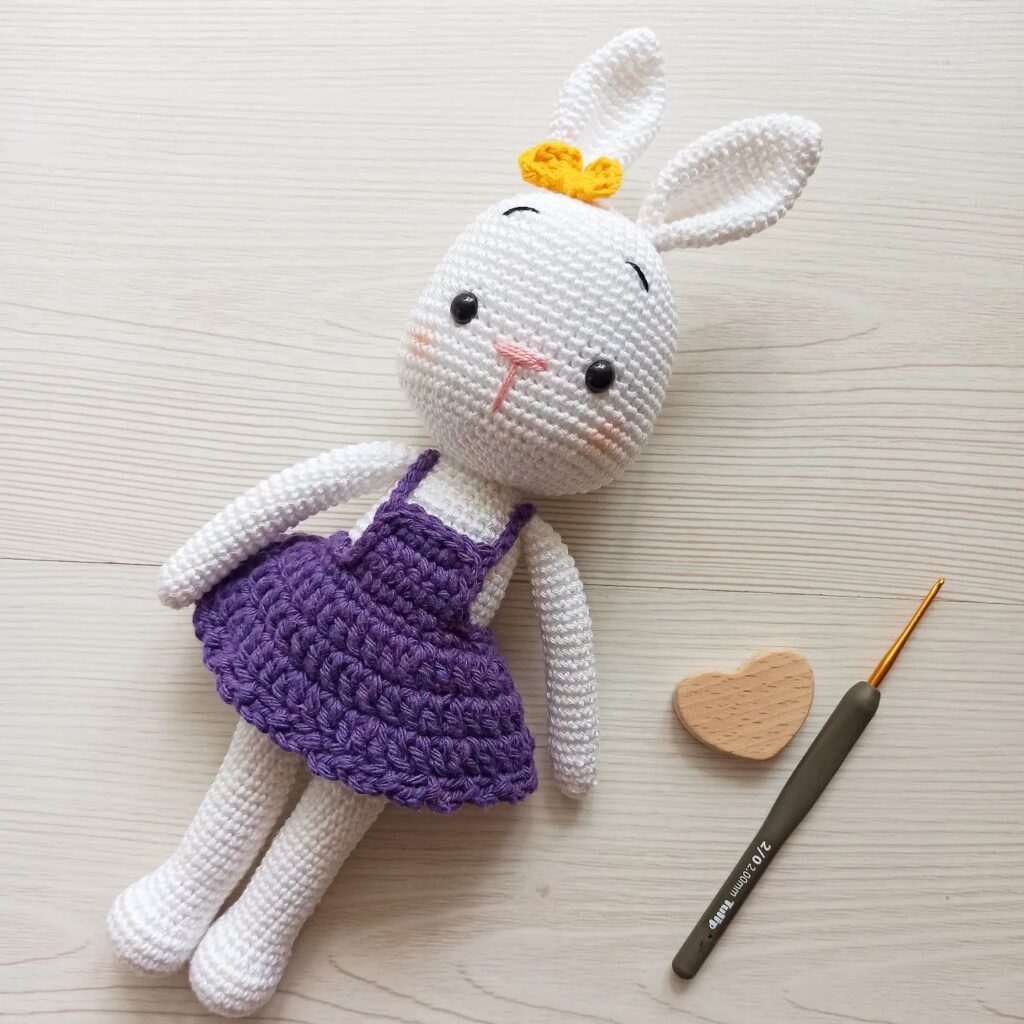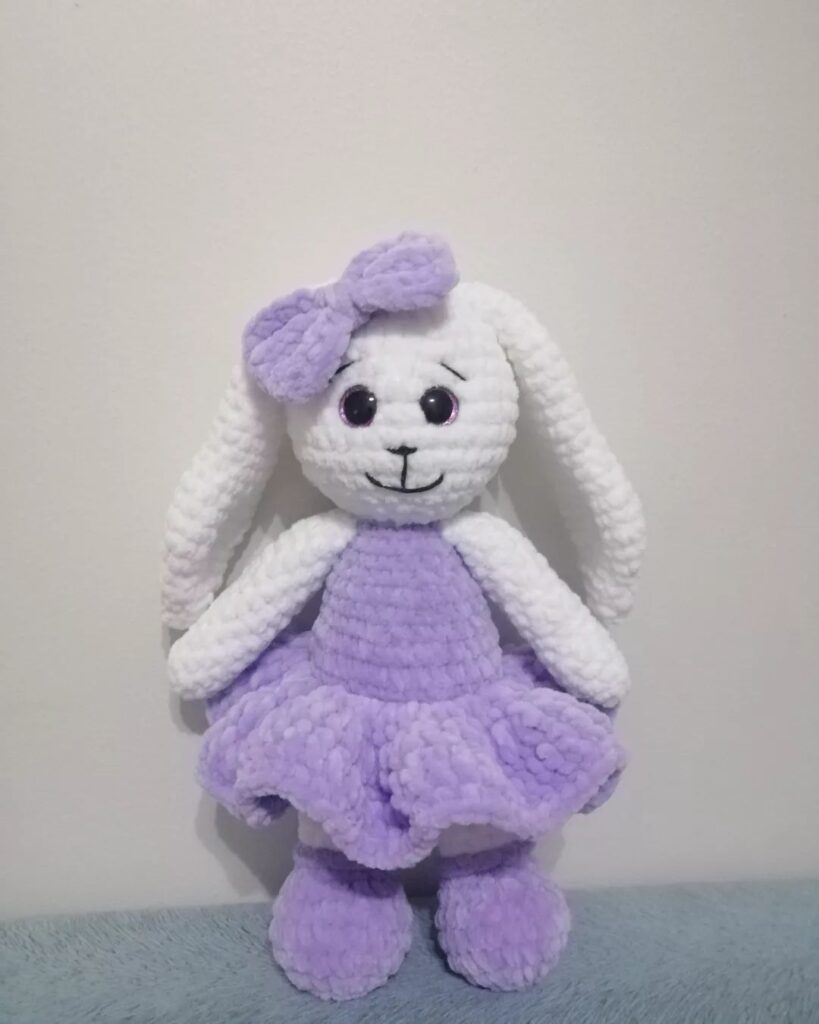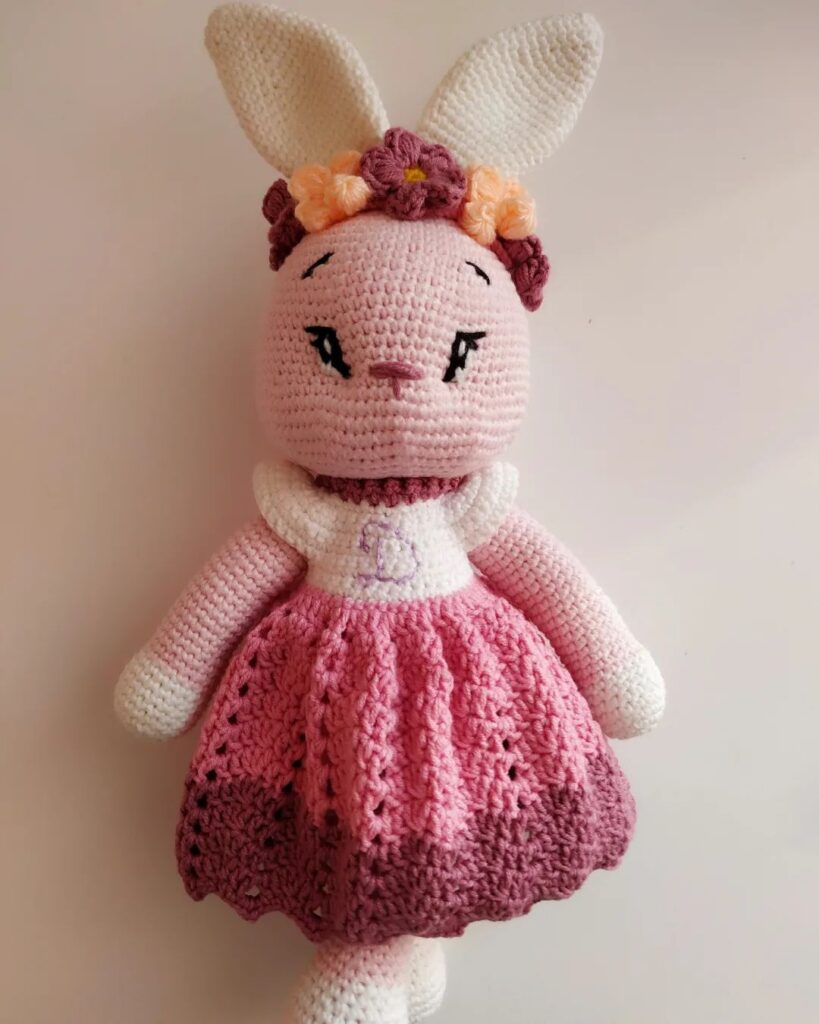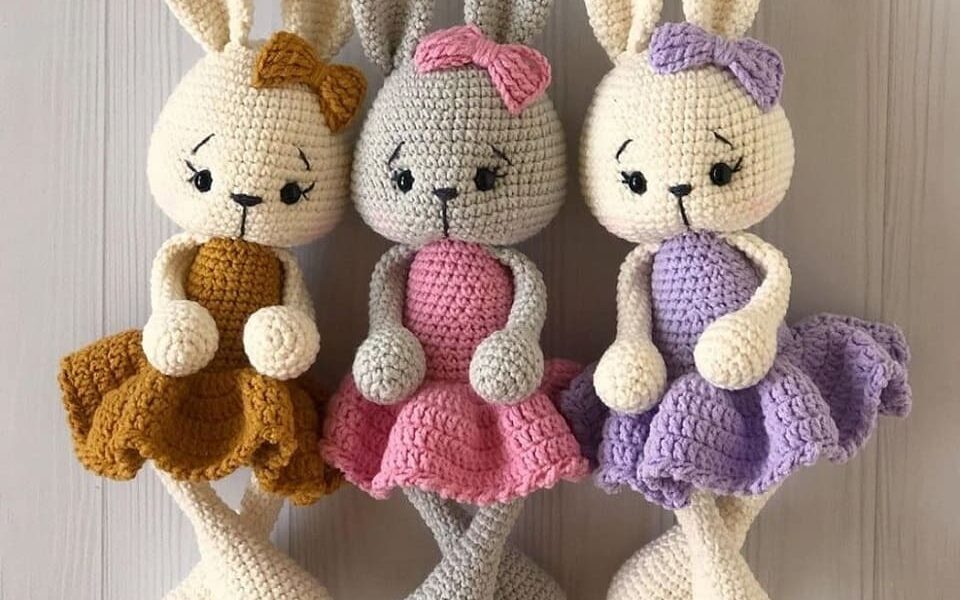
Hello amigurumi lovers and beautiful visitors, I wanted to share the free amigurumi patterns for you here. In my article I will share 1 pattern and how to make it for you. At the end of my article, I will share amigurumi patterns that can generate ideas for you.
Necessary materials:
- YarnArt Jeans (slightly less than a skein of the main color and 1/3 of the skein for the dress and bow)
- Hook 2.0 mm
- Eyes 5-8 mm on a secure mount
- Stitching needle
- Scissors
- Filler holofiber
Legend:
KA – amigurumi ring vp
– air loop
sbn – single crochet
with – increase
dec – decrease
Torso
1: 6 sc in KA
2: 6 increases (12)
3: (1 sc, at) x6 (18)
4: (2 sc, at) x6 (24)
5: (3 sc, at) x6 (30)
6: (4 sc, at) x6 (36)
7- 9: 36 sc (3 rows)
10: (16 sc, dec) x2 (34)
11: (15 sc, dec) x2 (32)
Change color to color dresses:
12: 32 sc
13: behind the back wall 32 sc
14: (14 sc, dec) x2 (30)
15: (13 sc, dec) x2 (28)
16-17: 28 sc (2 rows)
18: ( 12 sc, dec) x2 (26)
19: (11 sc, dec) x2 (24)
20-21: 24 sc (2 rows)
22: (10 sc, dec) x2 (22)
23: (9 sc, dec ) x2 (20)
24-25: 20 sc (2 rows)
26: (8 sc, dec) x2 (18)
At the end, knit a connecting column.
Leave the thread for sewing.
Dress
To the 13th row (where knitted behind the back wall) attach the thread.
Next, ch 3 and knit an increase from double crochets into each loop.
It was the first row.
We start the second row again with ch 3 and increase from double crochets in each loop.
From row 3 to row 5, we knit one double crochet in each loop.
The last row is the final one – this is the binding of the RACHY STEP (you can see on the Internet how to knit it correctly).
Head
1: 6 sc in KA
2: 6 increases (12)
3: (1 sc, at) x6 (18)
4: (2 sc, at) x6 (24)
5: (3 sc, at) x6 (30)
6: (4 sc, at) x6 (36)
7: (5 sc, at) x6 (42)
8-9: 42 sc (2 rows)
10: (6 sc, at) x6 (48)
11-12: 48 sc (2 rows)
13: (7 sc, at) x6 (54)
14-20: 54 sc (7 rows)
21: (7 sc, dec) x6 (48)
22: (6 sc, dec) x6 (42)
23: (5 sc, dec) x6 (36)
24: (4 sc, dec) x6 (30)
25: (3 sc, dec) x6 (24)
26: (2 sc, dec) x6 (18)
At the end we knit a connecting column.
We cut the thread and hide it.
We insert the eyes on a secure mount between 16 and 17 side by side at a distance of 10 loops from each other.
Handles (2 parts)
1: 6 sc in KA
2: 6 increases (12)
3: (1 sc, at) x6 (18)
4-6: 18 sc (3 rows)
7: (4 sc, dec) x3 ( 15)
8: (3 sbn, dec) x3 (12)
9: (2 sbn, dec) x3 (9)
At this stage, fill the handle with filler and that’s it, we don’t need more filler for pens.
10-21: 9 sbn (12 rows)
Fold the handle in half and knit 4 sbn for both edges of the part.
Legs (2 parts)
1: 6 sc in KA
2: 6 increments (12)
3: (1 sc, at) x6 (18)
4: (2 sc, at) x6 (24)
5: 24 sc
6: (11 sc, with) x2 (26)
7-9: 26 sc (3 rows)
10: (11 sc, dec) x2 (24)
11: (10 sc, dec) x2 (22)
12: (9 sc, dec) x2 (20)
13: 20 sc
14: (8 sc, dec) x2 (18)
15: 18 sc
16: (7 sc, dec) x2 (16)
17: 16 sc
18: (6 sc, dec) x2 ( 14)
19: 14 sc
20: (5 sc, dec) x2 (12)
21: 12 sc
At this stage, we fill the leg with filler and we don’t need more filler for the legs.
22: (4 sc, dec) x2 (10)
23-35: 10 sc (13 rows)
Fold the leg in half and knit 5 sbn for both edges of the part.
Leave the thread for sewing.
Ears (2 parts)
1: 6 sc in KA
2: (1 sc, at) x3 (9)
3: (2 sc, at) x3 (12)
4: (3 sc, at) x3 (15)
5: ( 4 sc, with) x3 (18)
6-16: 18 sc (11 rows)
17: (4 sc, dec) x3 (15)
18: (3 sc, dec) x3 (12)
19: (2 sc, dec ) x3 (9)
Fold the ear in half and knit 4 sc for both edges of the part.
Leave the thread for sewing.
Assembling the toy
Sew the head with the body for 18 loops.
We sew the handles along the seam of the head – torso.
We sew the legs, stepping back from the dress two rows.
Ears are sewn approximately on the 5th row.
Bow Knit as the beginning of the amigurumi
ring, do not tighten.
We collect 7 in.
Next, we knit 4 columns with a crochet, again 7 ch and a connecting column in the ring.
Here we have one side.
The second side of the bow is knitted in the same way.
We collect 7 ch, then 4 double crochets, again 7 ch and a connecting column in the ring.
Now we tighten our ring and get a bow.
Feel free to tag me (@freeamigurumii) in your photos on Instagram or Facebook if you’d like!
All Finished.