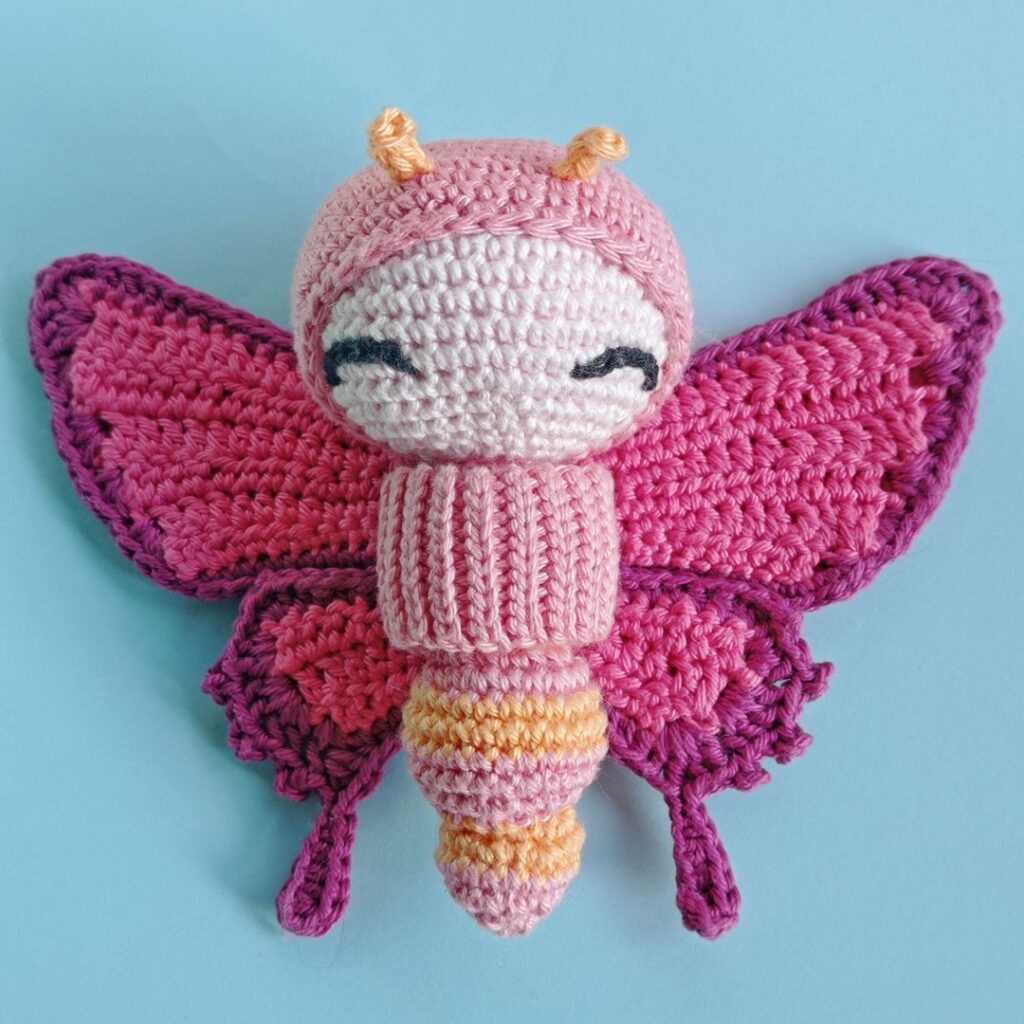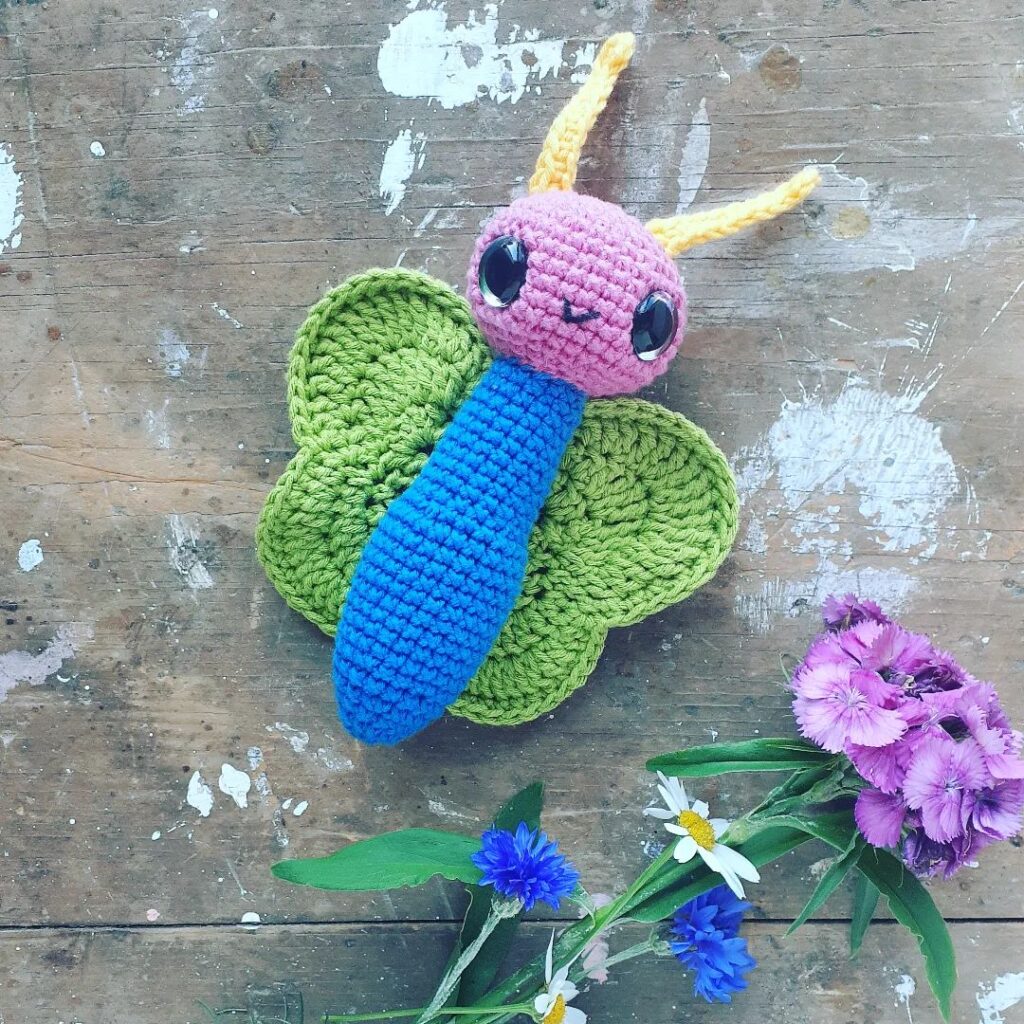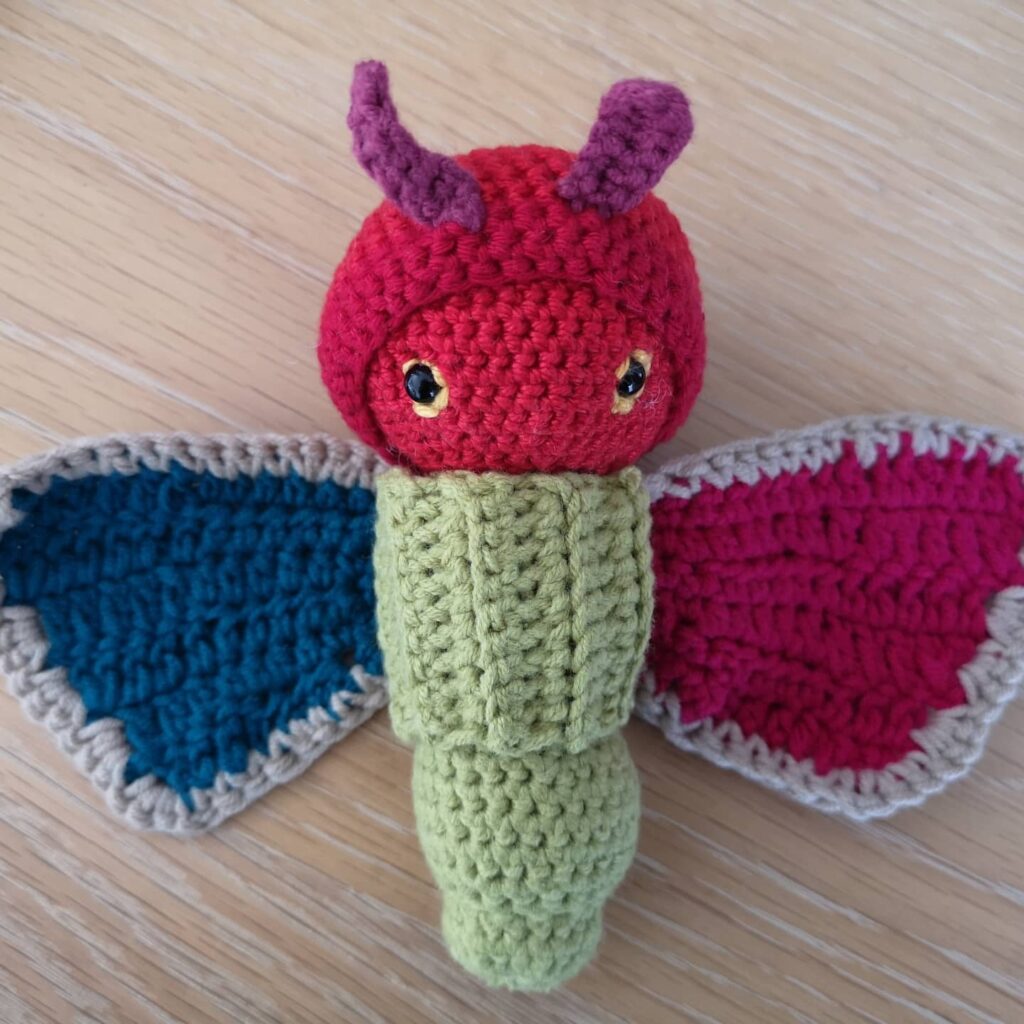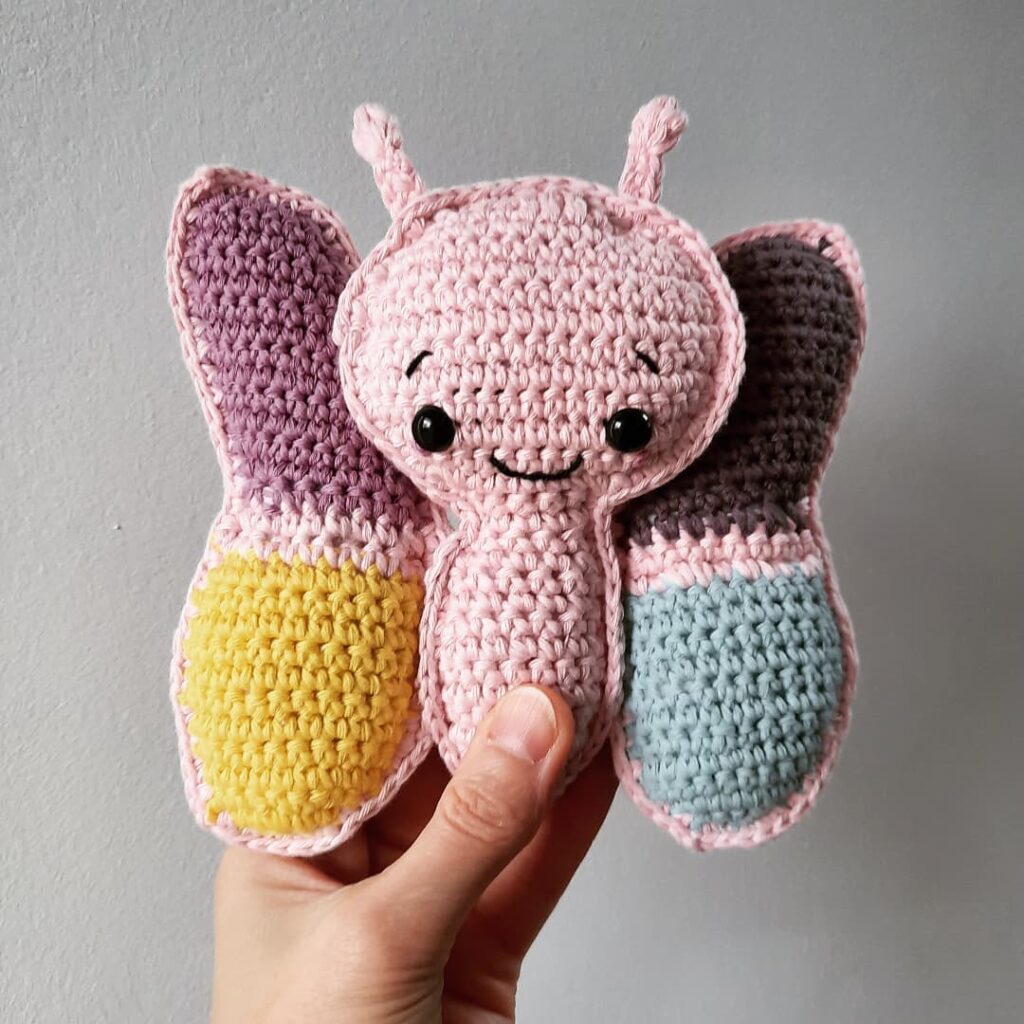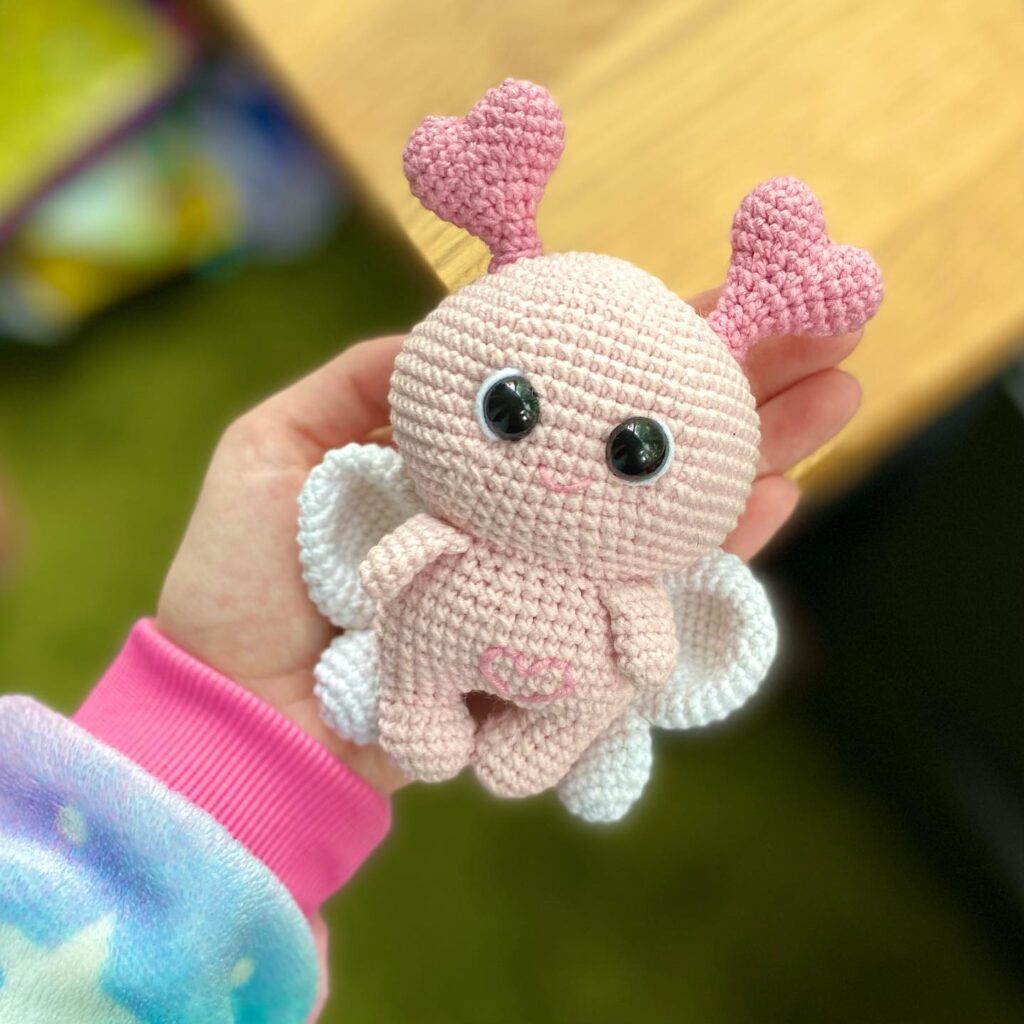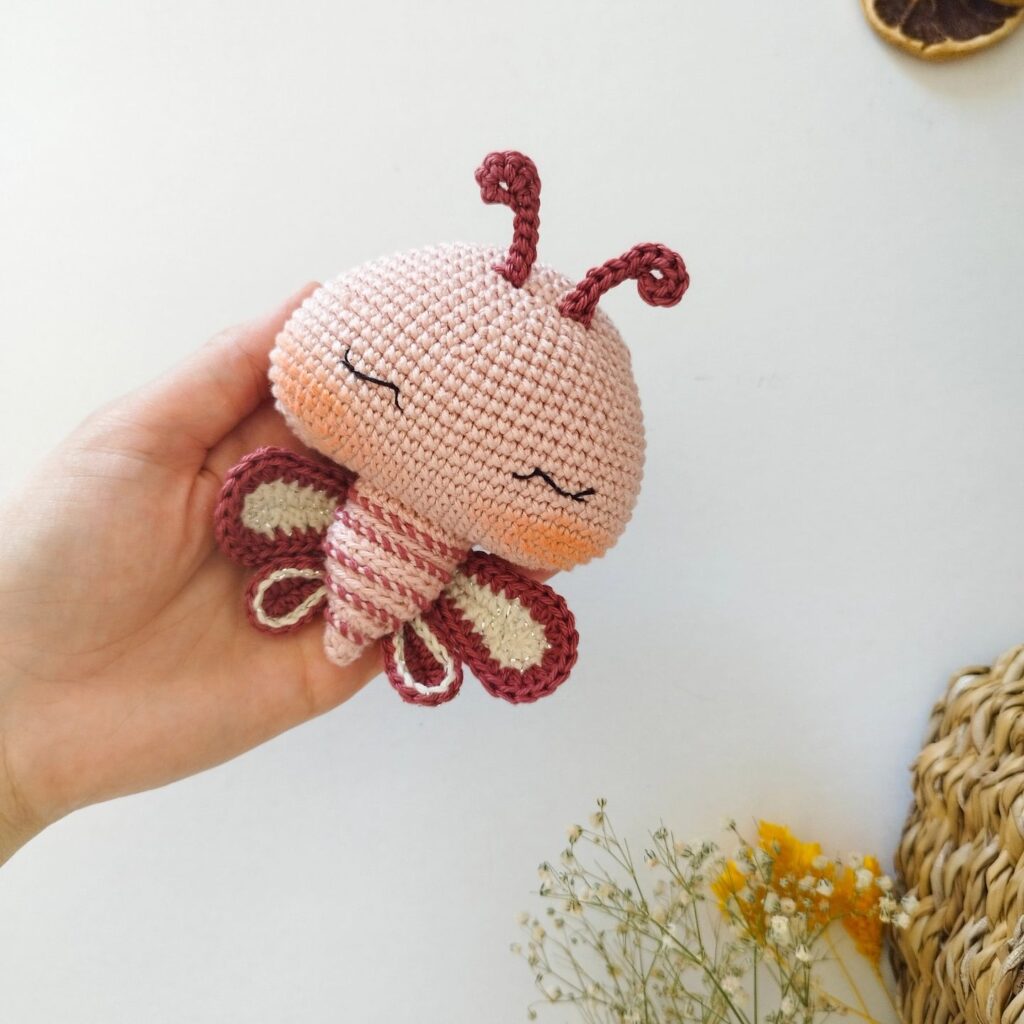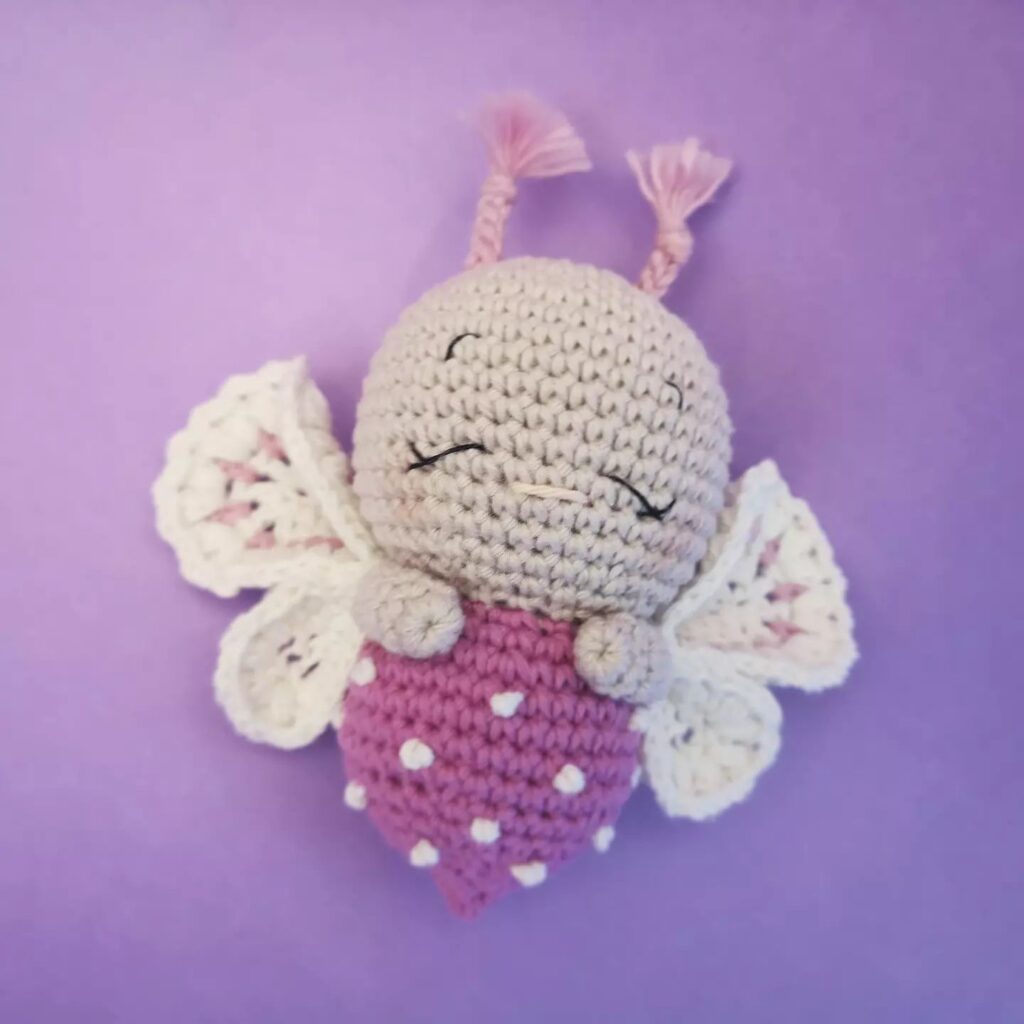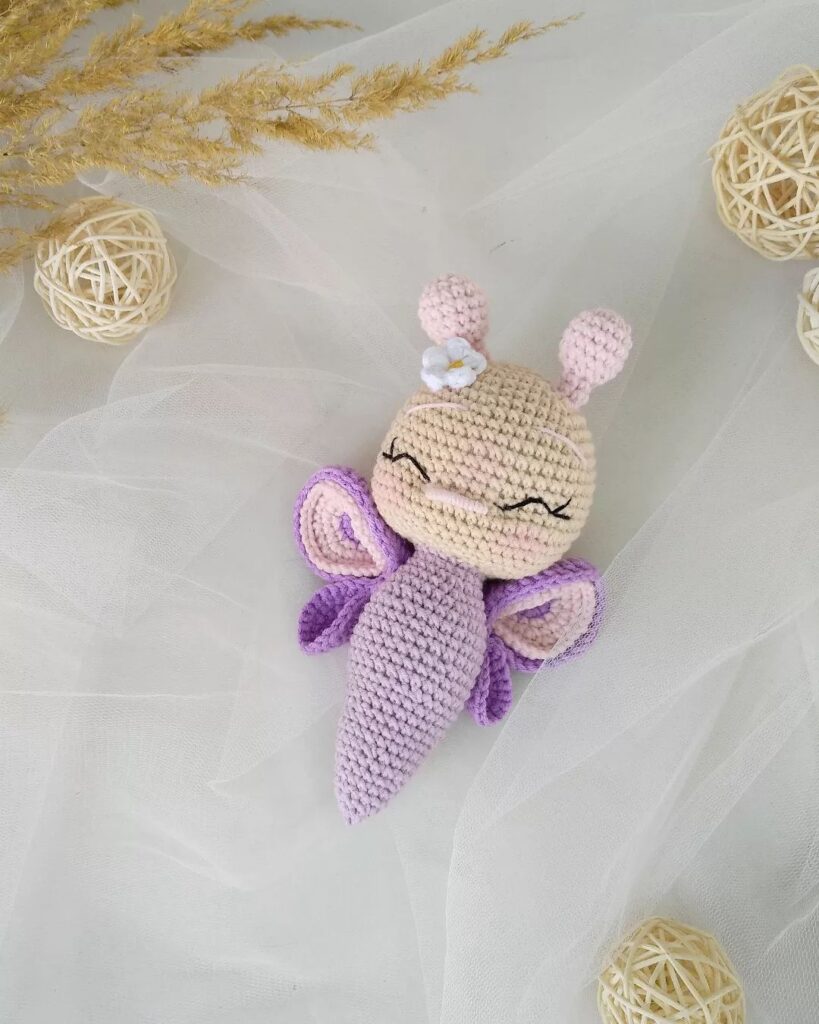
Hello amigurumi lovers and beautiful visitors, I wanted to share the free amigurumi patterns for you here. In my article I will share 1 pattern and how to make it for you. At the end of my article, I will share amigurumi patterns that can generate ideas for you.
Materials
I used 2.5mm hook for the body, wings and antennae
100% cotton yarn
Embroidery floss for detailing
6×8mm (or 5mm) oval safety eyes
Stuffing
Using these materials , the insects will measure approx. 14cm
The wire used is only a suggestion and you can adapt it to whatever you have at home.
Abbreviations
(sc)/(sc): Single crochet
(BO) Hazelnut stitch
(ml)/(ch): Chainette, Air stitch
(MR): Magic ring
(dim)/(dec): decrease, decreasing, decrease
(augm) /(inc): increase
(M)/(st): Stitch (pt) stitch
(FLO): work only in front loops
(BLO): work only in back loops
(d-dc,dble.b)/( tr): Double treble crochet
(br)/(dc): Double treble crochet
(dB)/(hdc): Half treble crochet
(sc)/(sl-st): Slip stitch, small stitch
(db / dbr) (dtr): Double treble crochet
(mct)/(tch): chain stitches to turn
(3msm)/(sc3tog): 3 sc in the same stitch
(Fo): Stop the thread.
(3 dc tog): 3 treble crochets together
Body and head
The base of the body and head is the same for both insects. When making the bee, change the colors as shown in the pattern. When making the butterfly, use the same color for the entire piece.
Rnd 1. 6 sc in MR (6)
Rnd 2. (1sc,inc)*3 (9)
Rnd 3. (2sc,inc)*3 (12)
Rnd 4. (1sc,inc)*6 (18)
Rnd 5. sc around (18)
Rnd 6. 1sc, inc, (2sc,inc)*5, 1sc (24)
Rnd 7. sc around (24)
Rnd 8. (3sc,inc)*6 (30)
Rnd 9. sc around (30)
Rnd 10. 2 sc, inc, (4 sc, inc)*5, 2 sc (36)
Rnd 11-12. sc around (36)
Rnd 13. 2 sc, 1 dec, (4 sc, dec)*5, 2 sc (30)
Rnd 14. sc around (30)
Rnd 15. (3 sc, dec)*6 (24)
Rnd 16. sc around (24)
Rnd 17. 1 sc, dec, (2sc,dim)*5, 1sc (18)
Rnd 18. inc around (36)
Rnd 19. (2sc,inc)*12 (48)
Rnd 20. (7sc,inc)*6 (54)
Rnd 21-28. sc around (54)
Rnd 29. (7sc,dim)*6 (48)
Rnd 30. 3sc, dim, (6sc,dim)*5, 3 sc (42)
If you plan to use safety eyes, insert -them between rounds 24 and 25, eight stitches.
Fill the body and continue stuffing as you work.
Rnd 31. (5ms,dim)*6 (36)
Rnd 32. 2 ms, dim, (4ms,dim)*5, 2 ms (30)
Rnd 33. (3ms,dim)*6 (24)
Rnd 34. 1 ms, dim, (2ms,dim)*5, 1 ms (18)
Rnd 35. (1ms,dim)*6 (12)
Rnd 36. dim autour
F.o., fermer l’ouverture.
Butterfly wings
(Repeat each part 2x)
Lower Wing
Rnd 1. Chain 12, skip 1 chain, 9sc, inc, turn, continue to other side of chain, 10 sc (22)
Rnd 2. inc, 8sc, inc, sc, inc, 8sc, inc, sc (26)
Rnd 3. sc around (26)
Rnd 4. 12 sc, dim, 12 sc (25)
Rnd 5. 11 sc, dim, 12 sc (24)
Rnd 6. 10 sc, 2 dim, 10 sc (22)
Rnd 7. 9 sc , 2sun, 9sc (20)
Rnd 8. 8sc, 2sun, 8sc (18)
Rnd 9. 7sc, 2sun, 7sc (16)
Rnd 10. 6sc, 2sun, 6sc (14)
Rnd 11. 5sc, 2sun, 5sc (12 )
Rnd 12. (2sc,dim)*3 (9)
Rnd 13. (1sc,dim)*3 (6)
Leave blank.
Fo and leave a long tail for sewing.
Aile supérieure
Rnd 1. 6 ms en MR (6)
Rnd 2. (1ms,augm)*3 (9)
Rnd 3. (2ms,augm)*3 (12)
Rnd 4. 4ms, 3augm, 5ms (15)
Rnd 5. ms autour (15)
Rnd 6. 4ms, (1ms,augm)*3, 5ms (18)
Rnd 7. ms autour (18)
Rnd 8. 4ms, (2ms,augm)*3, 5ms (21)
Rnd 9. 4ms, (3ms,augm)*3, 5ms (24)
Rnd 10. 11ms, 2augm, 11ms (26)
Rnd 11. ms autour (26)
Rnd 12. 13ms, augm, 12ms (27)
Rnd 13. 6 ms, mc 1, 1ms, 4dB, 2br-augm, 4dB, 1ms, 1mc, 7ms (29)
Rnd 14. dim, 4ms, 1mc, 1ms, 4dB, 4br-augm, 4dB, 1ms, 1mc, 5ms, 1dim (31)
Rnd 15. dim, 3ms, 1mc, 1ms, 4dB, 8br, 4dB, 1ms, 1mc, 4ms, 1dim (29)
No need to fill.
Fold the wing in half and sew just the outer loops of each string, leaving a long tail for sewing the wing to the body.
Try to meet the 4 wings in the center of the back. Looking at the butterfly from the front, be sure to overlap the bottom wing and add a few stitches to join the junction of the top wing with the bottom wing, making sure the finish is invisible.
Use your imagination to decorate. I made two circles of different sizes. Remember to repeat the same mirrored pattern on the other side.
Antennae
(Bee and Butterfly)
Chain 9, skip 2 chs, 1 dc, in this same ch, add 1 hdc and 1 sc, continue on the other chs: sl st 6. Sew it on the head, using the center of the eyes as a reference (safety eyes or embroidered).
Play
6 sc in the magic circle, 1 sl st to close. Leave a tail for sewing.
Assembly
Sew the cheeks close to the eyes. Sew the wings and the anteannae following the photos and the corresponding patterns.
Use a finer thread to embroider the eyes, it will make the work more delicate.
Feel free to tag me (@freeamigurumii) in your photos on Instagram or Facebook if you’d like!
All Finished.
