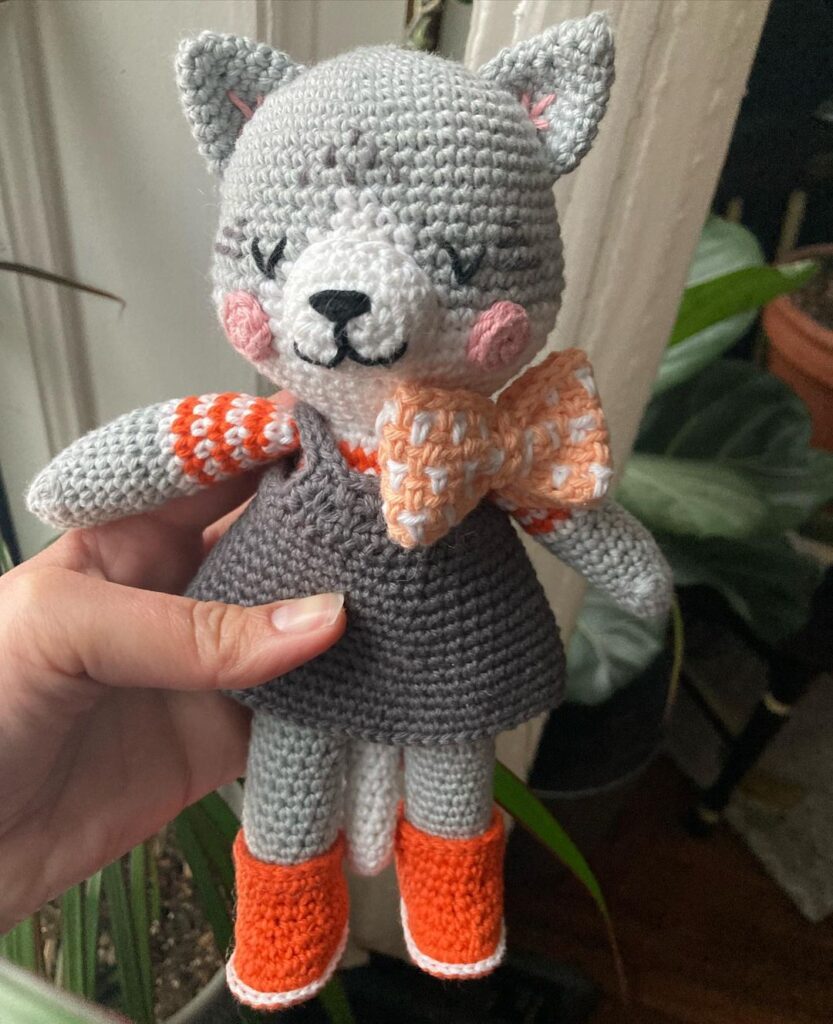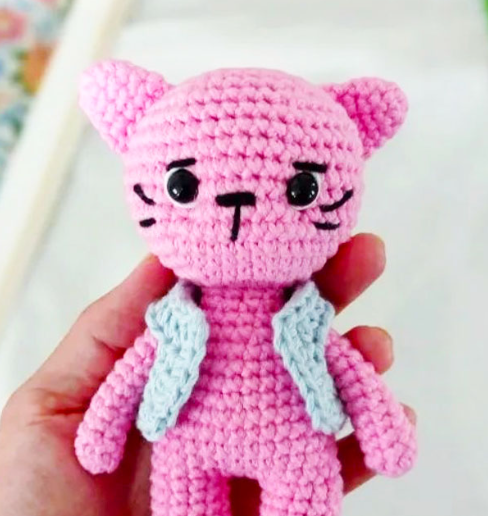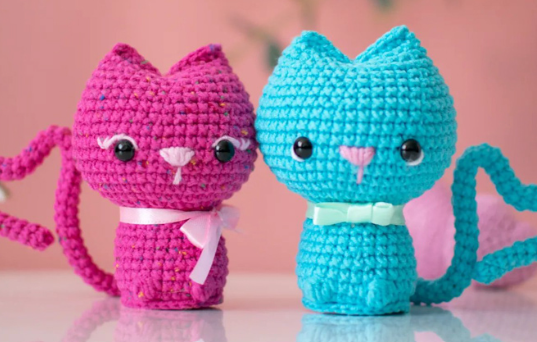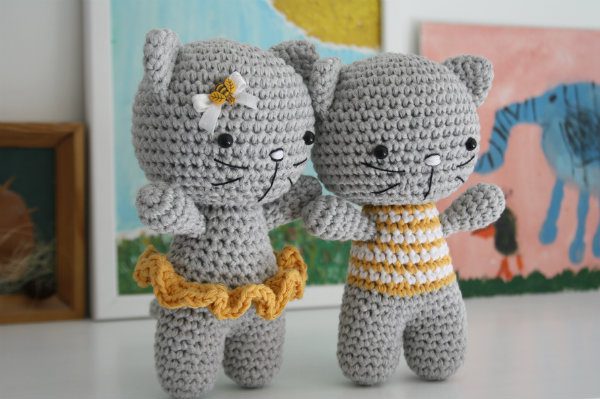
Hello amigurumi lovers and beautiful visitors, I wanted to share the free amigurumi patterns for you here. In my article I will share 1 pattern and how to make it for you. At the end of my article, I will share amigurumi patterns that can generate ideas for you.
Supplies:
- DK (8ply) weight Drops Cotton Light (100% cotton; 50g/105m) – 2 colors for the girl and 3 colors for the boy
- crochet hook 3 mm or 3.5 mm
- polyester fiberfill
- safety eyes (Ø 6mm)
- some thread for stitching the nose and whiskers
- darning and embroidery needles
Abbreviations:
sc – single crochet, hdc – half double crochet, st(s) – stitch(es), rep – repeat
Work in continuous rounds. Do not join or turn unless otherwise instructed. It would be wise to use a stitch marker and place it in the first stitch of each round to mark the beginning of it.
HEAD
Crocheted from top to bottom.
1: Start 6 sc in a magic ring.
2: Work 2 sc in each st around [12]
3: (Sc in next st, 2 sc in next st) rep 6 times [18]
4: (Sc in each of next 2 sts, 2 sc in next st) rep 6 times [24]
5: (Sc in each of next 3 sts, 2 sc in next st) rep 6 times [30]
6: (Sc in each of next 4 sts, 2 sc in next st) rep 6 times [36]
7: (Sc in each of next 5 sts, 2 sc in next st) rep 6 times [42]
8-16: Sc in each st around
Fasten safety eyes between rows 13. and 14. Insert the first eye between them, then count 7 holes to the left and insert the second eye in the next hole. Close the washers from the inside of the piece.
17: (Sc in each of next 5 sts, sc2tog) rep 6 times [36]
18: (Sc in each of next 4 sts, sc2tog) rep 6 times [30]
19: (Sc in each of next 3 sts, sc2tog) rep 6 times [24]
20: (Sc in each of next 2 sts, sc2tog) rep 6 times [18]
Fill the head with fiberfill.
EAR (make 2)
1: Start 6 sc in a magic ring.
2: (Sc in next st, 2 sc in next st) rep 3 times [9]
3: Sc in each st around
4: (Sc in the next 2 sts, 2 sc in next st) rep 3 times [12]
5: Sc in each st around
Attach the ears on the head. Stitch the nose and whiskers.
LEGS AND BODY
Start with crocheting the legs and then join them, so they smoothly become the body.
NB! For making the stiped blouse switch contrasting colors after each round starting from round 13. For making the skirt sc in the back loops only on round 15.
1: Start 6 sc in a magic ring.
2: Work 2 sc in each st around [12]
3: (Sc in the next 3 sts, 2 sc in next st) rep 3 times [15]
4-8: Sc in each st around
Leave a yarn tail about 20 cm and cut the yarn. Make another leg similar to the first one. Do not bind off the second leg.
9: Now join the two legs. While using the yarn of the second leg sc in each of 15 sts around the first leg. Continue 15 sc around the second leg. In the end of the round you have joined the legs into one piece and you have 30 sc.
Close the hole between the legs using the short yarn tail left for the first leg.
10: Sc in each st around [30]
11: (Sc in the next 8 sts, sc2tog) rep 3 times [27]
12-13: Sc in each st around
14: (Sc in the next 7 sts, sc2tog) rep 3 times [24]
15-16: Sc in each st around
Stuff the legs and continue adding stuffing.
17: (Sc in the next 6 sts, sc2tog) rep 3 times [21]
18-19: Sc in each st around
20: (Sc in the next 5 sts, sc2tog) rep 3 times [18]
21: Sc in each st around
Sew the head to the body.
SKIRT
Crochet into the first loops on the body that were previously left out of the work.
1: Use contrasting color and bring the yarn through the first loop. Ch 1. Work 2 sc in each st [48]. Sl st in the first sc.
2: Ch 2. Work 2 hdc in each st [96]. Sl st in the first hdc.
ARM
1: Start 6 sc in a magic ring.
2: Work 2 sc in each st around [12]
3-4: Sc in each st around
5: (Sc in the next 2 sts, sc2tog) rep 3 times [9]
6: Sc in each st around
Add some stuffing into the tip of the arm.
7: (Sc in the next st, sc2tog) rep 3 times [6]
8: Sc in each st around
Attach the arms to the body.
TAIL
Start 7 sc in a magic ring. Sc in each st around until the tail reaches the desired lenght (about 8-10 rounds).
Attach the tail to the body.
Feel free to tag me (@freeamigurumii) in your photos on Instagram or Facebook if you’d like!
All Finished.
