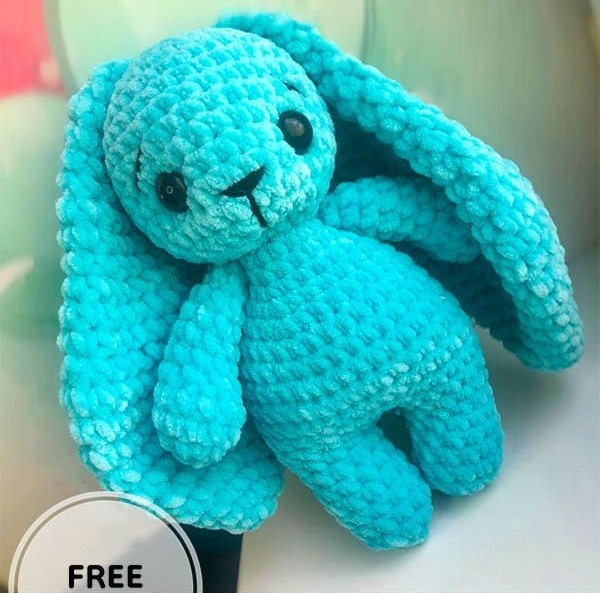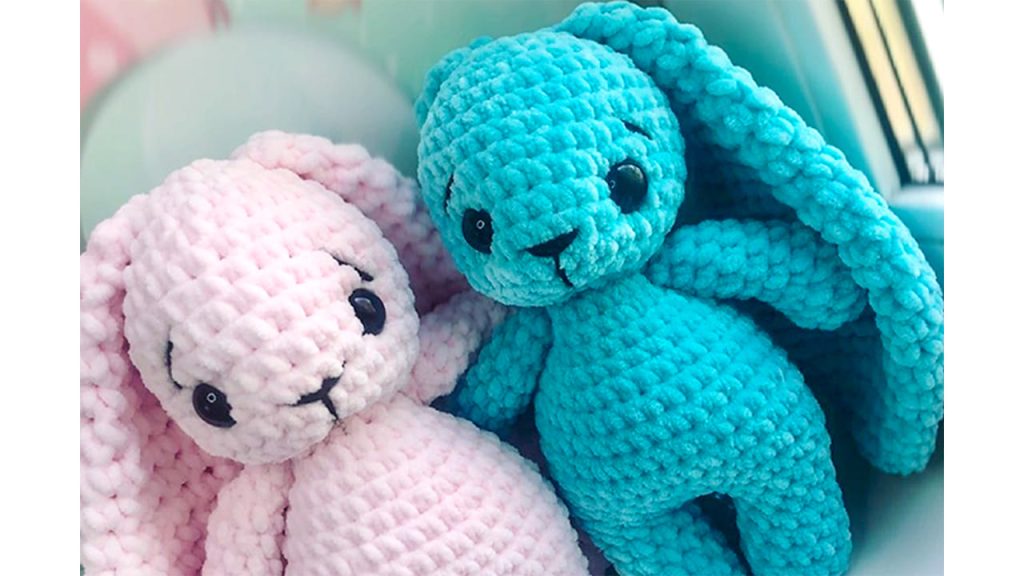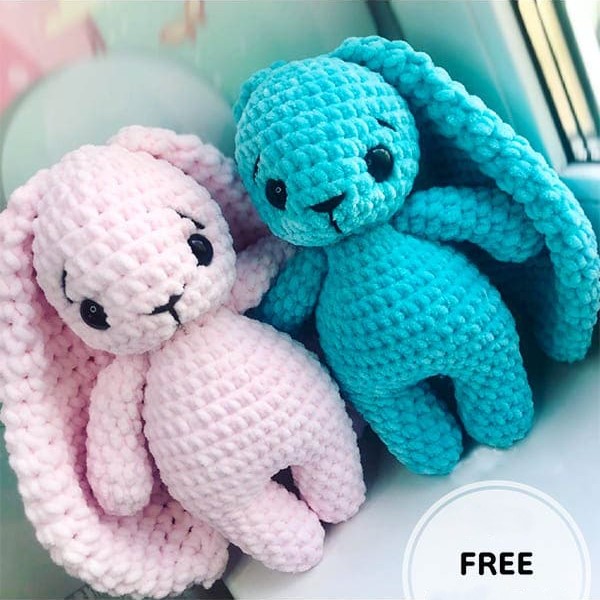
Hello amigurumi lovers and beautiful visitors, I wanted to share free amigurumi models with you here. In my article, I will share with you a model and how to make it. At the end of my article, I will share with you the detailed construction patterns of the mold.
Materials
1.5 skeins of Himalaya Dolphin baby or YarnArt Dolce.
Hook No. 4 (for knitting the head, body and handles), No. 6 (for crochet ears from Dolphin baby), No. 10 (for crochet ears from Dolce)
Eyelets 20 mm
Black yarn for embroidering muzzles
Filler for toys
Needle
Threads in the color of the selected yarn
Abbreviations
MR: Magic ring
Sc: Single crochet
Dc: Double crochet
Hdc: Half double crochet
Slst: Slip stitch
Inc: Increase
Dec: Decrease
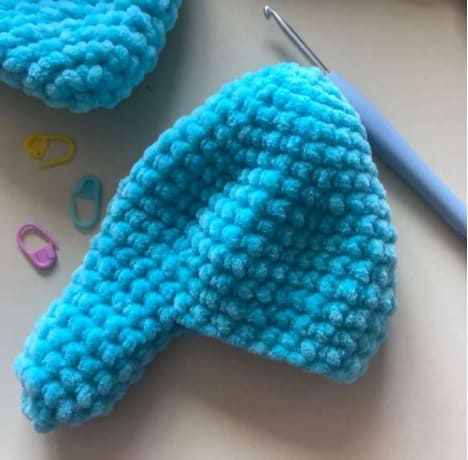
Head
Rnd 1. 6 sc in MR
Rnd 2. 6 inc (12)
Rnd 3. 12 sc
Rnd 4. 1 sc 1 inc (18)
Rnd 5. 18 sc
Rnd 6. 2 sc 1 inc (24)
Rnd 7. 24 sc
Rnd 8. 3 sc 1 inc (30)
Rnd 9. -14. 30 sc
Rnd 15. 3 sc 1 dec (24)
Rnd 16. 2sc 1 dec (18)
Rnd 17. 1 sc 1 dec (12)
Rnd 18. 6 dec
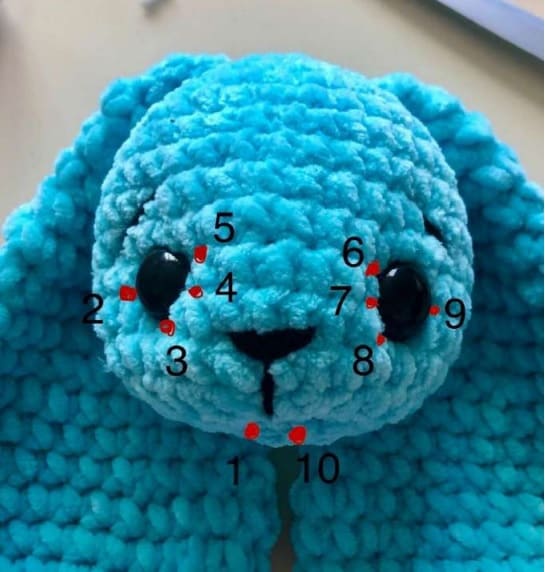
Eyes
When crocheting with Himalaya Dolphin baby yarn insert eyes between 11 – 12 side by side, gap between the eye 6 – 7 loops.
Body and legs
Rnd 1. 8 sc in MR
Rnd 2. 8 inc (16)
Rnd 3. 7 sc 1 inc *2 (18)
Rnd 4. 2 sc 1 inc *6 (24)
Rnd 5. 24 sc
Rnd 6. 7 sc 1 inc *3 (27)
Rnd 7. 8 sc 1 inc *3 (30)
Rnd 8. 4 sc 1 inc *6 (36)
Rnd 9. -10. 36 sc
Rnd 11. 11 sc 1 inc*2
Rnd 12. 39 sc
Rnd 13. 11 sc 1 dec *3
Rnd 14. 4 sc 1 dec
Rnd 15. 30 sc
Rnd 16. 12 sc the next sc in a loop with a marker this will be the foot.
Rnd 17. – 23. 12 sc
Rnd 24. 6 dec
Fasten and cut the thread.
The second leg is crocheted similarly to the first, retreat 3 sc and crochet the second leg. Between the legs you get a gap of 3 loops on each side.
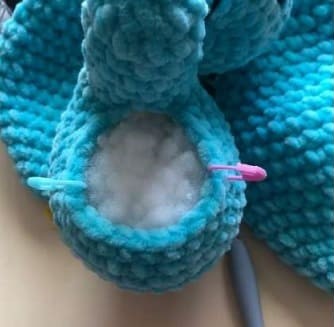
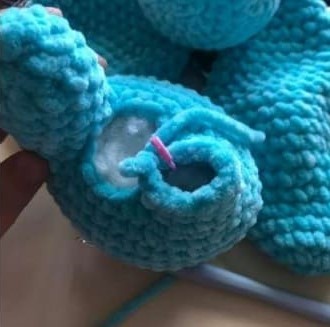
We fill the body and legs with filler and then sew up the hole.
Arms
Rnd 1. 6 sc in MR
Rnd 2. 6 inc (12)
Rnd 3.-4. 12 sc 2 р
Rnd 5. 3 dec 6 sc (9)
Rnd 6.-9. 9 sc
Rnd 10. 1 sc 1 dec *3 (6)
Rnd 11. 6 sc
Rnd 12. 2 dec, slst.
Ears
Rnd 1. 6 sc in MR
Rnd 2. 6 inc (12)
Rnd 3. 12 sc
Rnd 4. 1 sc 1 inc (18)
Rnd 5. 18 sc
Rnd 6. 2 sc 1 inc (24)
Rnd 7. 24 sc
Rnd 8. 3 sc 1 inc (30)
Rnd 9.-11. 30 sc
Rnd 12. 3 sc 1 dec (24)
Rnd 13.-14. 24 sc
Rnd 15. 2 sc 1 dec (18)
Rnd 16.- 18. 18 sc
Rnd 19. 1 sc 1 dec (12)
Rnd 20.-22. 12 sc
Rnd 23. 1 sc 1 dec (8)
Rnd 24. 8 sc
We sew the ears with a regular thread. We tighten the muzzle and sew all parts of the body.
Feel free to tag me (@freeamigurumii) in your photos on Instagram or Facebook if you’d like!
All Finished.