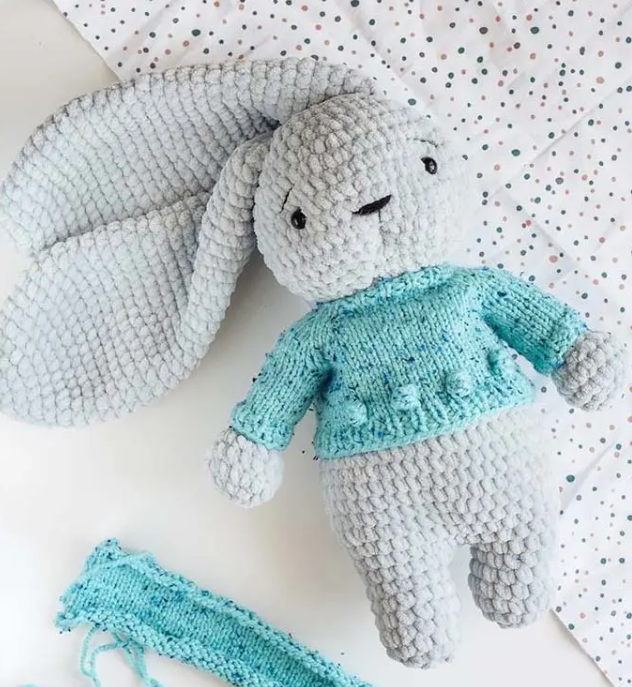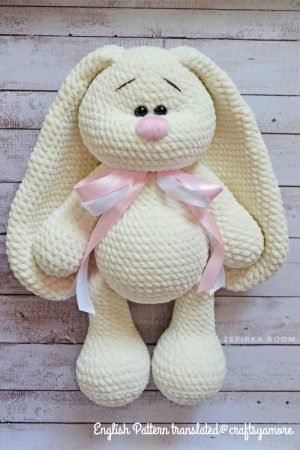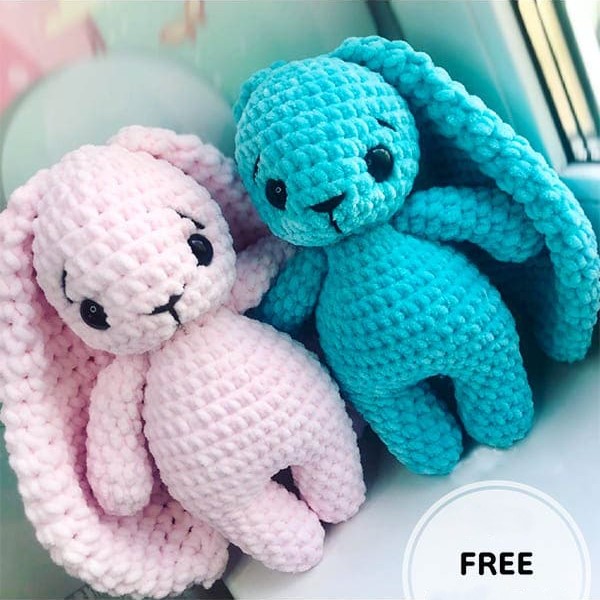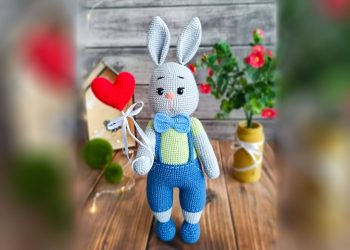
Hello amigurumi lovers and beautiful visitors, I wanted to share free amigurumi models with you here. In my article, I will share with you a model and how to make it. At the end of my article, I will share with you the detailed construction patterns of the mold.
Materials
1. YarnArt Jeans:
• White (No. 01)
• Light blue (No. 76)
• Dark jeans (#17)
• Pistachio (No. 11)
• Light gray (No. 80)
2. Black thread for embroidery of eyelashes and eyebrows.
Orange (pink) thread for embroidery of the nose.
White thread for embroidering the white of the eyes.
White thin thread for embroidery stitches.
3. Eyes 10 mm
4. Hook number 2
5. Filler
6. Scissors
7. Stitching needle
8. Small button
9. A small piece of thick cardboard.
• The finished crochet bunny size is about 37 cm.
Abbreviations
MR: Magic ring
Sc: Single crochet
Ch: Chain
Slst: Slip stitch
Inc: Increase
Dec: Decrease
Hdc: Half double crochet
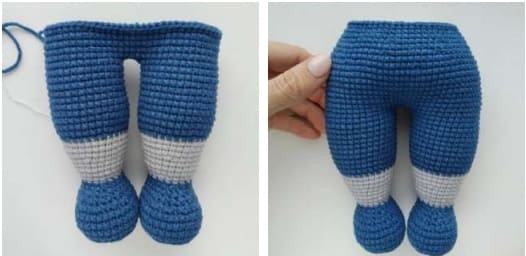
Legs (2 parts)
In blue.
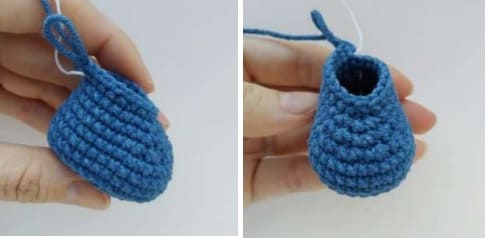
Rnd 1) we collect a chain of 6 ch, inc in the 2nd loop from the hook, 3 sc, 4 sc in one loop, 3 sc, inc (14)
Rnd 2) inc, 4sc, 4inc, 4sc, inc (20)
Rnd 3) 1sc, inc, 4sc, inc, 1sc, inc, 2sc, inc, 1sc, inc, 4sc, inc, 1sc (26)
Rnd 4) 1sc, inc, 5sc, inc, (1sc, inc)*2, 2sc, (inc, 1sc)*2, inc, 5sc, inc, 1sc (34)
Rnd 5) 34 sc behind the back wall of the loop.
Rnd 6-8) 34 sc
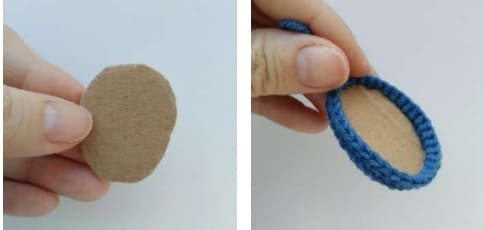
From cardboard cut out the shape of the sole and insert on the inside as shown in the photo.
Rnd 9) 10sc, (dec, 1sc)*4, dec, 10sc (29)
Rnd 10) dec, 8sc, 2dec, 1sc, 2dec, 8sc, dec (23)
Rnd 11) 9sc, dec, 1sc, dec, 9sc (21)
Rnd 12) 9 sc, 3 sc we crochet together (reduction of 2 loops), 9 sc (19)
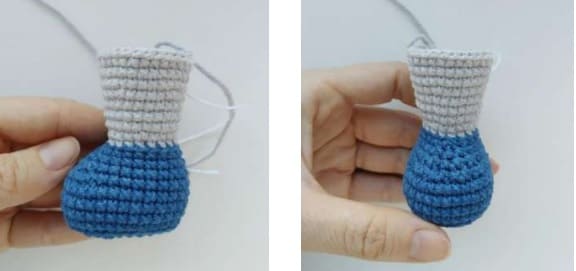
Change color to gray
Rnd 13) 19 sc behind the back wall of the loop
Rnd 14) (2sc, inc)*6, 1sc (25)
Rnd 15-17) 25sc
Rnd 18) (4sc, inc)*5 (30)
Rnd 19-21) 30sc
Change color to blue
Rnd 22) (4sc, inc)*6 (36)
Rnd 23-32) 36sc
Body
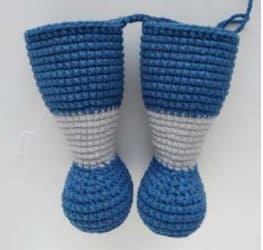
Rnd 33) We crochet 12 sc on the first leg, 3 ch, 36 sc on the second leg, 3 sc on ch, 24 sc on the first leg (78)
When connecting, make sure that the legs looked straight ahead.
Rnd 34-43) 78sc
Rnd 44) (11sc, dec)*6 (72)
Rnd 45) 72sc
Rnd 46) (7sc, dec)*8 (64)
Rnd 47) 64sc
Rnd 48) (6sc, dec)*8 (56)
Rnd 49-51) 56sc
Change color to pistachio
Rnd 52) 56 sc behind the back wall of the loop.
Rnd 53-55) 56sc
Rnd 56) (26sc, dec)*2 (54)
Rnd 57) 54sc
Rnd 58) (25sc, dec)*2 (52)
Rnd 59-61) 52sc
Rnd 62) (11sc, dec)*4 (48)
Rnd 63-64) 48sc
Rnd 65) (10sc, dec)*4 (44)
Rnd 66-68) 44sc
Rnd 69) (9sc, dec)*4 (40)
Rnd 70) 40 sc
Rnd 71) (8sc, dec)*4 (36)
Rnd 72) (7sc, dec)*4 (32)
Rnd 73) (6sc, dec)*4 (28)
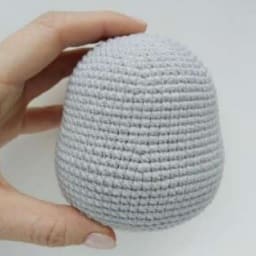
Head
Gray.
Rnd 1) 6sc in MR
Rnd 2) 6inc (12)
Rnd 3) (1sc, inc)*6 (18)
Rnd 4) (2sc, inc)*6 (24)
Rnd 5) (3sc, inc)*6 (30)
Rnd 6) (4sc, inc)*6 (36)
Rnd 7) (5sc, inc)*6 (42)
Rnd 8) (6sc, inc)*6 (48)
Rnd 9) (7sc, inc)*6 (54)
Rnd 10) (8sc, inc)*6 (60)
Rnd 11-18) 60sc
Rnd 19) (9sc, inc)*6 (66)
Rnd 20) 66sc
Rnd 21) (10sc, inc)*6 (72)
Rnd 22-28) 72sc
Rnd 29) (10sc, dec)*6 (66)
Rnd 30) (9sc, dec)*6 (60)
Rnd 31) (8sc, dec)*6 (54)
Rnd 32) (7sc, dec)*6 (48)
Rnd 33) (6sc, dec)*6 (42)
Rnd 34) (5sc, dec)*6 (36)
Rnd 35) (4sc, dec)*6 (30)
Rnd 36) (13sc, dec)*2 (28)
We fix and cut the thread, leaving a long end for sewing.
We stuff our heads tightly.
Decor:
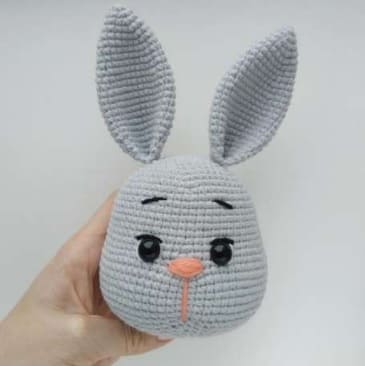
Glue the eyes between 19-21 rows.
We embroider the whites of the eyes with white thread.
Embroider the eyelashes and brows with black thread.
Embroider the nose with orange thread.
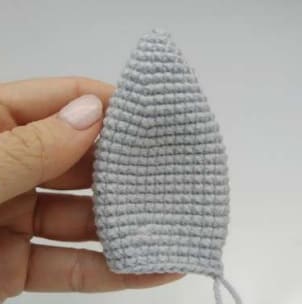
Ears (2 parts)
Gray.
Rnd 1) 6sc in MR
Rnd 2) (1sc, inc)*3 (9)
Rnd 3) (2sc, inc)*3 (12)
Rnd 4) (3sc, inc)*3 (15)
Rnd 5) (4sc, inc)*3 (18)
Rnd 6) (5sc, inc)*3 (21)
Rnd 7) 21sc
Rnd 8) (6sc, inc)*3 (24)
Rnd 9) 24sc
Rnd 10) (7sc, inc)*3 (27)
Rnd 11) 27sc
Rnd 12) (8sc, inc)*3 (30)
Rnd 13-20) 30sc
Rnd 21) (8sc, dec)*3 (27)
Rnd 22) 27sc
Rnd 23) (7sc, dec)*3 (24)
Rnd 24) 24sc
We fold the part and crochet 12sc.
Fold again and crochet 6 sc.
We fix and cut the thread, leaving a long end for sewing.
Sew between 5-6 rows.
The head is set. Therefore, it can be sewn to the body.
Arms (2 parts)
We stuff tightly as we crochet.
Gray.
Rnd 1) 6sc in MR
Rnd 2) (3sc in one loop – 2р, 1sc)*2 (14)
Rnd 3) 2sc, inc, 6sc, inc, 4sc (16)
Rnd 4) 3sc, inc, 7sc, inc, 4sc (18)
Rnd 5) 3sc, inc, 8sc, inc, 4sc (20)
Rnd 6) 20sc
Rnd 7)-9) 4sc, dec, 9sc, inc, 4sc (20)
Rnd 10) 20sc
Rnd 11) 14sc, dec, 4sc (19)
Rnd 12-26) 19sc
Change color to pistachio
Rnd 27-32) 19sc
Rnd 33) (2sc, dec)*4, 1sc, dec (14)
Rnd 34) 7dec (7)
We tighten the hole, cut the thread.
We attach the arms to the body.
When attaching, the handles must be at the same height, symmetrical.
If the correct position of the handles is found, you can proceed to mount.
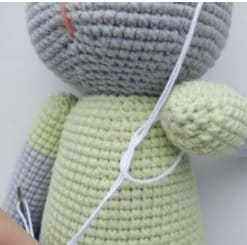
To do this, we need a very strong thread (you can take any color) and a needle.
We insert the needle into the body in place fixing the handle and output to opposite side, in place attaching a second handle.
We pass the needle through the handle. We try grab the canvas on the inside paws and filler.
Again we pass the needle through the body.
The needle must enter exactly in that place where did you come from and return to left end of the thread.
With the second hand we do the same as and from the first.
We tighten the thread and tie the ends threads into a strong knot.
The handles are in place. We hide the ends of the thread.
Tail
Gray.
Rnd 1) 6sc in MR
Rnd 2) 6inc (12)
Rnd 3) (1sc, inc)*6 (18)
Rnd 4) 18sc
Rnd 5) (1sc, dec)*6 (12)
We fix and cut the thread, leaving long end for sewing.
We stuff it tightly.
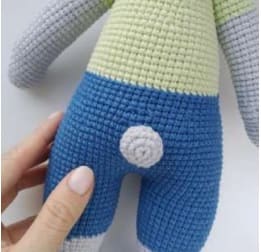
We sew the tail on the back, exactly in the middle.
Suspenders
In blue.
We collect a chain of 52ch.
From the 3rd loop from the hook we crochet 50 hdc.
We fix and cut the thread.
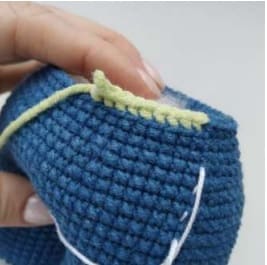
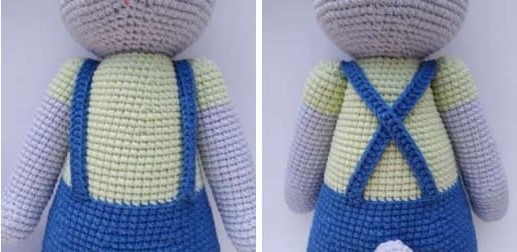
Sew to pants as shown in the photo.
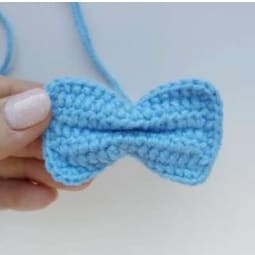
Bow
Blue color.
We crochet in turning rows.
Rnd 1) we collect a chain of 16 ch
Rnd 2) 14 hdc from the 3rd loop from the hook
Rnd 3-6) 2 ch, 14 hdc
We tie. We fix and cut the thread.
Bow headband
Blue color.
Rnd 1) We collect a chain of 41 ch
Rnd 2) from the 5th loop from the hook, leaving the eye for a button, we crochet 37 hdc.
We fix and cut the thread.
We sew on a button.
We form a bow.
We apply a bandage behind the bow and connect them by wrapping thread, as shown in the photo.
To make panties not so boring, we embroider stitches fine white thread.
Feel free to tag me (@freeamigurumii) in your photos on Instagram or Facebook if you’d like!
All Finished.
