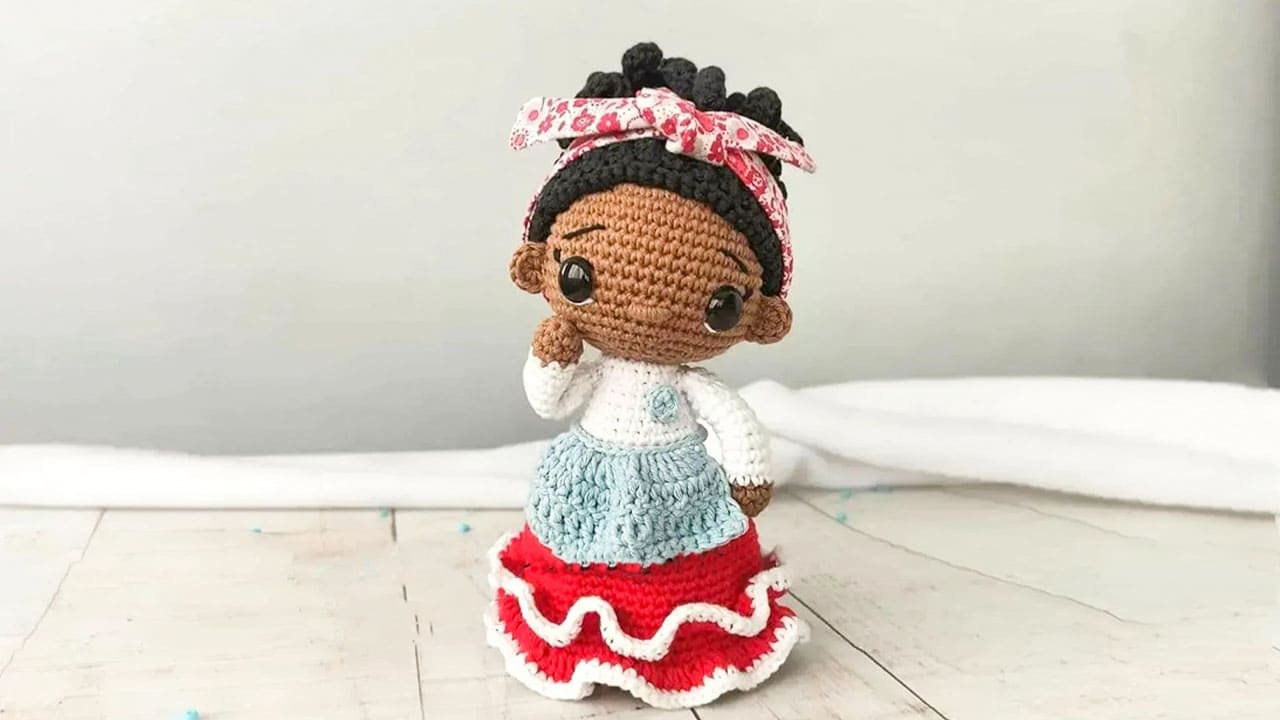
Hello amigurumi lovers and beautiful visitors, I wanted to share free amigurumi models with you here. In my article, I will share with you a model and how to make it. At the end of my article, I will share with you the detailed construction patterns of the mold.
Materials
• Semi-thick cotton thread in brown, white, red, light blue, black
• 3mm crochet hook
• 14mm eyes
• Sewing needle
Abbreviations
MR – magic ring
Sc – single crochet
Hdc – half double crochet
Dc – double crochet
Ch– chain
Inc– increase
Dec– decrease
Slst– Slip Stitch
BLO– Back loop only
Rnd– round
Head
We begin to crochet in brown
Rnd 1. magic ring, 6 sc (6)
Rnd 2. 6 inc (12)
Rnd 3. (1sc, inc) x 6 (18)
Rnd 4. 1sc, inc, (2sc, inc) x 5, 1sc (24)
Rnd 5. (3sc, inc) x 6 (30)
Rnd 6. 2sc, inc, (4sc, inc) x 5, 2sc (36)
Rnd 7. (5sc, inc) x 6 (42)
Rnd 8. 3sc, inc, (6sc, inc) x 5, 3sc (48)
Rnd 9. (7sc, inc) x 6 (54)
Rnd 10-19. (54)
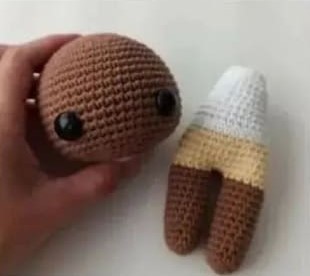
The eyes are placed between the 15th and 16th rows 11 stitches apart (9 free stitches should be visible between the eyes)
Rnd 20. (7sc, dec) x 6 (48)
Rnd 21. (2sc, dec) x 6 (36)
Rnd 22. 2sc, dec, (4sc, dec) x 5, 2sc (30)
Rnd 23. (3sc, dec) x 6 (24)
Rnd 24. 1sc, dec, (2sc, dec) x 5, 1sc (18)
Close and leave thread to sew.
Body
We begin to crochet by the legs in brown
Rnd 1. magic ring, 6 sc (6)
Rnd 2. 6 inc (12)
Rnd 3-4. (12)
Rnd 5. (3sc, inc) x 3 (15)
Rnd 6-13. (15)
Crochet two equal legs, at the end of the second leg do not cut the thread and continue weaving.
Rnd 14. Change to a color of your choice to make the panties. ch 2 Crochet 15 sc over first leg, 2 sc over chains, 15 sc over second leg and 2 sc over other side of starting chains. This is how the legs are attached (34)
Rnd 15. (16sc, inc) x 2 (36)
Rnd 16-18. (36)
Rnd 19. (4sc, dec) x 6 (30)
Rnd 20. Change to white color (30)
Rnd 21. BLO (30)
Body Part 2
Rnd 22-23. (30)
Rnd 24. (3sc, dec) x 6 (24)
Rnd 25-27. (24)
Rnd 28. (2sc, dec) x 6 (18)
Rnd 29. (18)
Skirt
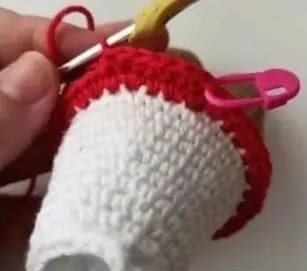
In red thread work on row 21 in the yarn that was left out
Rnd 1. (1sc, inc) repeat (45)
Rnd 2-4. (45)
Rnd 5. (8sc, inc) repeat (50)
Rnd 6-12. (50)
Rnd 13. BLO (50)
Rnd 14. (9sc, inc) repeat (55)
Rnd 15. (55)
Skirt Ruffle
In red thread work on row 13 and on row 15
Rnd 1. (3 hdc, inc) repeat the whole lap
Rnd 2. in white thread sc throughout the round
Arms
In brown thread
Rnd 1. magic ring, 8 sc (8)
Rnd 2. inc, 7sc (9)
Rnd 3. (9)
Rnd 4-13. change to white (9)
Rnd 14. dec, 7sc (8)
Hair
In black thread
Rnd 1. magic ring, 6 sc (6)
Rnd 2. 6 inc (12)
Rnd 3. (1sc, inc) x 6 (18)
Rnd 4. (2sc, inc) x 6 (24)
Rnd 5. (3sc, inc) x 6 (30)
Rnd 6. (4sc, inc) x 6 (36)
Rnd 7. (5sc, inc) x 6 (42)
Rnd 8. (6sc, inc) x 6 (48)
Rnd 9. (7sc, inc) x 6 (54)
Rnd 10. (8sc, inc) x 6 (60)
Rnd 11-15. (60)
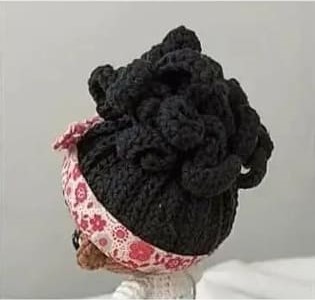
From here the strands of hair begin to be woven. Without cutting the thread continue with the locks of hair. Ch 30, turn and from the second chain make sc until you reach the base, join with a slip stitch skipping a base stitch. Repeat the entire round. In total you will have 30 strands.
Ears
In brown thread
Rnd 1. magic ring, 7 hdc (7)
Hair Strip
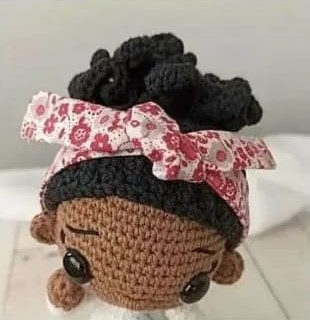
You can do it in fabric or crochet. If you do it in fabric, you will need a rectangle of 5cm wide x the circumference plus 10cm to be able to tie a knot. It is sewn into a strip and then tied to the head.
To weave it you need red thread. Ch 91, turn and BLO 90 sc. Repeat until you have 3 laps.
Apron
In light blue thread
Rnd 1. Crochet 10 ch. plus 3 ch. to upload. From here a double crochet increase is made in each stitch, turn.
Rnd 2-3. 3 ch, each loop dc, turn
Rnd 4. 1 ch, sc at each point. Close
To make the waist strap, make 20 chains, take the piece that we just knitted and on the 10 chains make a slip stitch in each of those 10 stitches, 20 chains. To close. Thank you for visiting our website amigurumireceitas.com.
Cockade
In light blue thread
Magic ring, 6sc (6)
The assembly of rosita is very simple, the only detail is the hair, the cap of hair is sewn to the head and then all the strands are raised making a high tail and secured with stitches.
Feel free to tag me (@freeamigurumii) in your photos on Instagram or Facebook if you’d like!
All Finished.
