Hello amigurumi lovers and beautiful visitors, I wanted to share free amigurumi models with you here. In my article, I will share with you a model and how to make it. At the end of my article, I will share with you the detailed construction patterns of the mold.
Materials
• Sportweight/4ply yarn (50 g/160 m): grey, pink,white
• Crochet hook (1.75 mm)
• Black and pink threadsfor embroidery
• Safety eyes 8 mm (2 pcs.)
• Fiberfill
• Scissors
• Needle forsewing pieces and embroidery
Abbreviations
MR – magic ring
Sc-single crochet
Inc-increase
Dec– decrease
Slst-slip stitch
Ch -chain
Dc– double crochet
Dcinc– 2 dc in one stitch
BLO– back loops only
*6 – number of repeats
(12)– total number of stitches in a round
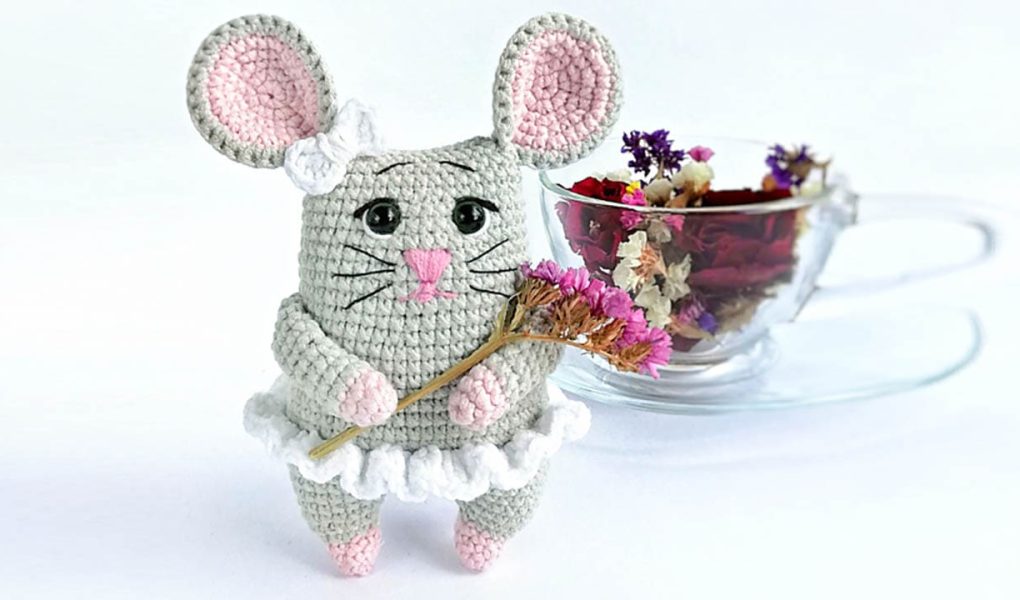
Let’s start crocheting the amigurumi mouse pattern. Let’s crochet the legs, body part and head.
Legs- Body- Head
Start crocheting with pink yarn.
Rnd 1. 6 sc in a MR (6)
Rnd 2. (1sc, inc)*3 (9)
Rnd 3-4. 9 sc(2 rounds)
Change yarn color to grey.
Rnd 5.(2 sc, inc)*3 (12)
Rnd 6.(1sc, inc)*6 (18)
Rnd 7.18 sc(18)
Fasten off and cut the yarn.
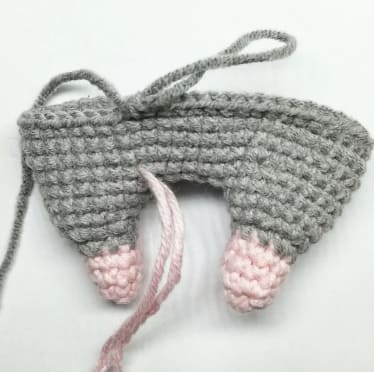
Make one more leg in the same way, but do not cut the yarn.
Ch 6, join the first leg with slst and continue crocheting in a spiral.
Rnd 8. 48 sc(18 sc on the first leg, 6 sc on the chain, 18 sc on the second leg, 6 sc on the chain)
Rnd 9. 48 sc(48)
Rnd 10. (7 sc, inc)*6 (54)
Rnd 11-14. 54 sc(4 rounds)
Rnd 15. BLO 54 sc(54)
Rnd 16. 54 sc(54)
Rnd 17. (7 sc, dec)*6 (48)
Rnd 18-22. 48 sc(5 rounds)
Rnd 23. (10 sc, dec)*4 (44)
Rnd 24- 27. 44 sc(4 rounds)
Rnd 28. (9 sc, dec)*4 (40)
Rnd 29-31. 40 sc(3 rounds)
Rnd 32.(8 sc, dec)*4 (36)
Rnd 33-34. 36 sc(2 rounds)
Move the marker of the beginning of the round to the center of the back.
Rnd 35. 6 sc, 3 dec,12 sc, 3 dec, 6 sc(30 sc)
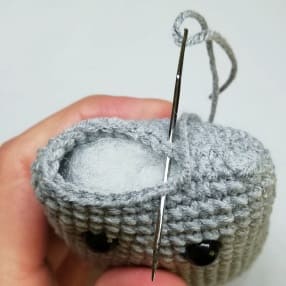
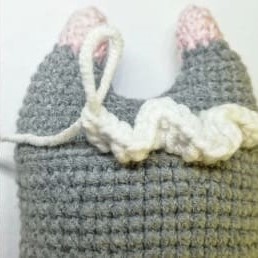
Fasten off and leave a long tail for sewing. Insert the safety eyes between 30 and 31 rounds at a distance of 7 sc between them. Thread the remaining yarn tail into a needle and sew a few stitches to the left edge ofthe head. Fold the head in half and sew up the sides passing stitches across the top as shown in the photo.
Let’s crochet the ears of the amigurumi toy 🙂
Ears (make 2)
Start crocheting with pink yarn.
Rnd 1. 6 sc in a MR (6)
Rnd 2. 6 inc(12)
Rnd 3. (1sc, inc)*6 (18)
Rnd 4.1sc, inc, (2 sc, inc)*5,1sc(24)
Rnd 5. (3 sc, inc)*6 (30)
Fasten off and cutthe yarn.
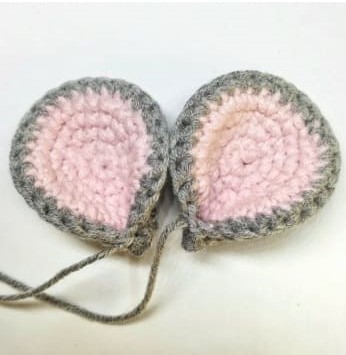
Make the same piece with grey yarn but do not cut the yarn. Fold both pieces back side to each other and continue to crochet around both pieces with grey yarn:
Rnd 6. 30 sc(30)
Fasten off and leave a long tail for sewing. Fold the piece in a half and make a couple of stitches to make the ear
look a little folded, as shown in the photo.
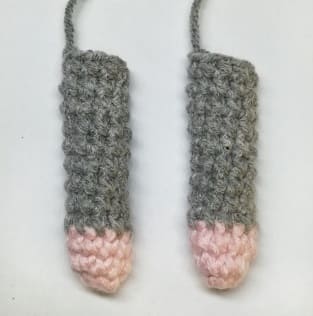
Arms (make 2)
Start crocheting with pink yarn.
Rnd 1. 6 sc in a MR (6)
Rnd 2. (1sc, inc)*3 (9)
Rnd 3. 9 sc(9)
Change the yarn color to grey.
Rnd 4-12. 9 sc (9 rounds)
Fasten off and leave a long tail for sewing.
Skirt
Join the white yarn in 14-th round and continue crocheting:
Rnd 15. 54 dcinc(108)
Fasten off and weave in the yarn ends.
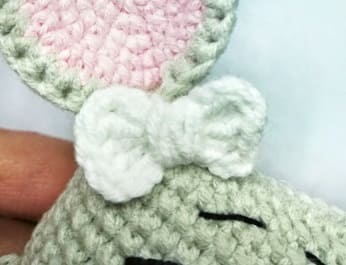
Let’s crochet the bow tie of the amigurumi toy. You can crochet the bow tie using different colors of yarn.
Bow tie
Start crocheting with white yarn.
Rnd 1. 1sc, ch 3, 3 dc, ch 3, 2 sc, ch 3, 3 dc, ch 3, 1sc in a MR
Pull the ring and wrap the center
with the yarn tail. Fasten off leaving a long tail for sewing.
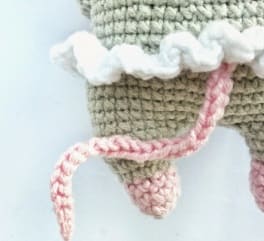
Tail
Start crocheting with pink yarn.
Rnd 1.ch 25, start crocheting in the second chain from the hook 24 slst
Fasten off and leave a long tail for sewing
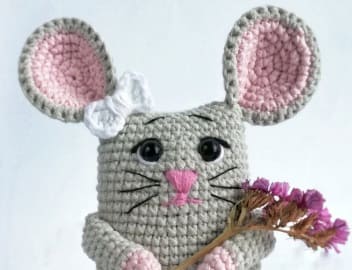
Assembly and decoration
Sew the tail under the skirt in the center ofthe butt.
Sew on ears at the corners ofthe head.
Sew on arms approximately at the level of 24 rounds
Embroider the whites of the eyes, eyelids eyebrows, nose and whiskers as shown in the photo.
Sew a bow on the ear.
Feel free to tag me (@freeamigurumii) in your photos on Instagram or Facebook if you’d like!
All Finished.