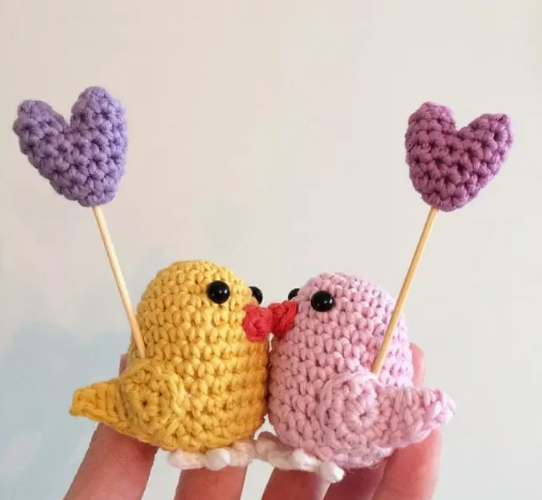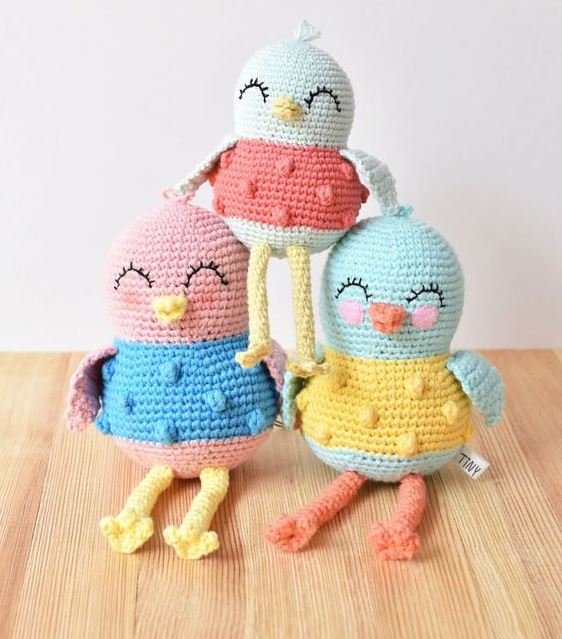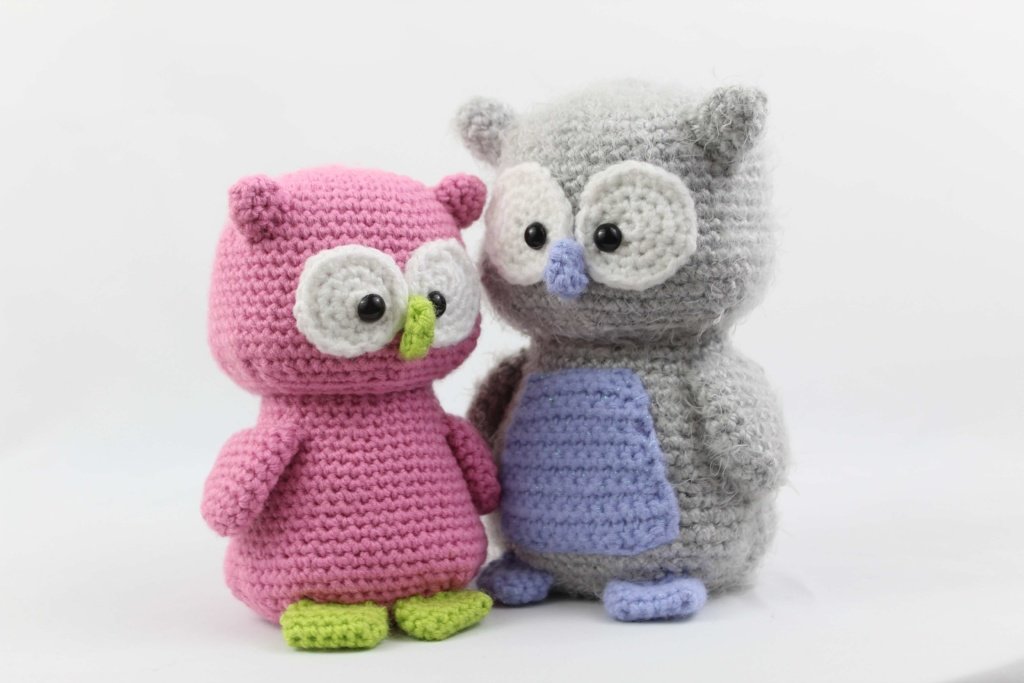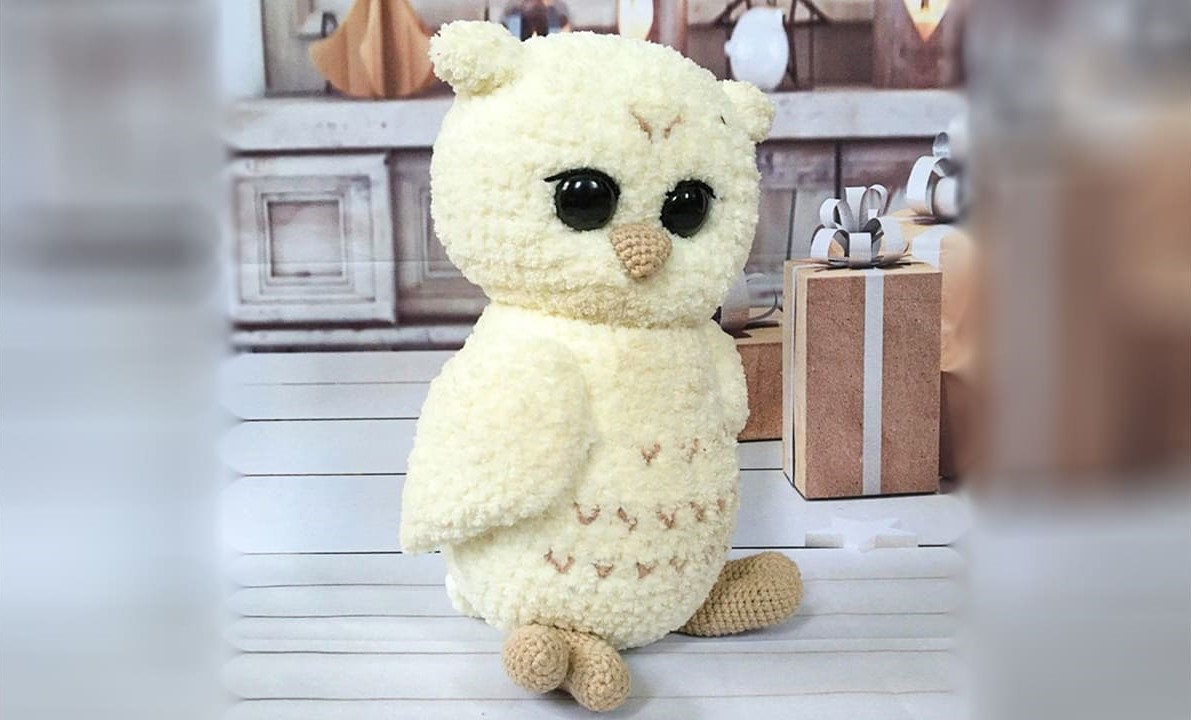
Hello amigurumi lovers and beautiful visitors, I wanted to share free amigurumi models with you here. In my article, I will share with you a model and how to make it. At the end of my article, I will share with you the detailed construction patterns of the mold.
You will need
• Yarn Alize Softy 2-3 skeins main color (we crochet in two threads) and quite a bit additional color, for decoration. Or Alize Softy Plus 1 skein of the main color (we crochet in one thread). White owlet is crocheted from Alize Softy Plus, hook No. 3.5 mm. chocolate owlet crocheted from Alize Softy in two strands, hook No. 3.5 mm. Or any other yarn
• Hook #4mm, #3.5mm or #3mm (I use #3.5mm)
• A pair of peepholes 20 mm plastic or glass (I use glass)
• Hook No. 1.5mm for paws and beak
• YarnArt Jeans for beak and paws
• 2 wooden discs 6 cm, cotter pin 3 cm, or plastic joint 6 cm, pliers
• Scissors
• Long needle
• Filler (holofiber, synthetic balls, etc.)
Abbreviations
MR: Magic ring
Ch: Chain
Sc: Single crochet
Hdc: Half double crochet
Dc: Double crochet
Slst: Slip stitch
Inc: Increase
Dec: Decrease
BLO: Back loop only
FLO: Front loop only
Head
(Main thread color, hook No. 3.5 mm)
Rnd 1. 7sc in MR
Rnd 2. 7inc (14sc)
Rnd 3. (1sc, inc)*7 (21sc)
Rnd 4. (2sc, inc)*7 (28sc)
Rnd 5. (3sc, inc)*7 (35sc)
Rnd 6. (4sc, inc)*7 (42sc)
Rnd 7. (5sc, inc)*7 (49sc)
Rnd 8-12. 49sc (5 rnds)
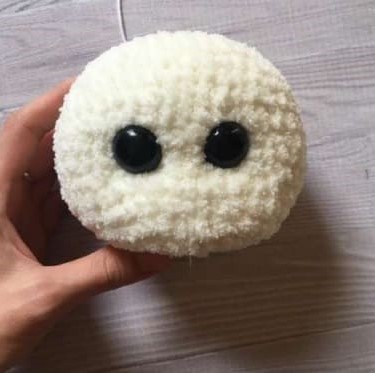
Rnd 13. We put additional markers for the eye: on 22sc, 28sc (49sc)
Rnd 14-15. 49sc (2 rnd)
Rnd 16. (5sc, dec)*7 (42sc)
Rnd 17. (5sc, dec)*6 (36sc)
Fasten the eyes over the markers. There should be 5 sc between the eyes.
Rnd 18. (4sc, dec)*6 (30sc)
Rnd 19. (3sc, dec)*6 (24sc)
Rnd 20. (2sc, dec)*6 (18sc)
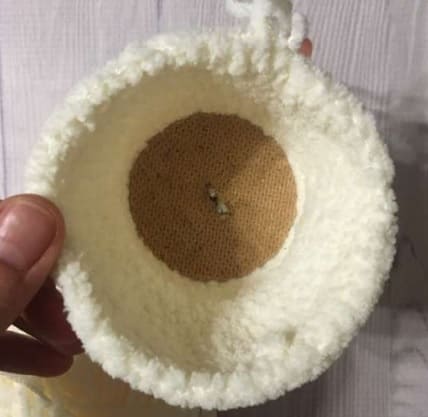
We stuff the part quite tightly, paying special attention to the cheeks. Distribute the filler well around the circumference. We insert the disk or joint, do not stuff the part further. If you don’t want to use the pin fastening, continue to crochet according to the pattern, stuffing the part as you crochet.
Rnd 21. (1sc, dec)*6 (12sc)
Rnd 22. 6dec
Beak
(Thread color optional, cotton yarn, hook No. 1.5 mm)
Rnd 1. 6sc in MR
Rnd 2. (1sc, inc)*3 (9sc)
Rnd 3. (2sc, inc)*3 (12sc)
Rnd 4. 12sc
Rnd 5.(3sc, inc)*3 (15sc)
Fold the part in half and crochet 7 sc for both walls (together). Cut the thread, fasten, leaving the end for sewing. Sew the beak to the head. Can be issued beak as shown in photo 2. The scheme is the same, just do not crochet 7 sc together. In such a beak, we add quite a bit of filler. Thank you for choosing amigurumireceitas.com.
Ears (Make 2)
(Main thread color, hook No. 3 mm)
Rnd 1. 6sc in MR
Rnd 2. (1sc, inc)*3 (9sc)
Rnd 3. 9sc
Rnd 4. (2sc, inc)*3 (12sc)
Cut the thread, fasten, leaving the end for sewing. Sew the ears to the head.
Body
(Main thread color, hook No. 3.5 mm)
Rnd 1. 7sc in MR
Rnd 2. 7inc (14sc)
Rnd 3. (1sc, inc)*7 (21sc)
Rnd 4. (2sc, inc)*7 (28sc)
Rnd 5. (3sc, inc)*7 (35sc)
Rnd 6. (4sc, inc)*7 (42sc)
Rnd 7-11. 42sc (5 rnds)
Rnd 12. 15sc, (1sc, inc)*6, 15sc (48sc)
At this stage, we connect the body and head. We fix the disc with a cotter pin using pliers.
Rnd 13-22. 48sc (10 rnds)
Rnd 23. (6sc, dec)*6 (42sc)
Rnd 24. (5sc, dec)*6 (36sc)
Rnd 25. (4sc, dec)*6 (30sc)
Rnd 26. (3sc, dec)*6 (24sc)
Rnd 27. (2sc, dec)*6 (18sc)
Rnd 28. (1sc, dec)*6 (12sc)
Rnd 29. 6 dec
Cut the thread, fasten, close the hole, hide the tip.
Wings
(The color of the thread is main or additional, hook No. 3.5 mm)
Rnd 1. 6 sc in MR
Rnd 2. 6inc (12sc)
Rnd 3. (1sc, inc)*6 (18sc)
Rnd 4. (2sc, inc)*6 (24sc)
Rnd 5-7. 24sc (3 rnd)
Rnd 8. (6sc, dec)*3 (21sc)
Rnd 9. (5sc, dec)*3 (18sc)
Rnd 10. (7sc, dec)*2 (16sc)
Rnd 11. (6sc, dec)*2 (14sc)
Rnd 12. (5sc, dec)*2 (12sc)
Rnd 13. (4sc, dec)*2 (10sc)
Rnd 14. (3sc, dec)*2 (8sc)
Rnd 15. (2sc, dec)*2 (6sc)
Rnd 16. (1sc, dec)*2, slst (4sc)
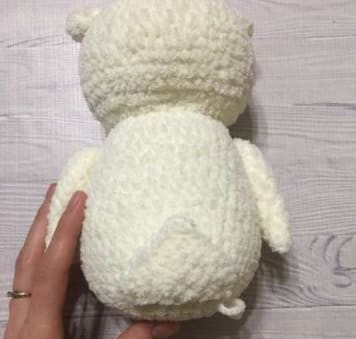
We do not fill the detail. Cut the thread, fasten, close the hole, hide the tip. Sew the wings to the body. I sew the wings exactly around the circumference, that is, from row 7 to row 7. I place the wings 1-2 rows below the head.
Tail
(The color of the thread is main or additional, hook No. 3.5 mm)
Rnd 1. 5sc in MR, ch turn
Rnd 2. 2sc, in one loop: (1sc, 1hdc, 1sc), 2sc, ch turn
Rnd 3. inc, 2sc, in one loop: (1sc, 1hdc, 1sc), 2sc, inc, ch turn
Rnd 4. inc, 4sc, in one loop: (1sc, 1hdc, 1sc), 4sc, inc, ch turn
Rnd 5. inc, 6sc, in one loop: (1sc, 1hdc, 1sc), 6sc, inc, ch turn
We continue to crochet without ch on the third side of the tail. We crochet 10 sc, connect the sl st with 1 column of the 5th row. Cut the thread, fasten, leaving the end for sewing.
Sew the tail to the body
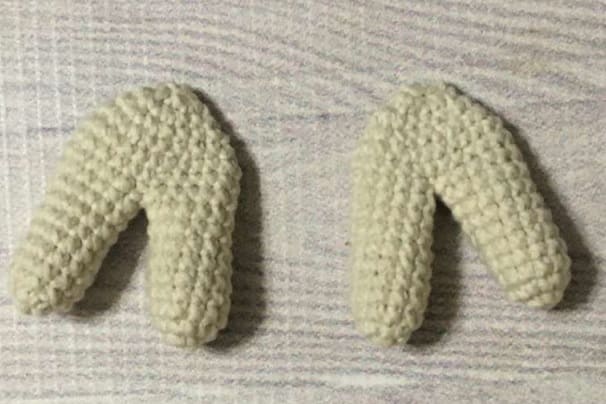
Paws (Make 2)
Fingers.
(Thread color optional, cotton yarn, hook No. 1.5 mm)
Rnd 1. 6sc in MR
Rnd 2. 6inc (12sc)
Rnd 3-10. 12sc (8 rnds)
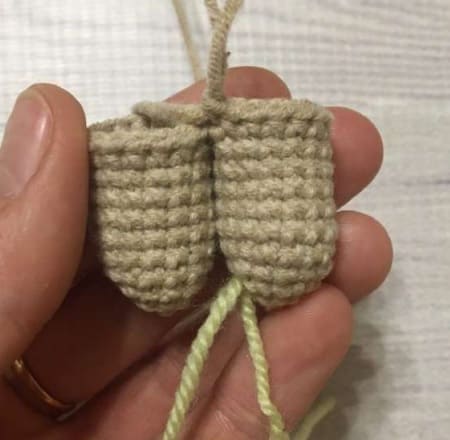
Stuff up to 5 rows. We do not fill the detail further. On the first finger, cut the thread, fasten, hide the tip. On the second finger, we do not cut the thread, but continue to crochet the foot:
Rnd 1. 12sc on the first finger, 12sc on the second finger (24sc)
Rnd 2. 24sc
Rnd 3. (2sc, dec)*6 (18sc)
Rnd 4. (4sc, dec)*3 (15sc)
Rnd 5. (3sc, dec)*3 (12sc)
Rnd 6. 6dec
Cut the thread, fasten, close the hole, hide the tip. Sew the legs to the body.
We embroider feathers on the muzzle and belly. Decorate the owl to your liking.
Feel free to tag me (@freeamigurumii) in your photos on Instagram or Facebook if you’d like!
All Finished.
