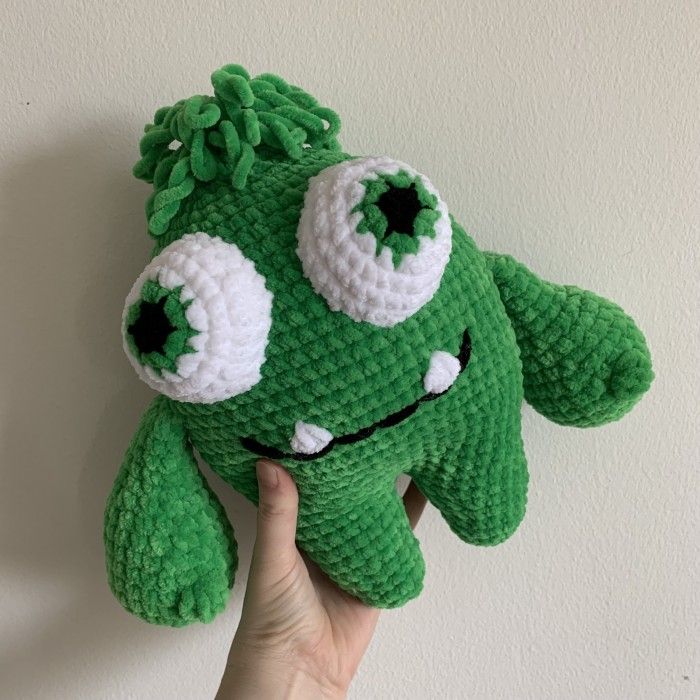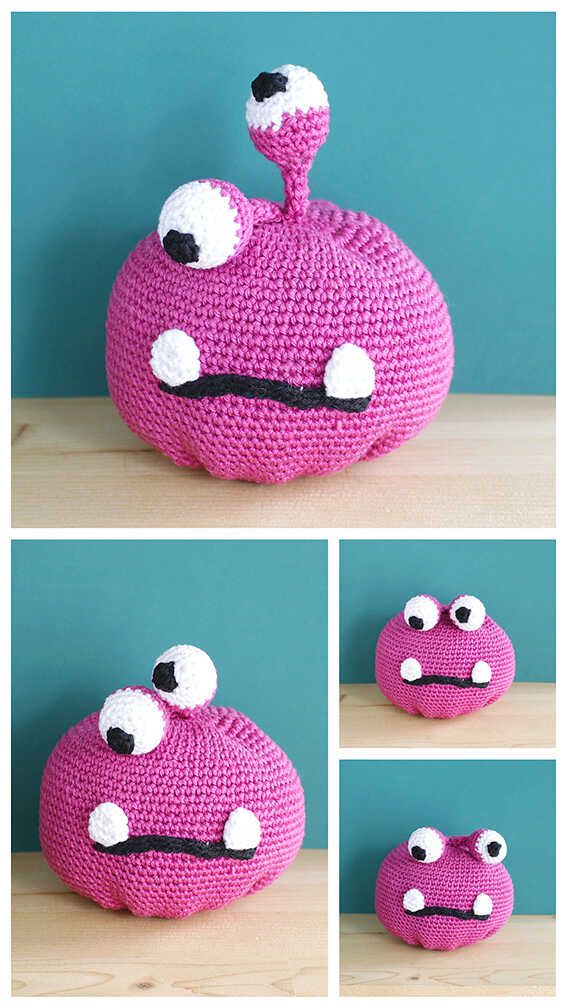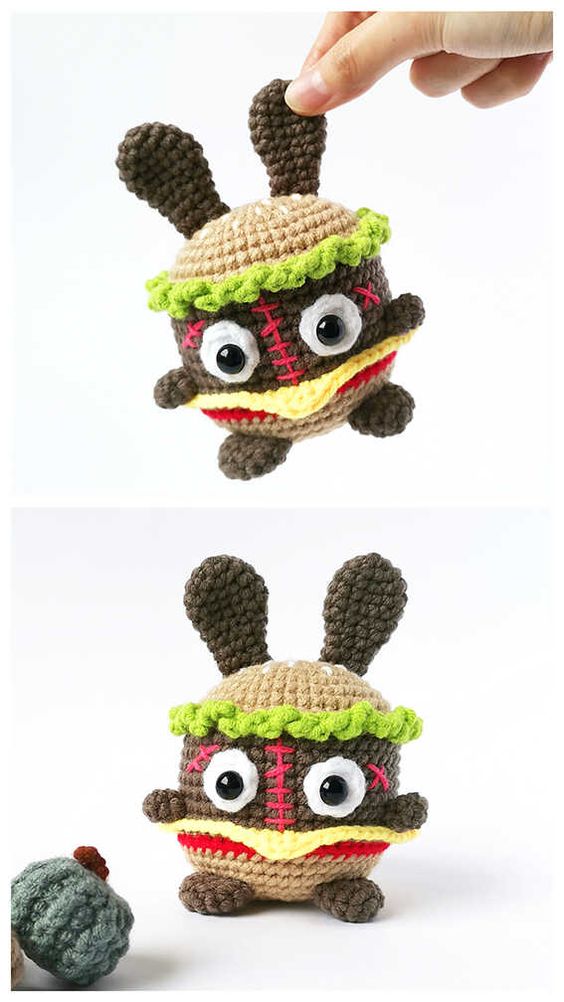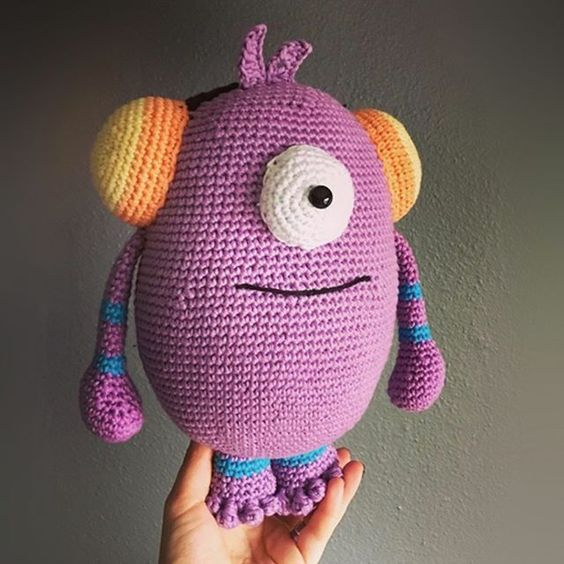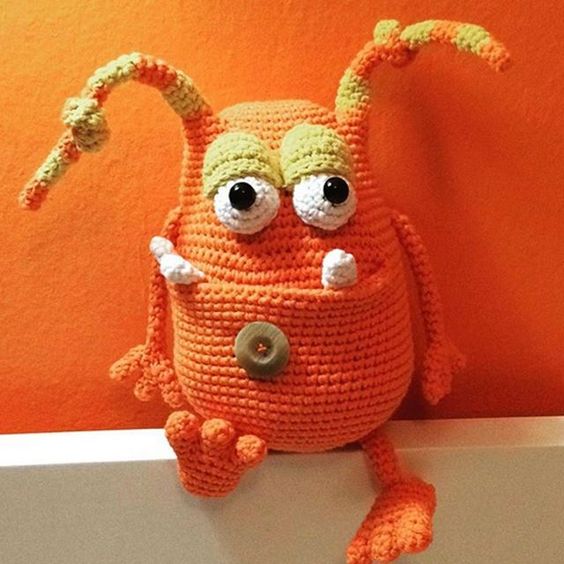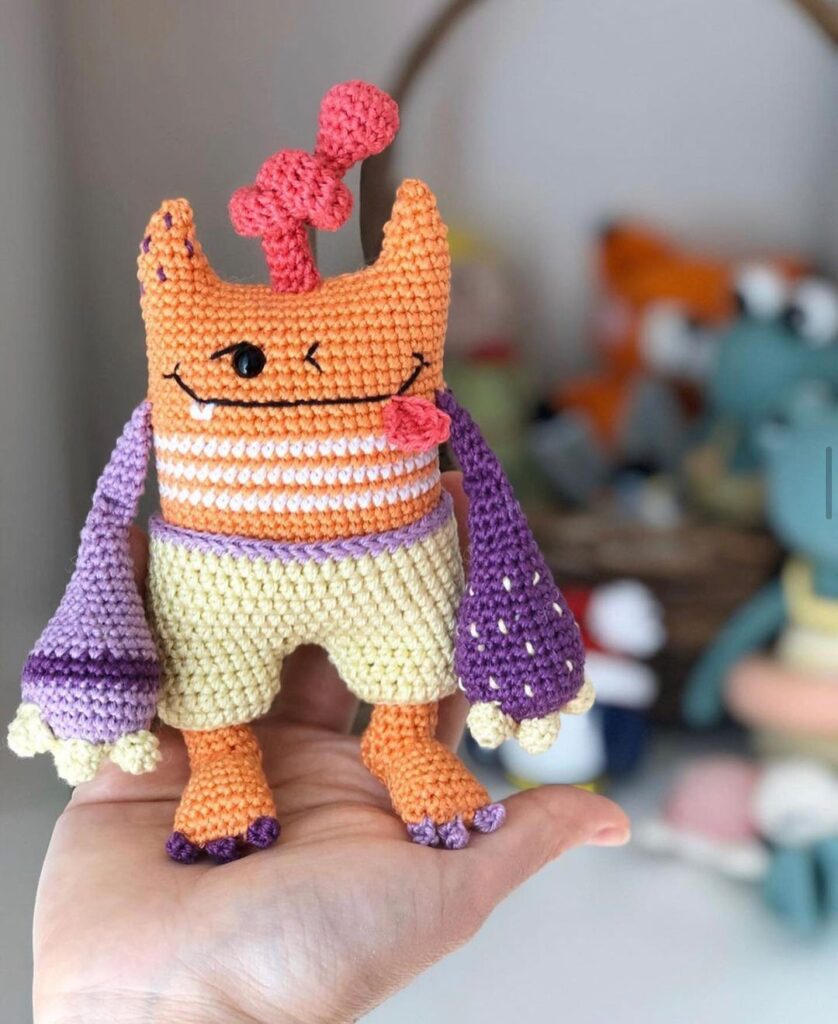
Hello amigurumi lovers and beautiful visitors, I wanted to share the free amigurumi patterns for you here. In my article I will share 1 pattern and how to make it for you. At the end of my article, I will share amigurumi patterns that can generate ideas for you.
Materials
• Yarn YarnArt Jeans: green 58- main color, white 01, yellow 35, red 90,
green ( pement ) 69, dark gray 28, dark green ( spis ) 82
• Hook size 2 mm
• Upholstery material
• Safety eyes size 6 mm
• Scissors
• Pins
• Large chas needle
• Point markers ( optional )
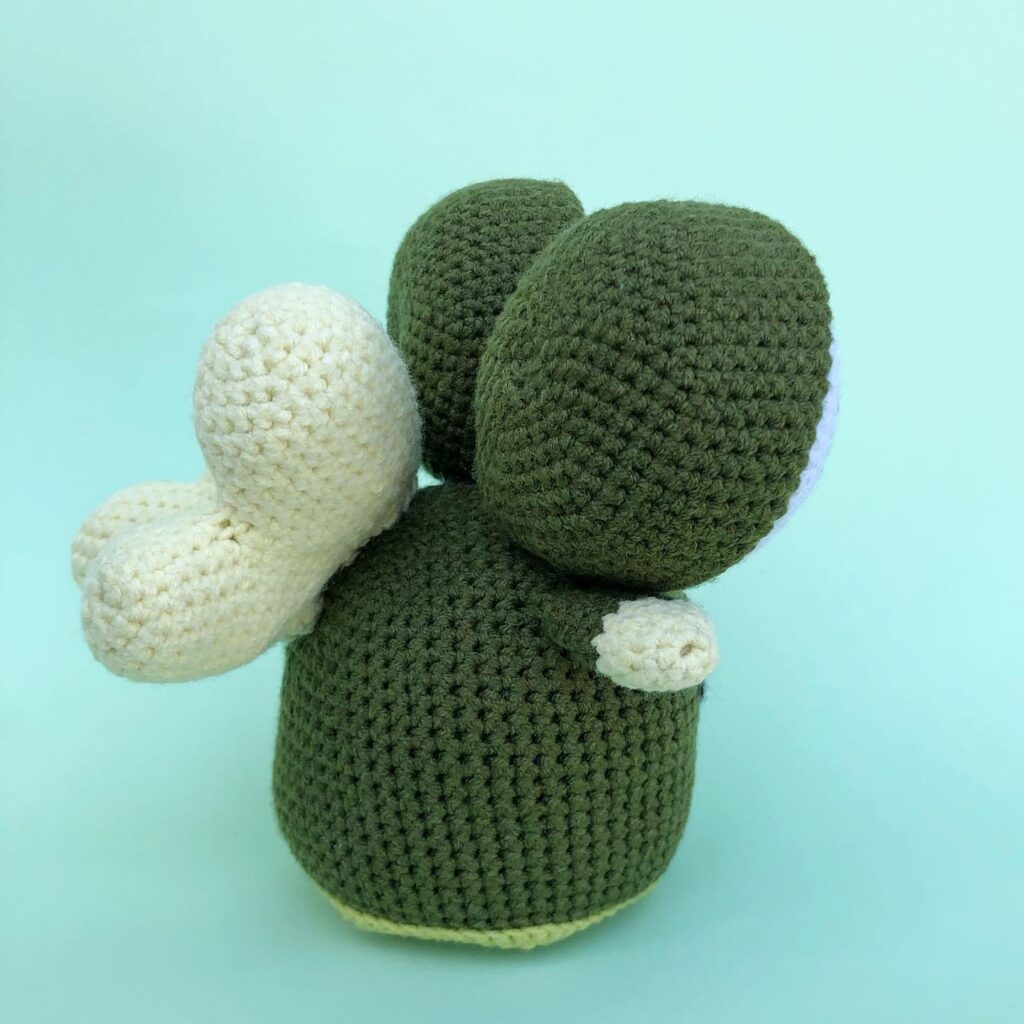
Arm ( x2 )
Rnd 1. 5 ms in MR
Rnd 2. augm x 5 ( 10 )
Rnd 3-6. 10 ms ( 4 rnds )
Fold the work in half and pick 4 ms in both halves. Cut the wire, leaving a tail.
Hide it inside the room using a needle.
Legs ( x2 )
Rnd 1. 6 ms in MR
Rnd 2. augm x 6
Rnd 3. 12 ms
Cut the wire and hide it inside the room. Do the second leg and keep picking while doing your body.
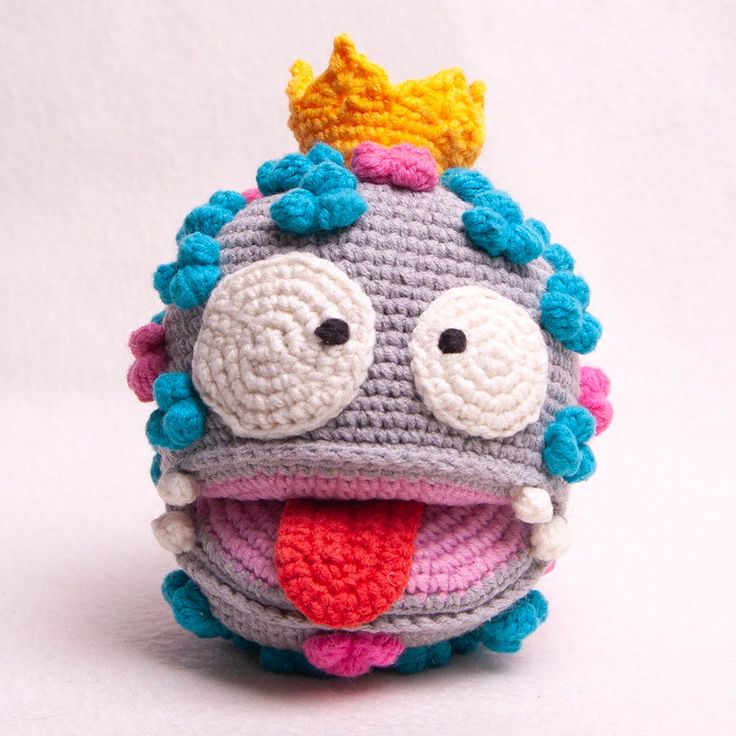
Body
Start from the return match by making 6 ml. Join the 2 legs together while working round 4.
Rnd 4. 12 ms ( 1st leg ), ( 1ms, augm ) x3 ( chain ) x 3 ( 2nd leg ) 1ms, augm ( x3 <TAG
Rnd 5-13. 42 ms ( 9 rnds )
Rnd 14. 5ms, 4ms – attach the 1st arm, 16 ms, 4 ms – attach the 2nd arm, 13 ms ( 42 )
Rnd 15-19. 42 ms ( 5 rnds )
Rnd 20. 2ms, dim, 1 ms, dim, 1 ms, dim, 14 ms, dim, 1 ms, dim, 1 ms, dim, 10ms ( 36 )
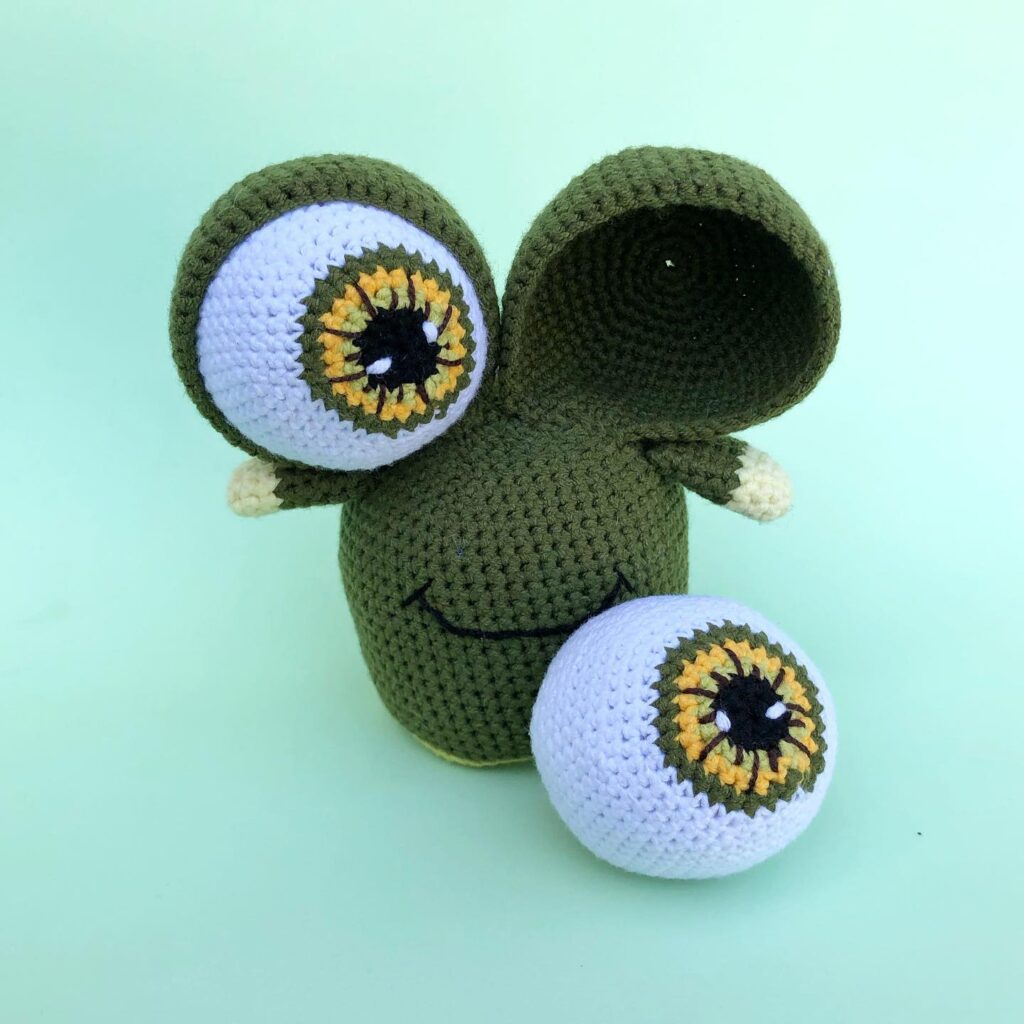
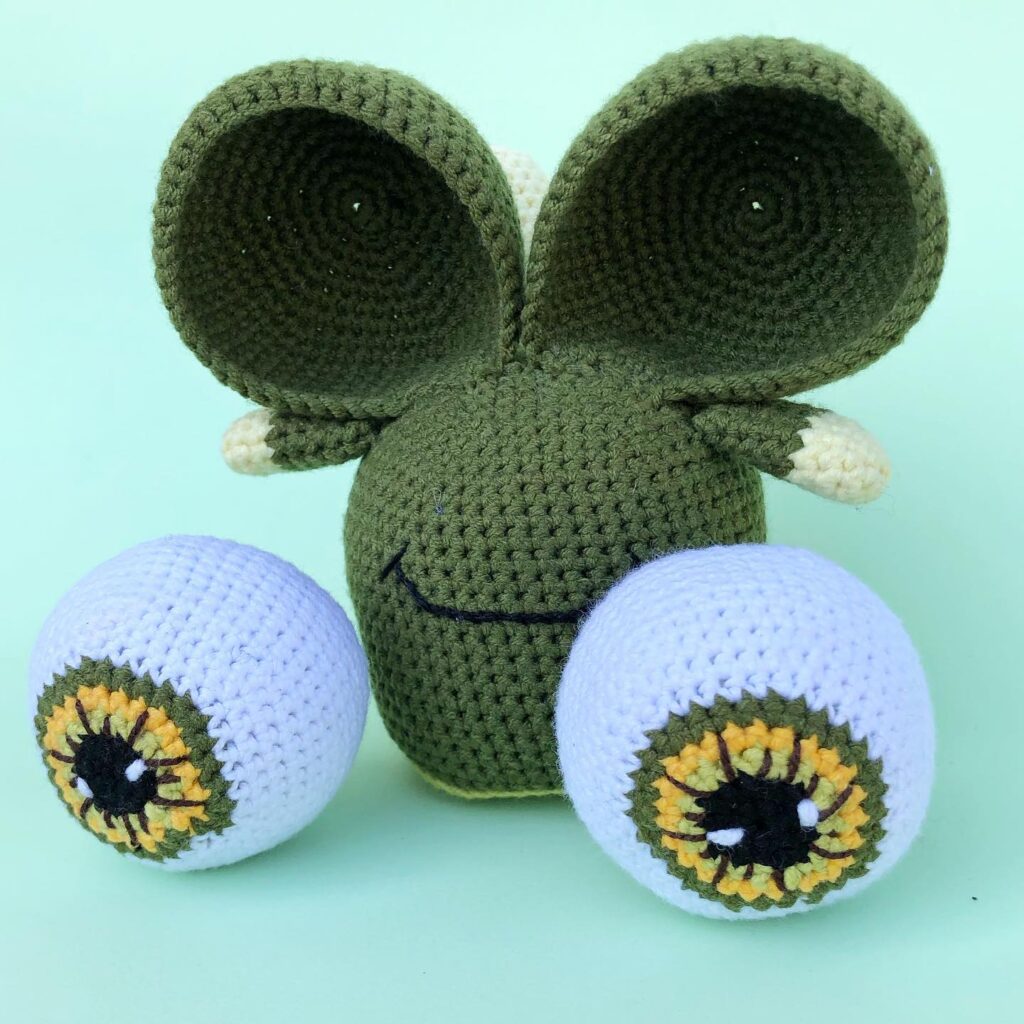
Insert and fix the ( 6 mm ) eyelets between the 13-14 towers with a space of 6 or 8 meshes between them. Fill in the song.
Rnd 21. ( 4ms, dim ) x6 ( 30 )
Rnd 22. ( 3ms, dim ) x6 ( 24 )
Rnd 23. ( 2ms, dim ) x6 ( 18 )
Fill the song
Rnd 24. ( 1ms, dim ) x6 ( 12 )
Rnd 25. dim x 6 ( 6 )
Add padding equipment. Tricot the decreases to the end, then tighten the hole with a needle and hide the wire inside the structure. Embroider the dark gray smile ( with 1 fine wire of 4 components of the main wire
thread ); teeth in the shape of white triangles ( using 2 fine threads of the principal ); white of the eyes in white; eyebrows in dark green ( the color of the points ).
Egg
In yellow
Rnd 1. 6 ms in MR
Rnd 2. augm x 6 ( 12 )
Rnd 3. ( 1ms, augm ) x 6 ( 18 )
Rnd 4. ( 2ms, augm ) x 6 ( 24 )
Rnd 5-6. 24 ms ( 2 rnds )
In white
Rnd 7. FLO: ( 1ms, augm ) x 12 ( 36 )
Rnd 8. ( 2ms, augm ) x 12 ( 48 )
Rnd 9. 48 ms
Rnd 10. Do the border: 1ms, 1dB, 2br, 1dB, 2ms, 1dB, 1br, 2d-br, 1br, 1dB,
5ms, 1dB, 5br, 1dB, 5ms, 1dB, 2br, 1dB, 2ms, 5ml, work 3br from the 3rd loop, then skip 3ms, work from the 4th mesh: 1ms, 1dB, 2br, 1d-br, 1br, 1dB, 1ms, 2mc
Cut the wire, leaving a long tail for the seam.
Points ( x2 )
Rnd 1. 6 ms in MR
Rnd 2. ( 1ms, augm ) x3 ( 9 )
Rnd 3. ( 2ms, augm ) x3 ( 12 )
Knit 1 mc and cut the wire, leaving a long tail for sewing
Chili
In green
Rnd 1. 6 ms in MR
Rnd 2. augm x 6 ( 12 )
Rnd 3. ( 1ms, augm ) x 6 ( 18 )
In red
Rnd 4-6. 18sc ( 3 rnds )
Rnd 7. ( 4ms, dim ) x 3 ( 15 )
Rnd 8-9. 15 ms ( 2 rnds )
Rnd 10. ( 3ms, dim ) x 3 ( 12 )
Rnd 11-12. 12 ms ( 2 rnds )
Rnd 13. ( 2ms, dim ) x 3 ( 9 )
Rnd 14. ( 1ms, dim ) x 4 ( 5 )
Cut the wire, leaving a long tail. Tighten the hole with a needle. Sculpting by working several points in the center to make it more galbé. Do not cut the wire.
Tail
In green
Attach the wire to the center of the green part. Pass the hook under one of the meshes of the magic ring, pull the wire and pick 1 ml. ( You can also do it separately then sew it in the center of the chili )
Rnd 1. ml 4
Rnd 2. 3 mc
Insert the hook under one of the opposite meshes of the magic ring. Then pull the wire and pick 1 mc to fix it. Attach the wires with a knot and hide the wire tails inside the room. Sew the egg and the points to the monster by fixing them with pins. Add some padding material to each detail. Attach the wires and hide the wire tails inside the room. Sew the chili by fixing it with pins. Attach the wires and hide the wire tails inside the room.
Feel free to tag me (@freeamigurumii) in your photos on Instagram or Facebook if you’d like!
All Finished.