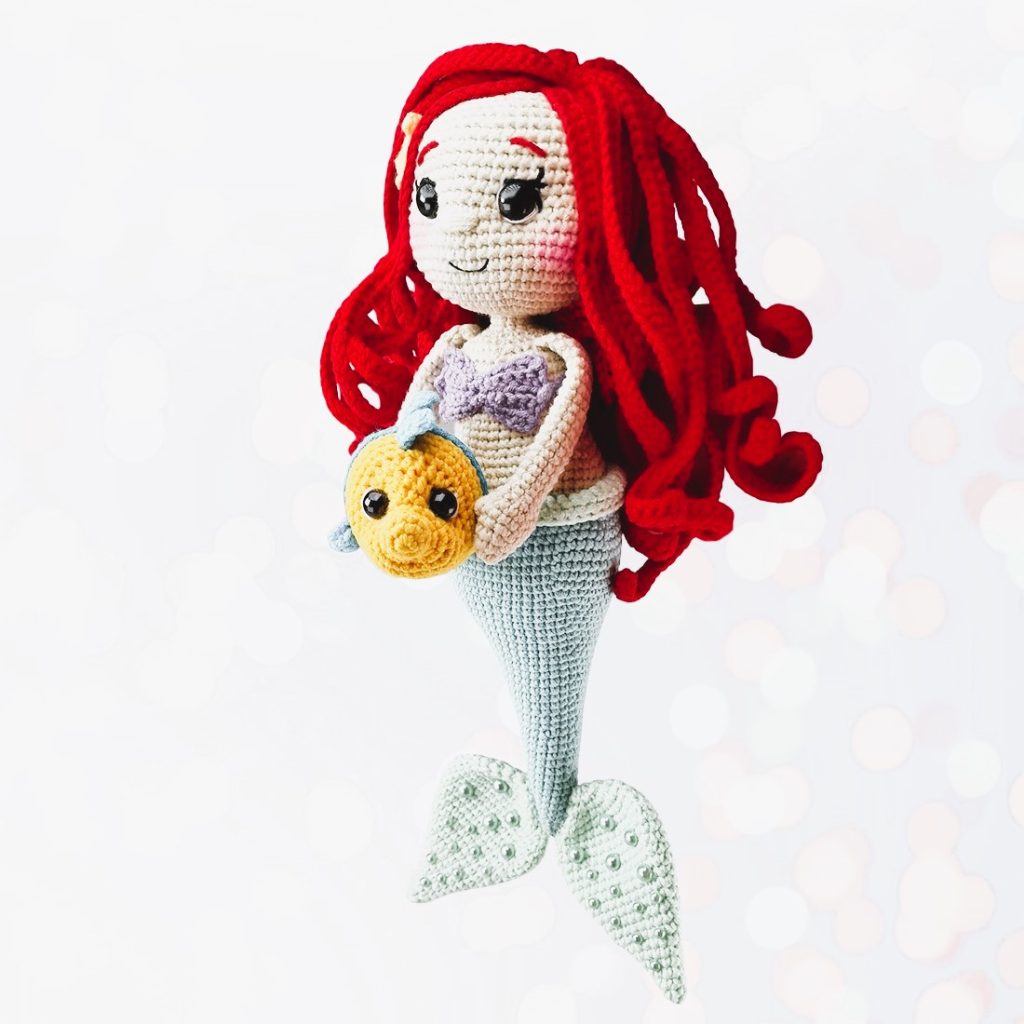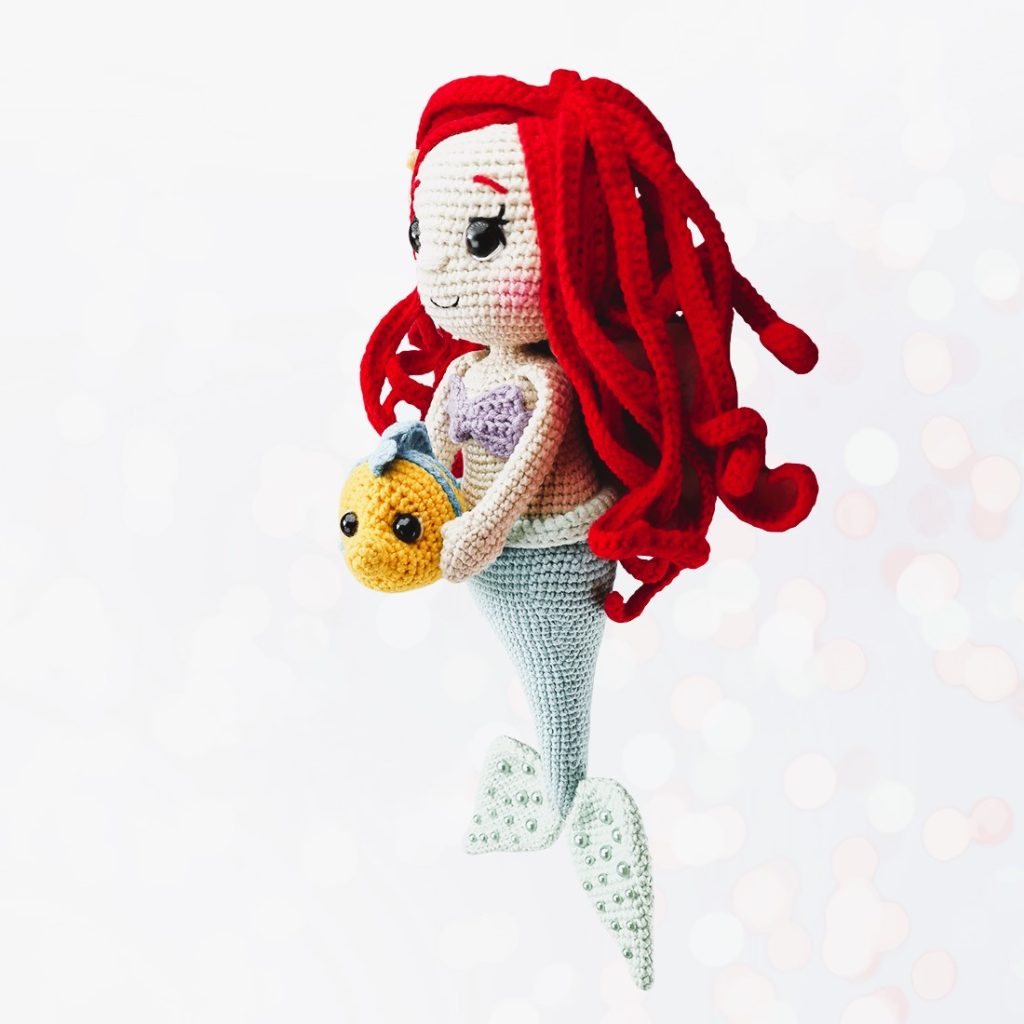
Hello amigurumi lovers and beautiful visitors, I wanted to share the free amigurumi patterns for you here. In my article I will share 1 pattern and how to make it for you. At the end of my article, I will share amigurumi patterns that can generate ideas for you.
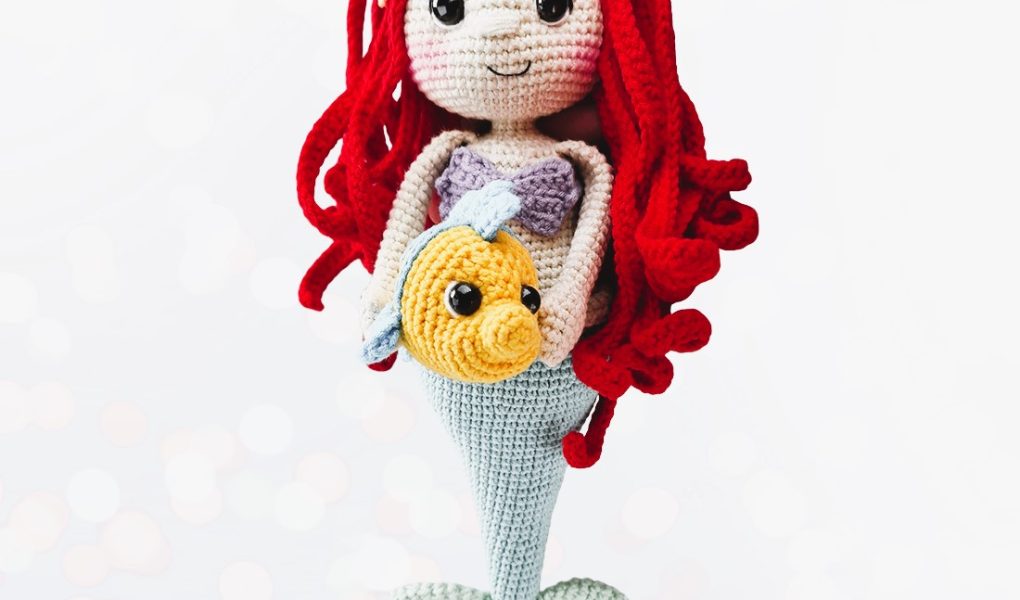
To crochet the Mermaid with Flounder you need:
- 8 mm safety eyes for mermaid
- 6 mm safety eyes for Flounder
- 10 mm button for dress
- Fiberfill
- Sticky half-beads for tail decoration
- Cotton swabs (4 pcs)
- Tissue adhesive tape
- Scissors and sewing needle
The finished crochet mermaid is about 28 cm (11″) tall including fins. Pay attention, the size of your amigurumi depends on yarn weight and hook size.
The size of finished Flounder is about 7 cm (2.8″), if you use the same yarn and hook.
Skill level: intermediate
Abbreviations:
ch = chain
st = stitch
sc = single crochet
inc = increase (2 st in one st)
dec = decrease (2 st together)
sl st = slip stitch
hdc = half double crochet
dc = double crochet
tr = treble crochet
dtr = double treble crochet
bo = bobble stitch
(..) = repeat the instructions in brackets the given number of times
[..] = total number of stitches
Crochet in continuous rounds, unless otherwise specified. Mark the beginning of each round with a stitch marker or a yarn scrap.
Arms (make 2):
Crochet with yarn in skin color. Stitch marker is on the side of the arm.
Rnd 1: 6 sc in magic ring [6]
Rnd 2: (sc in next st, inc) repeat 3 times [9]
Rnd 3: (sc in next 2 st, inc) repeat 3 times [12]
Rnd 4: (sc in next 3 st, inc) repeat 3 times [15]
Rnd 5: sc in next 7 st, bo in next st, sc in next 7 st [15]
Rnd 6: sc in all 15 st [15]
Rnd 7: (sc in next 3 st, dec) repeat 3 times [12]
Rnd 8: (sc in next 4 st, dec) repeat 2 times [10]
Rnd 9-25: sc in all 10 st [10]
Stuff 2/3 of the arm.
Flatten the edges and crochet sc in next 5 st through both layers, closing the hole. Fasten off.
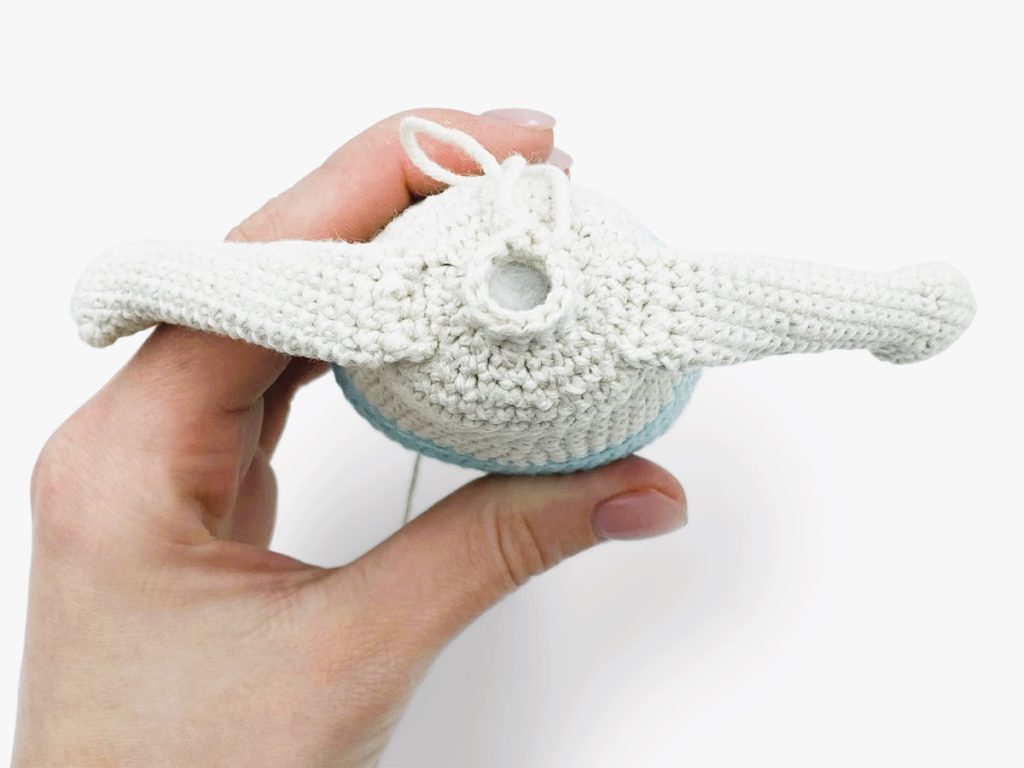
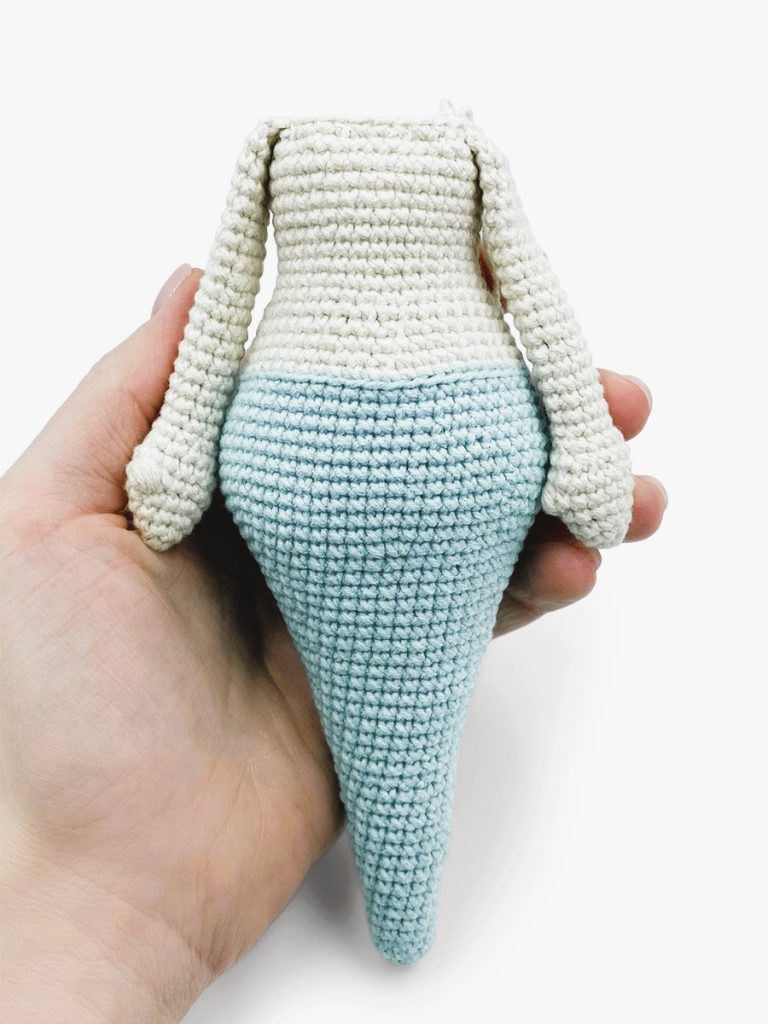
Tail and body:
Begin crocheting with turquoise yarn.
Rnd 1: 6 sc in magic ring [6]
Rnd 2: (inc) repeat 6 times [12]
Rnd 3-6: sc in all 12 st [12]
Rnd 7: (sc in next 5 st, inc) repeat 2 times [14]
Rnd 8: sc in all 14 st [14]
Rnd 9: (sc in next 6 st, inc) repeat 2 times [16]
Rnd 10: sc in all 16 st [16]
Rnd 11: (sc in next 7 st, inc) repeat 2 times [18]
Rnd 12-13: sc in all 18 st [18]
Stitch marker is on the side.
Rnd 14: (sc in next 8 st, inc) repeat 2 times [20]
Rnd 15: sc in all 20 st [20]
Rnd 16: (sc in next 9 st, inc) repeat 2 times [22]
Rnd 17: sc in all 22 st [22]
Rnd 18: (sc in next 10 st, inc) repeat 2 times [24]
Rnd 19: (sc in next 11 st, inc) repeat 2 times [26]
Rnd 20: sc in all 26 st [26]
Rnd 21: (sc in next 12 st, inc) repeat 2 times [28]
Rnd 22: (sc in next 13 st, inc) repeat 2 times [30]
Rnd 23: sc in all 30 st [30]
Rnd 24: (sc in next 14 st, inc) repeat 2 times [32]
Rnd 25: (sc in next 15 st, inc) repeat 2 times [34]
Rnd 26: sc in all 34 st [34]
Rnd 27: (sc in next 16 st, inc) repeat 2 times [36]
Rnd 28: (sc in next 11 st, inc) repeat 3 times [39]
Rnd 29: (sc in next 12 st, inc) repeat 3 times [42]
Rnd 30-31: sc in all 42 st [42]
Rnd 32: (sc in next 13 st, inc) repeat 3 times [45]
Rnd 33: (sc in next 14 st, inc) repeat 3 times [48]
Rnd 34: (sc in next 15 st, inc) repeat 3 times [51]
Rnd 35: (sc in next 16 st, inc) repeat 3 times [54]
Rnd 36-38: sc in all 54 st [54]
Rnd 39: sc in all 51 st, don’t finish the round to replace the marker.
Stitch marker is on the side of the body. Add or undo some stitches, if needed.
Rnd 40: (sc in next 25 st, dec) repeat 2 times [52]
Rnd 41: (sc in next 24 st, dec) repeat 2 times [50]
Rnd 42: sc in all 50 st [50]
Sc in next st. Begin next round from the following stitch.
Rnd 43: (sc in next 23 st, dec) repeat 2 times [48]
Rnd 44: sc in all 48 st [48]
Change to yarn in skin color.
Rnd 45: sc in all 48 st in back loops only [48]
Rnd 46: (sc in next 10 st, dec) repeat 4 times [44]
Rnd 47: sc in all 44 st [44]
Rnd 48: (sc in next 9 st, dec) repeat 4 times [40]
Sc in next 2 st. Begin next round from the following stitch.
Rnd 49: (sc in next 8 st, dec) repeat 4 times [36]
Rnd 50: (sc in next 16 st, dec) repeat 2 times [34]
Sc in next st. Begin next round from the following stitch.
Rnd 51-52: sc in all 34 st [34]
Rnd 53: (sc in next 16 st, inc) repeat 2 times [36]
Rnd 54: sc in all 36 st [36]
Rnd 55: (sc in next 17 st, inc) repeat 2 times [38]
Rnd 56-57: sc in all 38 st [38]
Rnd 58: sc in all 35 st, don’t finish the round to replace the marker.
Shape the body when stuffing.
Attach arms while working on the next round. Add or undo stitches if needed when placing the arms to keep symmetry.
Rnd 59: put the arm and the body together and crochet sc in next 5 st of both the arm and the body, continue working on the body – dec, (sc in next 2 st, dec) repeat 3 times, put another arm and the body together and crochet sc in next 5 st of both the arm and the body, continue working on the body – dec, (sc in next 2 st, dec) repeat 3 times [38]
Rnd 60: (sc in next 3 st, dec) repeat 6 times [24]
Stuff with fiberfill.
Rnd 61: (dec) repeat 12 times [12]
Rnd 62-64: sc in all 12 st [12]
Stuff the neck. Don’t fasten off. Continue working on the head.
Head:
Rnd 1: (inc) repeat 12 times [24]
Rnd 2: (sc in next st, inc) repeat 12 times [36]
Rnd 3: (sc in next 5 st, inc) repeat 6 times [42]
Rnd 4: (sc in next 6 st, inc) repeat 6 times [48]
Rnd 5: (sc in next 7 st, inc) repeat 6 times [54]
Rnd 6: sc in all 54 st [54]
Rnd 7: sc in all 49 st, don’t finish the round to replace the stitch marker.
Stitch marker is in the middle of the back of the doll head now.
Rnd 8: sc in next 9 st, inc, sc in next 8 st, inc, sc in next 15 st, inc, sc in next 8 st, inc, sc in next 10 st [58]
Rnd 9-12: sc in all 58 st [58]
Rnd 13: sc in next 9 st, dec, sc in next 8 st, dec, sc in next 15 st, dec, sc in next 8 st, dec, sc in next 10 st [54]
Rnd 14-19: sc in all 54 st [54]
Rnd 20: (sc in next 7 st, dec) repeat 6 times [48]
Rnd 21: sc in all 48 st [48]
Feel free to tag me (@freeamigurumii) in your photos on Instagram or Facebook if you’d like!
All Finished.