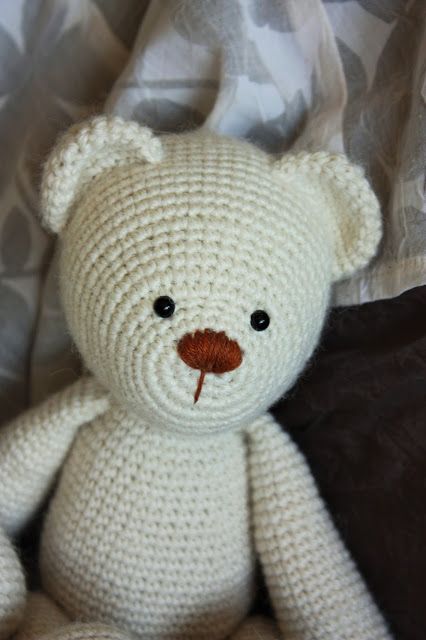
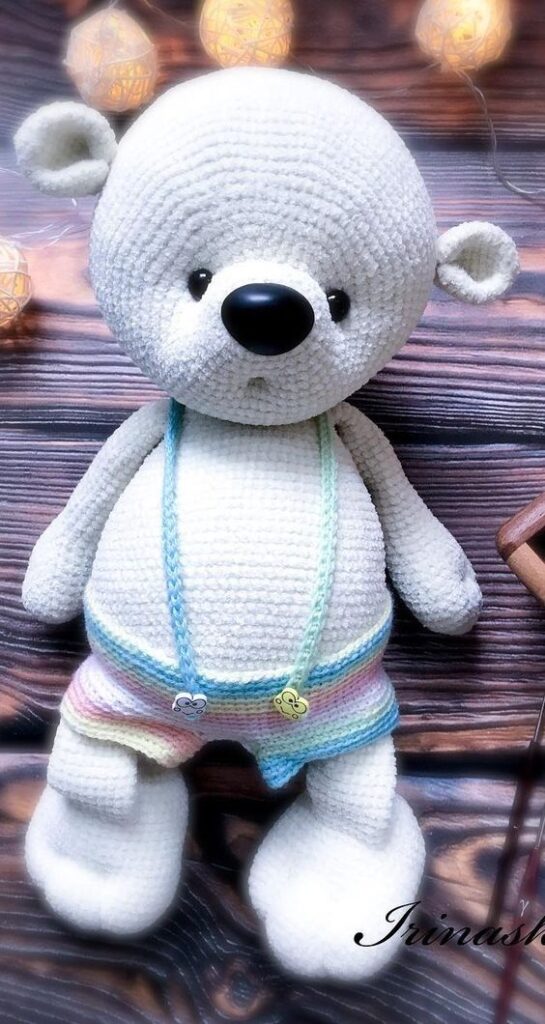
Hello amigurumi lovers and beautiful visitors, I wanted to share the free amigurumi patterns for you here. In my article I will share 1 pattern and how to make it for you. At the end of my article, I will share amigurumi patterns that can generate ideas for you.
Legend:
• p. – loop
• v.p. – chain loop
• sbn – single crochet
•
dc – increase • dec – decrease
• Hdc – semi double crochet
• dc – double crochet
• SS – connecting loop
We will need:
*white yarn (40% mohair from Nako)
*a little black yarn (preferably the same thickness as white)
*yarn for the scarf and bouquet (Coco cotton)
*hook number 2
*beads for the eyes
*filler
* needle
*super glue
Head-torso-legs (one piece)
We make a chain of 8 chain stitches.
1) In the second stitch from the hook we knit 2 sc (i.e., inc.), 5 sc, 4 sc in one loop (so we end up on the other side), 5 sc, inc. (18) 2) 2 inc
. 5 sc, 4 inc, 5 sc, 2 inc. (26)
Now you can make a mark with a thread of a contrasting color, because further rows are knitted without changes (I do this to relax a little and not count loops and rows)
3-12 ) 10 rows without changes
Next we will knit, making increases on the sides. To ensure that the increases are exactly in the center, we will knit 3 stitches and thereby slightly shift the beginning of our row.
13) 12 sbn, inc – 2 times (28) 14) no change 15) 13 sbn, inc – 2 times (30) 16) no change 17) 14 sbn, inc – 2 times (32) 18) no change 19) 15 sbn, inc – 2 times (34) 20) without changes 21) 16 sbn, inc – 2 times (36) 22) without changes Don’t forget about the filler 23) 17 sbn, inc – 2 times (38) 24) 18 sbn , inc – 2 times (40) 25) 19 sbn, inc – 2 times (42) 26) 20 sbn, inc – 2 times (44) 27) 21 sbn, inc – 2 times (46) 28-32) 5 rows no changes 33) 21 sbn, dec – 2 times (44) 34) 20 sbn, dec – 2 times (42) 35) 19 sbn, dec – 2 times (40) 36) 18 sbn, dec – 2 times (38) 37) 17 sc, dec – 2 times (36)
Leg:
We knit 5 sc, connect to the opposite side of the part so that we form a circle consisting of 10 loops. Next we knit 4 rows without changes. We tighten the loops (I did this with a needle)
We also knit the other leg.
Sew up the hole (don’t forget to put some stuffing in! Stuff it tighter).
Nose:
We begin to knit with black thread. We cast on a chain of 8 vp. 1) In the second p. from the hook we knit 6 sc, 3 sc in the last p of the chain (so we end up on the other side), 5 sc, ave. (16) 2) ave, 5 sc, 3 ax, 5 sc, 2 ex. (22) 3) no changes 4) dec, 5 sc, 3 dec, 5 sc, 2 dec (16) 5) (further we knit with white thread) no changes (16) 6) 3 sc, inc – 2 times ( 20) 7-10) 4 rows unchanged Leave the thread for sewing. Place the filling, count 6 rows from the top and sew.
Paws:
9 sc in amigurumi ring. Next we knit 19 rows without changes. Lightly stuff the foot and tighten the loops. Sew the legs to the body. Again, I tightened the loops with a needle, and then immediately sewed them on.
The good thing about mohair is that when sewn on, no flaws are visible. Everything will be disguised by hairiness))))
Ears:
9 sc in amigurumi ring, vp, turn the knitting over and knit 9 sc.
You should get semicircles. Leave the thread for sewing. Sew on)))
Tail:
1) 6 sc in amigurumi ring
2) 6 increases (12)
3-5) 3 rows without changes (12)
Sew the tail to the body.
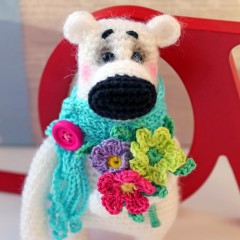
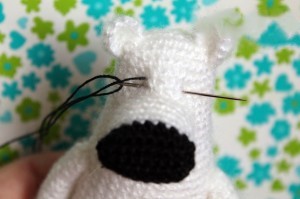
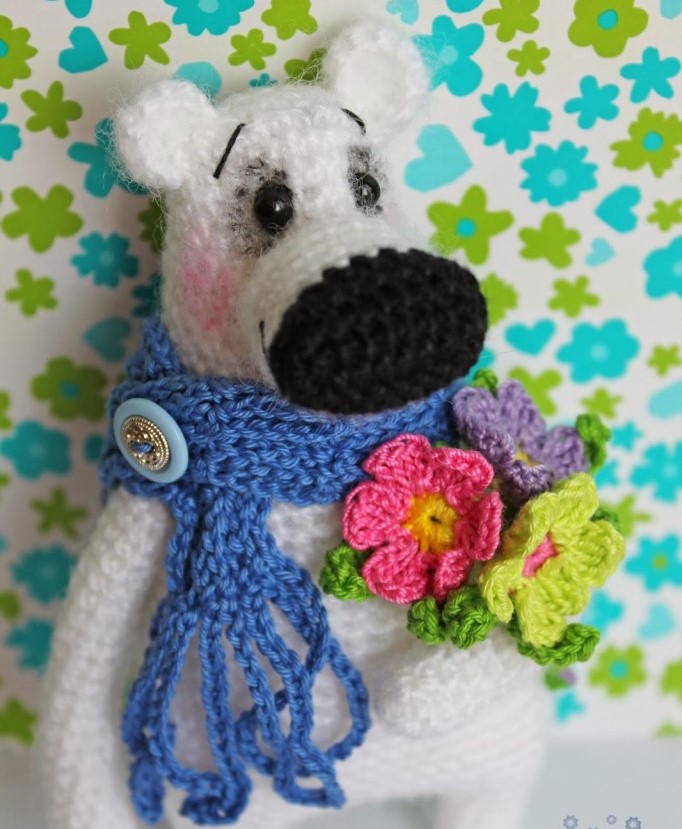
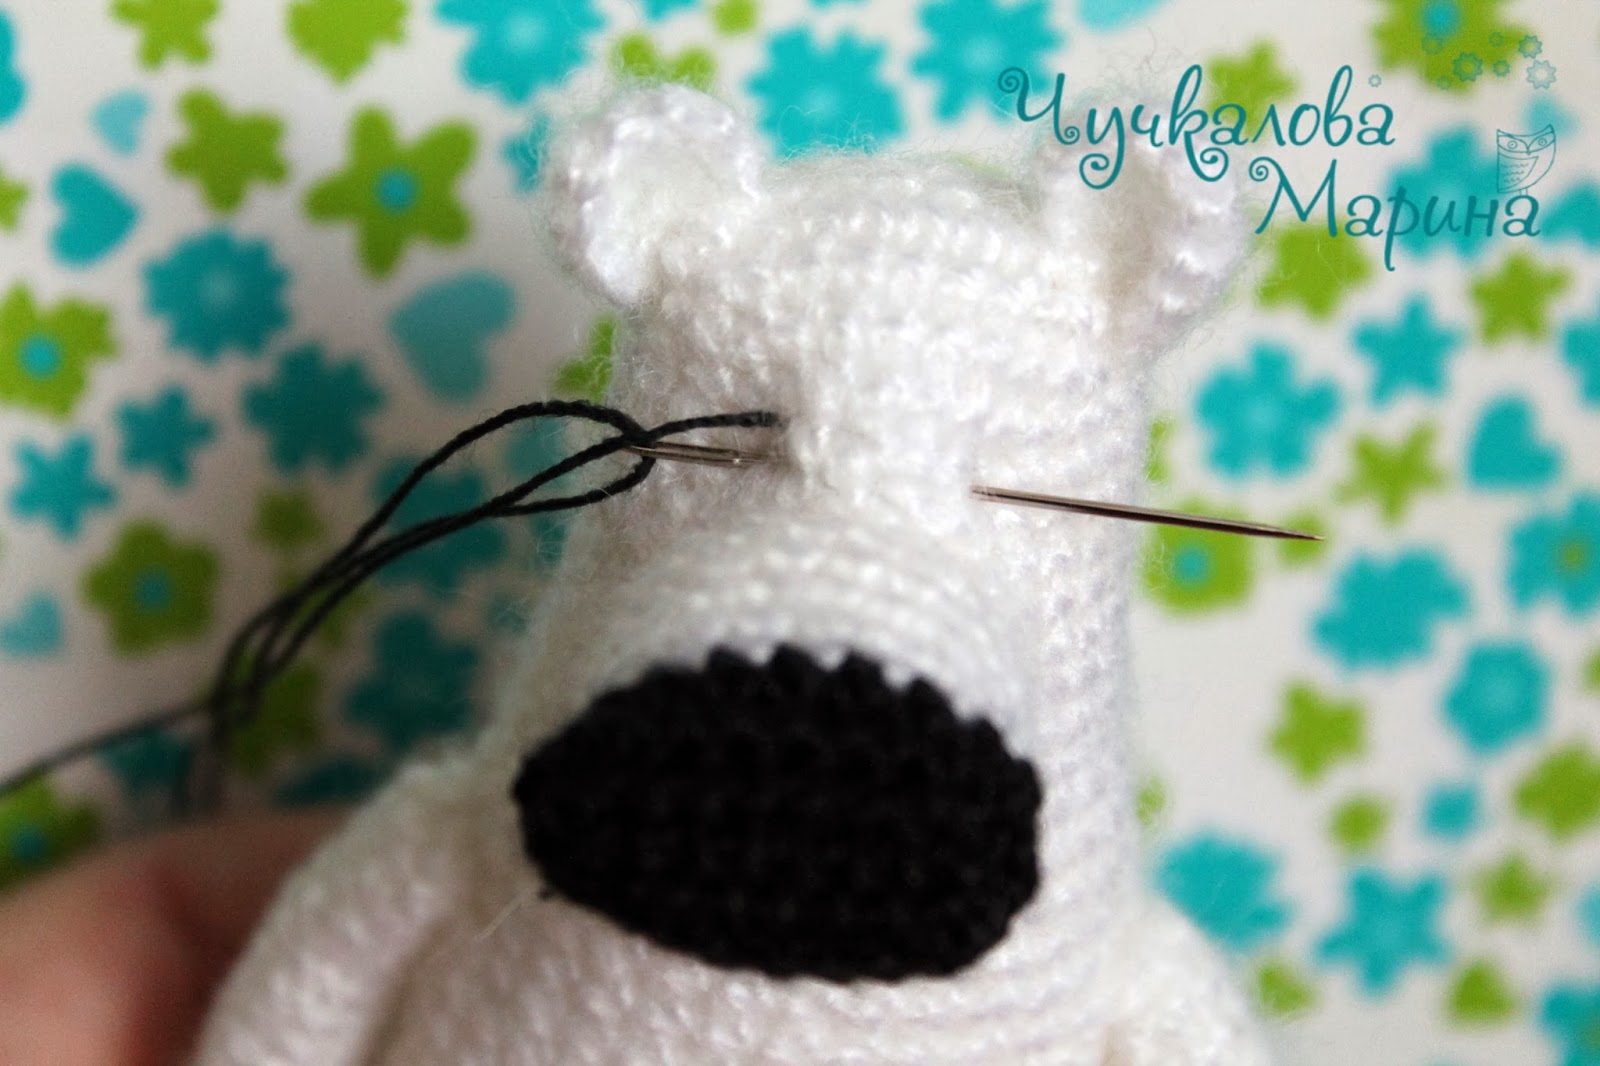
Decorate the face: sew on eyes, embroider eyebrows, a smile. You can tint around the eyes.
Scarf: Its author is Marina Arkhangelskaya and it is called “airy.” The beauty of the scarf is that it begins to knit from the long side and its width can be any.
Tie a chain of 66 chain stitches. (or another length, but the number of loops is a multiple of 6) + 30 ch. – for the fringe brush. In the first row, tie 1 sc in the 31st loop from the hook (the loop on the hook is not included in the count of loops). Next, knit * 5 chain stitches, skip 5 loops of the chain, and in the 6th row knit 1 sc * – repeat between *…* until the end of the row. At the end of the row, tie 30 vp. for the fringe tassel and start the 2nd row by making the 1st sc over the last sc of the previous row and further according to the pattern.
Along the edges of the scarf you will get a knitted fringe. You can vary the length and width of the scarf at your discretion by increasing or decreasing the initial chain and the number of knitting rows. The number of loops in the initial chain is a multiple of six (fringe is not taken into account).
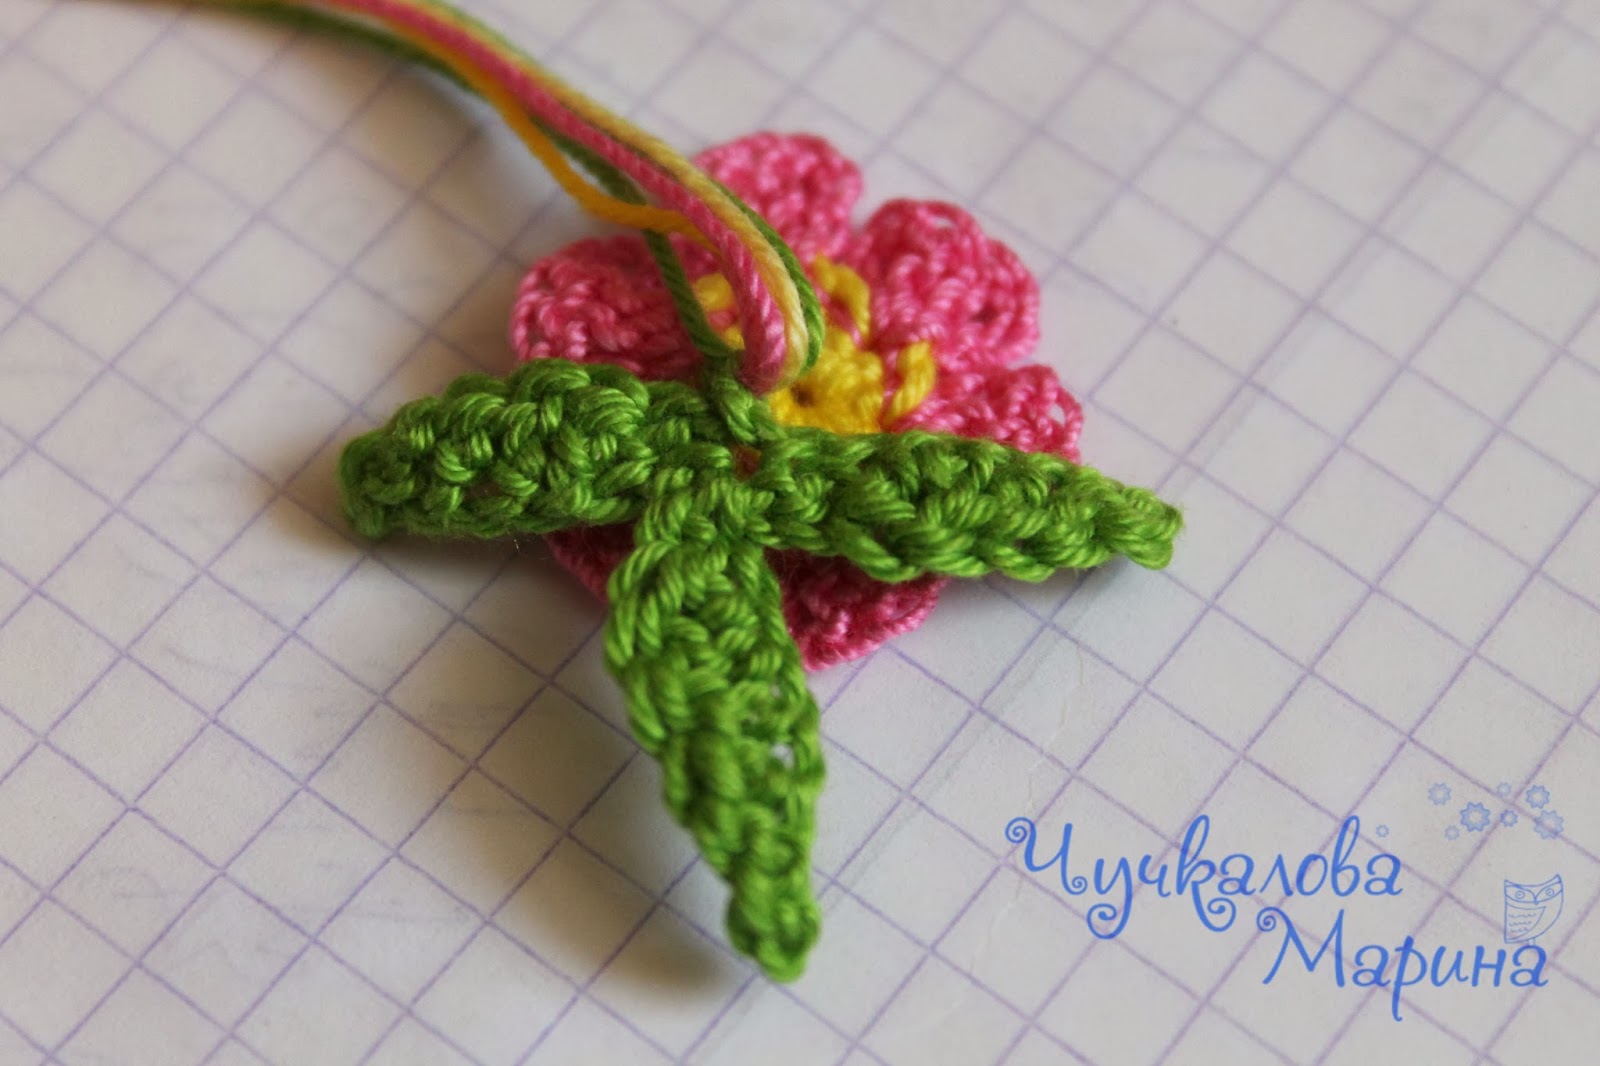
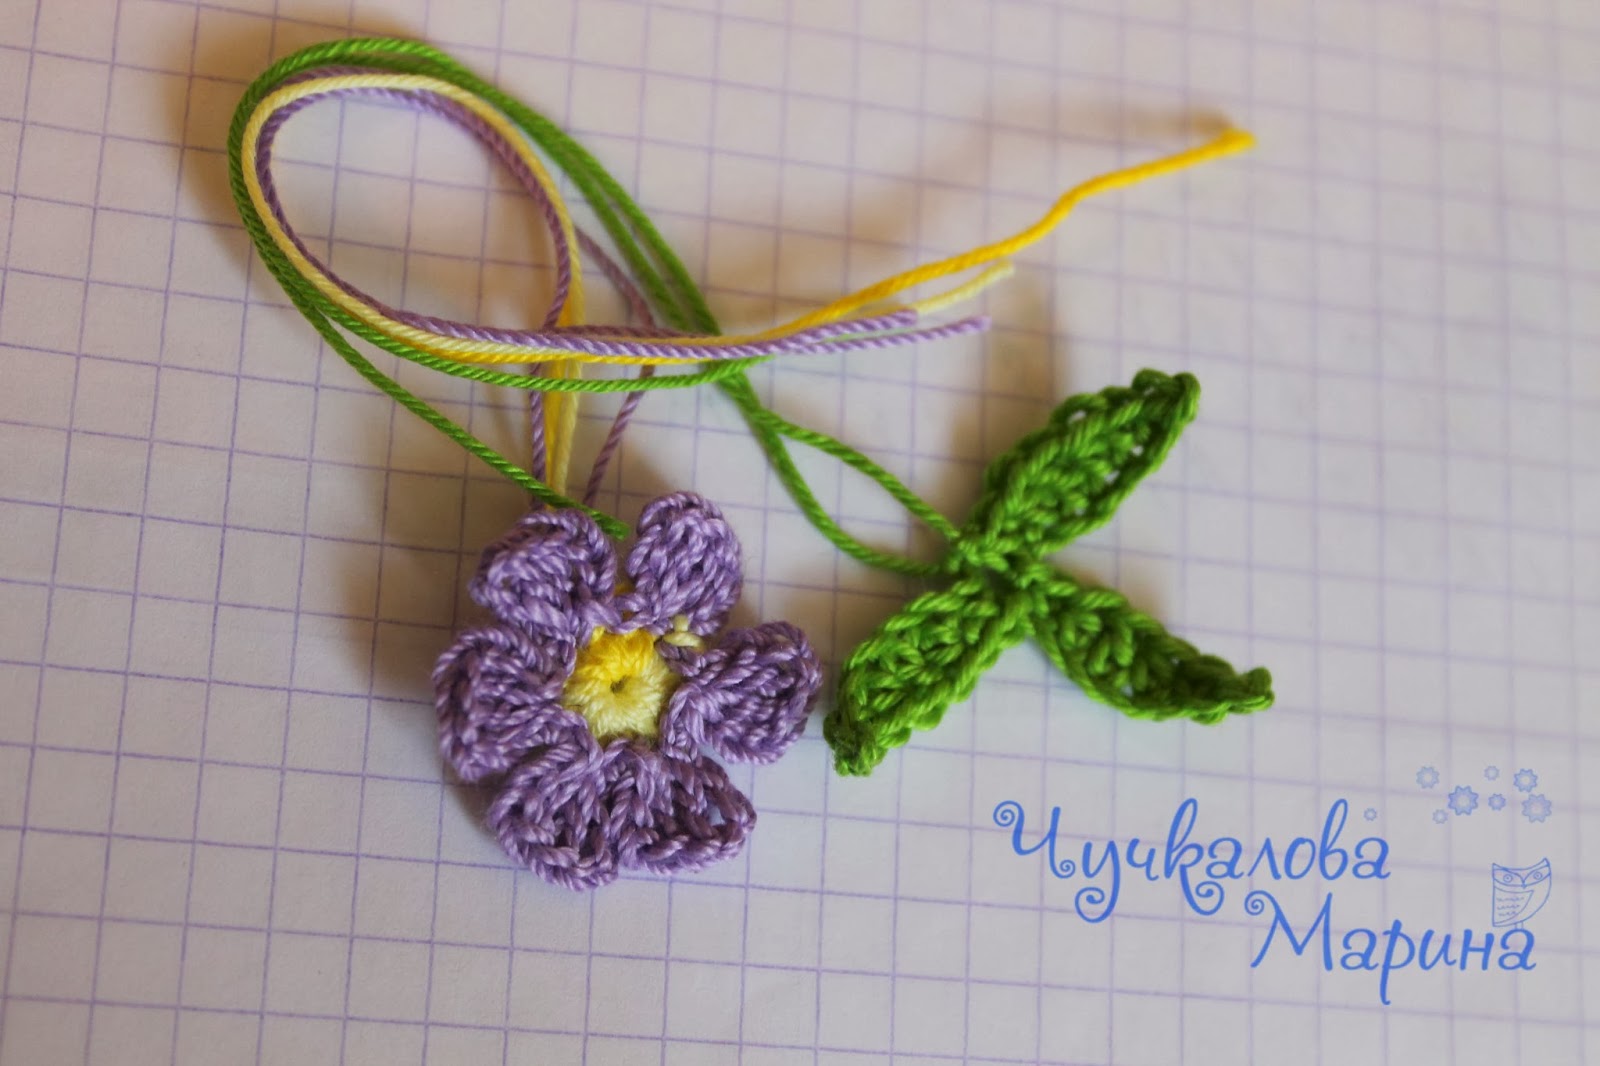
Bouquet of flowers: We will tie three flowers of different colors and three green shamrocks for each flower. Whenever you cast on loops in an amigurumi ring or chain, leave a tail of thread 10 cm long. Then we will put these tails together.
How to knit a flower:
1) We put 12 sc in the amigurumi ring with a yellow thread (don’t forget about the tail)
2) Change the color, for example, to lilac and knit the first petal: IN THE SAME LOOP – *ss, 3 ch. , 2 dc, ch 3, ss* Next ss into the next loop. And the next time we knit a new petal again, i.e. We repeat everything between the asterisks again. It turns out that the petals are separated by connecting loops. If we put 12 stb into the ring, then we will get a flower of 6 petals.
Once the flower is tied, tighten the yellow center ring. Trim the threads, leaving tails.
How to tie green petals:
1) Leave the tail again and cast on 8 ch.
2) Starting from the second st from the hook, ss, sc, hdc, dc, hdc, sc, ss
3) Without tearing off the thread, we again cast on a chain of 7 vp. and also knit a ss, sc, hdc, dc, hdc, sc, and knit a ss in the last st of the previous petal
4) Repeat step 3 again.
Knit three flowers and three shamrocks.Leave a thread 45-50 cm long on one of the shamrocks (we will need it to wrap the stem of the bouquet)
Tie the greenery petals at the base of the flowers. Then form a bouquet and wrap all the threads with one green thread that you left. Secure the knot at the end of the stem with super glue.
Sew one of the bear’s legs by the palm to the body. Insert the bouquet into the resulting hole.
The result is a removable bouquet that can be replaced, for example, with candy)
Feel free to tag me (@freeamigurumii) in your photos on Instagram or Facebook if you’d like!
All Finished.


