Hello amigurumi lovers and beautiful visitors, I wanted to share the free amigurumi patterns for you here. In my article I will share 1 pattern and how to make it for you. At the end of my article, I will share amigurumi patterns that can generate ideas for you.
Materials
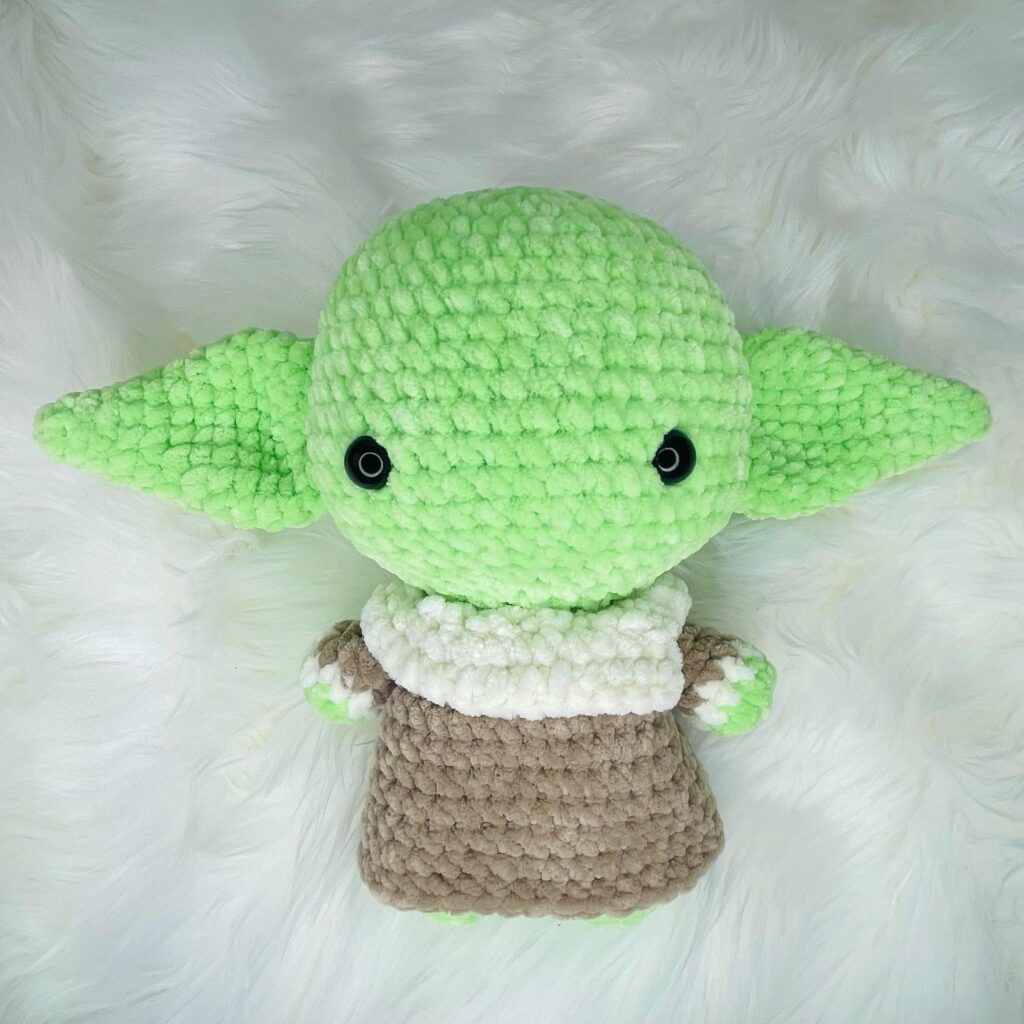
• Chenille Home Slim yarn in the colors Agave and Sand.
• Polyfill
• 20mm safety eyes
• 7mm hook.
• Stitch marker (optional)
• Darning needle
• Scissors
Abbreviations
(sc)/(sc): Single crochet
(BO) Hazelnut stitch
(ml)/(ch): Chainette, Air stitch
(MR): Magic ring
(dim)/(dec): decrease, decreasing, decrease
(augm) /(inc): increase
(M)/(st): Stitch (pt) stitch
(FLO): work only in front loops
(BLO): work only in back loops
(br)/(dc): double crochet
(dB )/(hdc): half double crochet
(sl st)/(sl-st): slip stitch, small stitch
(Fo): Fasten the thread.
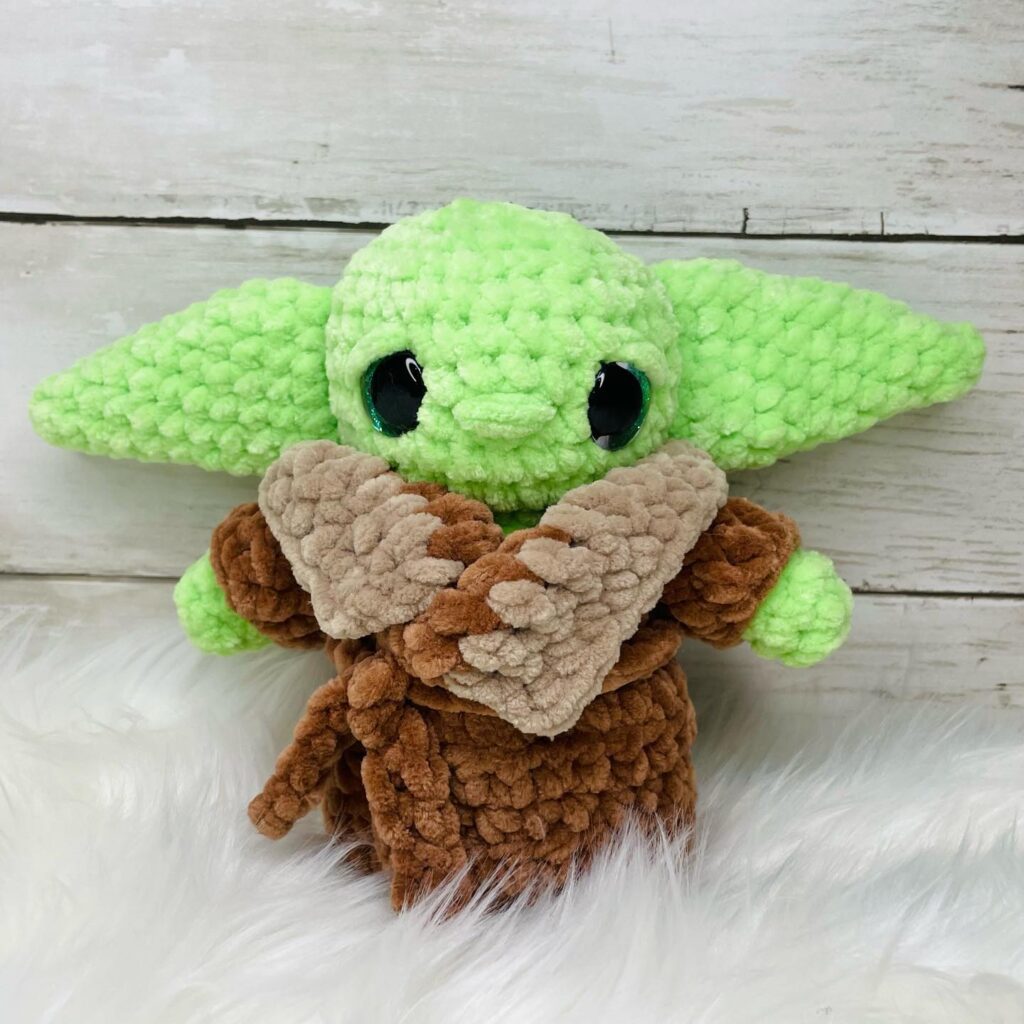
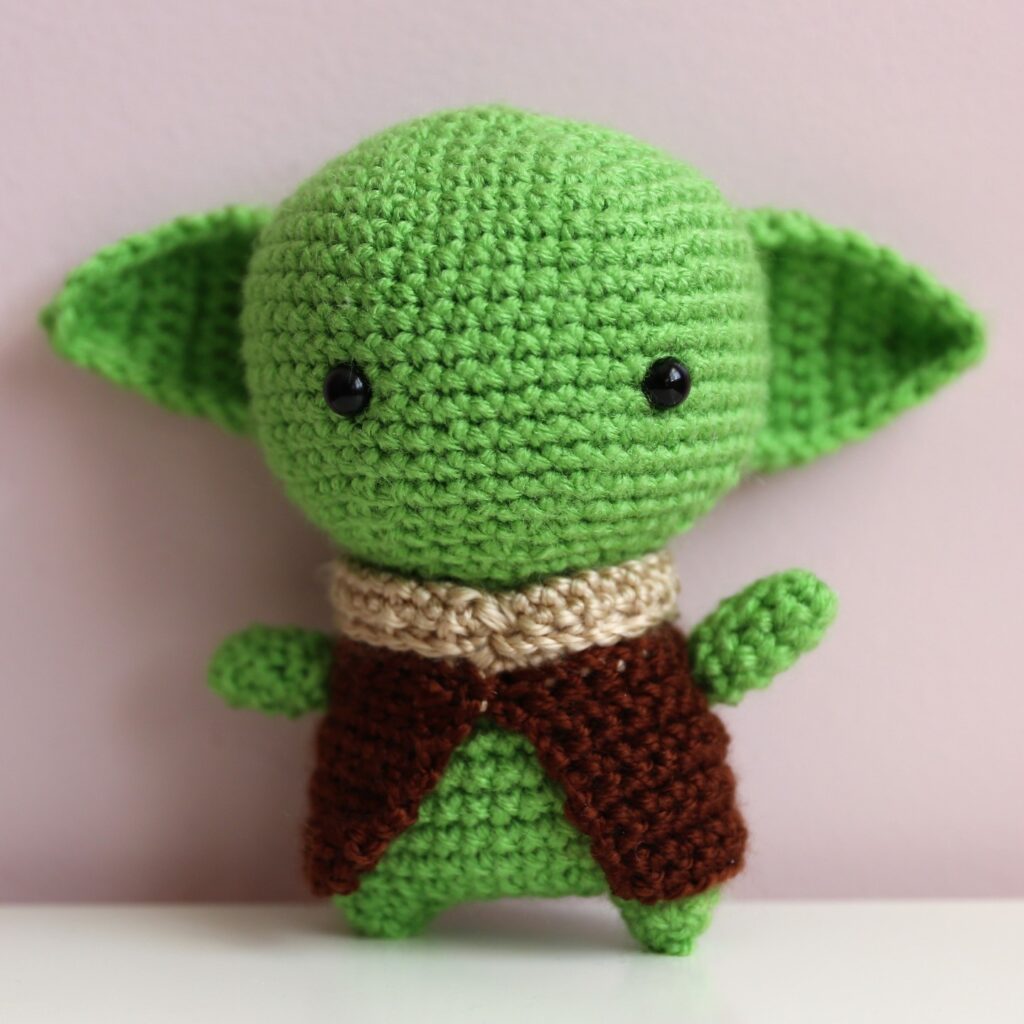
Head/Body
From Agave
Rnd 1: 6 sc in MR (6)
Rnd 2: inc x6 (12)
Rnd 3: (sc, inc) x6 (18)
Rnd 4: (2 sc, inc) x6 (24 )
Rnd 5: (3 sc, inc) x6 (30)
Rnds 6-11 (6 rnds): sc around (30)
Attach safety eyes between rounds 8-9. 5 stitches apart.
Rnd 12: (3 sc, dec) x6 (24)
Rnd 13: (2 sc, dec) x6 (18)
Fill in tightly as you go.
Rod 14: (dc, dim) x6 (12)
Change color to sand.
Rnd 15: (Work in BLF) (sc, inc) x6 (18)
Rnd 16: (2 sc, inc) x6 (24)
Rnd 17: sc around (24)
Rnd 18: (3 sc, inc) x6 ( 30)
Rods 19- 26 (8 rounds): sc around (30)
Keep filling firmly. Be sure to fill the neck well.
Rnd 27: (Work in BLO) (3 sc, dim) x6 (24)
Rnd 28: (2 sc, dim) x6 08)
Rnd 29: (sc, dim) x6 02)
Rnd 30: dim x6 (6)
Fo and sew the remaining 6 stitches closed.
Arm (do 2)
From Agave
Rnd 1: 6 sc in MR (6)
Rnd 2: (sc, inc) x3 (9)
Rnd 3: sc around (9)
Change color to sand
Rnd 4: (Work FLO) sc around (9)
Rnds 5-7: (3 rnds): sc around (9)
Lightly fill in arm
Fold in half and sc closed (4)
Fo and leave tail to sew to body.
Necklace
In Sand color
Ch 25. round. beg in 2nd ch from hook dc. and dc in the remaining ch (24)
Fo and leave a tail for sewing,
Ears (make 2)
In Agave color
You will chain I and turn at the end of each row.
Row 1 8 ch, turn, sc in 2nd ch from hook and all remaining 6 ch. (7)
Row 2: dec, 5 sc (6)
Row 3: dec, 4 sc (5)
Row 4: dec, 3 sc (4)
Row 5: dec, 2 sc (3)
Row 6: dec, sc ( 2)
Row 7: dec (1)
sl st to the side until you reach the corner. fold in half and sc the corners together to create the crimped ear effect.
Fo and leave a tail to sew to the head.
Assembly
• Sew the arms to the body just after the head. in line and slightly set back. the eyes.
• Sew the ears between rounds 7-9. 4 stitches behind the eyes.
• For the collar. wrap it around the body. where head and body meet. sew it to the body itself to create a collar.
• Embroider the nose directly between the eyes. covering 2 stitches.
Feel free to tag me (@freeamigurumii) in your photos on Instagram or Facebook if you’d like!
All Finished.