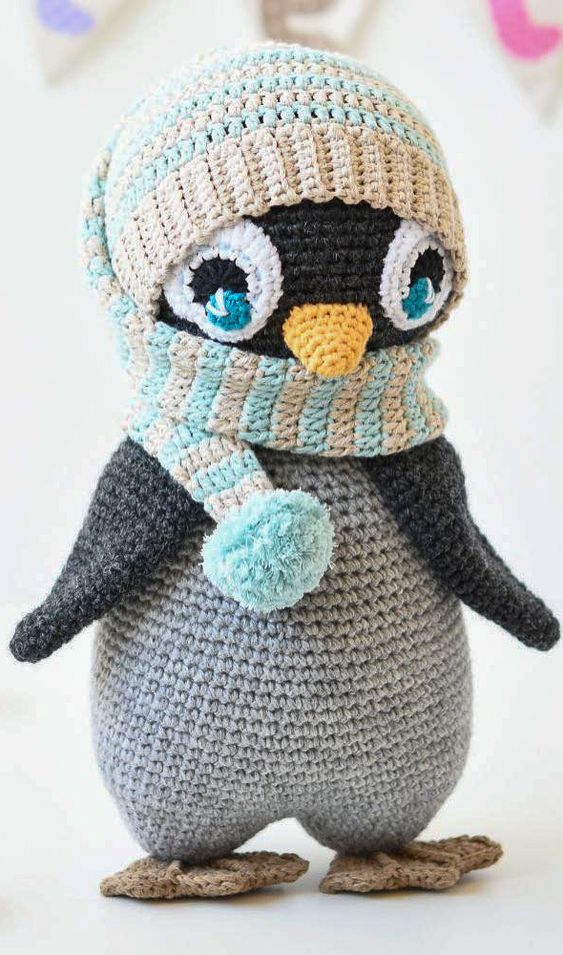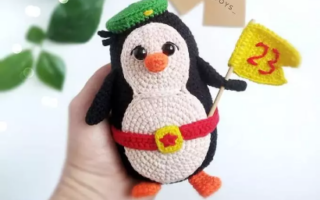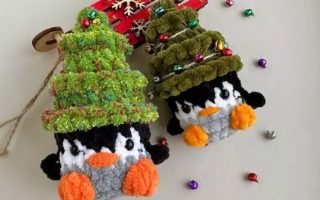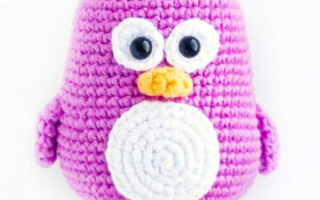
Hello amigurumi lovers and beautiful visitors, I wanted to share the free amigurumi patterns for you here. In my article I will share 1 pattern and how to make it for you. At the end of my article, I will share amigurumi patterns that can generate ideas for you.
You will need:
- light black, white and orange yarn ( 3 Light );
- hook 4.25 mm;
- fibrous filler;
- eyes with glasses 15 mm;
- gobelen needle;
- sewing needle and thread.
Pay attention:
Knitting density is not important for this toy. Pick up the yarn, hook and thread tension so that the filler does not look between the hinges and everything will be fine.
The numbers at the end of each row mean the total number of loops that should be in a row.
We recommend that you pre-read each step before you start to familiarize yourself with the upcoming work.
Before stitching all parts, it is recommended to fasten all parts with pins. This will give you the opportunity to evaluate all parts together and make changes to individual elements before getting the final result.
Body / Head
KR 1: 8 SBN in Amigurumi Ring ( 8 loops )
KR 2: 2 SBN in each SBN in a circle ( 16 )
KR 3: SBN next. SBN, 2 SBN per next. SBN in a circle ( 24 )
KR 4: SBN next. 2 SBN, 2 SBN per next. SBN in a circle ( 32 )
KR 5: SBN next. 3 SBN, 2 SBN per next. SBN in a circle ( 40 )
KR 6: SBN next. 4 SBN, 2 SBN per next. SBN in a circle ( 48 )
KR 7-30: SBN in each SBN in a circle ( 48 )
KR 31: SBN next. 10 SBN, decrease over the next two SBN in a circle ( 44 )
KR 32-33: SBN in each SBN in a circle ( 44 )
KR 34: SBN next. 9 SBN, decrease over the next two SBN in a circle ( 40 )
KR 35-36: SBN in each SBN in a circle ( 40 )
Start tightly stuffing the toy and giving it a shape. Keep stuffing while knitting.
KR 37: SBN next. 8 SBN, decrease over the next two SBN in a circle ( 36 )
KR 38-39: SBN in each SBN in a circle ( 36 )
KR 40: SBN next. 7 SBN, decrease over the next two SBN in a circle ( 32 )
KR 41: SBN next. 6 SBN, decrease over the next two SBN in a circle ( 28 )
KR 42: SBN next. 5 SBN, decrease over the next two SBN in a circle ( 24 )
KR 43: SBN in each SBN in a circle ( 24 )
KR 44: SBN next. SBN, decrease over the next two SBN in a circle ( 18 )
KR 45: decrease in the trace. 2 SBN in a circle ( 8 )
Close the last loop. Add a filler if necessary and shape your head. Pull the remaining ponytail through the last row of the SBN and tighten the hole. Tie the thread and hide the ends.
White tummy
KR 1-6: according to the Head / Body scheme ( 48 SBN at the end of KR 6 )
KR 7-8: SBN in each SBN in a circle ( 48 )
KR 9: decrease over the first two SBN, SBN in each SBN in a circle up to the last 2 SBN, decrease over the last two SBN. Do not close, expand ( 46 )
Row 10: decrease over the first two SBN, SBN in each SBN in a circle up to the last 2 SBN, decrease over the last two SBN. Expand ( 44 )
Repeat row 10 until 18 SBN remains, expand ( do not close the last loop )
Start shaping the top:
Row 1-2: SBN in each SBN to the end ( 18 )
Row 3: decrease over the first two SBN, SBN in each SBN in a circle up to the last 2 SBN, decrease over the last two SBN. Expand ( 16 )
Row 4-5: SBN in each SBN to the end ( 16 )
Row 6: decrease over the first two SBN, SBN in each SBN in a circle up to the last 2 SBN, decrease over the last two SBN. Expand ( 14 )
Row 7-8: SBN in each SBN to the end ( 14 )
Row 9: SBN in the first SBN, PSN next. SBN, SN in each of the following three SBN, PSN next. SBN, SBN in each of the following two SBN, PSN next. SBN, SN in each of the tracks. three SBN, PSN next. SBN, SBN in the last SBN.
Close the last loop and hide the ends of the threads.
Beak
( orange yarn )
KR 1: 6 SBN in Amigurumi Ring ( 6 loops )
KR 2: SBN next. 2 SBN, 2 SBN per next. SBN, SBN next. 2 SBN, 2 SBN in the last SBN. ( 8 )
KR 3: SBN next. 3 SBN, 2 SBN per next. SBN, SBN next. 3 SBN, 2 SBN in the last SBN. ( 10 )
KR 4: SBN next. 4 SBN, next. SBN [ PPSN, SN, PSN ], SBN next. 4 SBN, in the last SBN [ PSN, SN, PSN ]
KR 5: SBN next. 5 SBN, next. SBN [ PPSN, SN, PSN ], SBN next. 6 SBN, next. SBN [ PSN, SN, PSN ], SBN in the last SBN.
KR 6: SBN next. 6 SBN, next. SBN [ PPSN, SN, PSN ], SBN next. 8 SBN, in the last SBN [ PSN, SN, PSN ], SBN in the last 2 SBN.
KR 7: SBN next. 7 SBN, next. SBN [ SBN, 4 vp, soy. Art. in the second loop from the hook, SBN in each of the two vp ], SBN next. 10 SBN, next. SBN [ SBN, 4 vp, coed. Art. in the second loop from the hook, SBN in each of the tracks. two vp ], SBN in the last 3 SBN.
Close the last loop and hide the ends of the threads.
Wings
Row 1: 5 vp, SBN in the second p. From the hook and in the remaining p. chains, expand ( 4 )
Row 2-3: SBN in each SBN to the end, expand ( 4 )
Row 4: 2 SBN in the first SBN, SBN next. 2 SBN, 2 SBN in the last SBN ( 6 )
Row 5-16: SBN in each SBN to the end ( 6 )
Row 17: SBN in each SBN to the last two SBN, decrease over the last two SBN ( 5 )
Row 18: SBN in each SBN to the end ( 5 )
Repeat rows 17 and 18 until 2 SBN remains. Reduce over two SBN ( 1 )
Close the last loop and hide the ends of the threads ( the slashed side of the wing should be directed towards the back when stitching the toy ).
Paws: 4 pcs.
Orange / Yellow Yarn
KR 1: 6 SBN in Amigurumi Ring ( 6 loops )
KR 2: 2 SBN in each SBN in a circle ( 12 )
KR 3: *6 vp, coed. Art. in the second loop from the hook, SBN next. vp, PSN next. vp, SN in the next. vp, C2N in the last vp. Skip 1 SBN, coed. Art. next. SBN*. Repeat from * to * 2 times ( you get 3 fingers ). Close the last loop and hide the ends of the threads.
Take two paws and put them together by matching your fingers. Stitch them over the edge over the outer edges using the needle and a suitable thread. Tie the thread and hide the ends.
Legs: 2 pcs.
It is with this hero that the legs are not at all obligatory. In the cartoon, they are practically not visible, only paws, but sometimes they still look through. The author included a description of the legs in the diagram if you want to tie them. Although, according to the author, the best option is to attach the paws directly to the body, the legs do not add anything to the general appearance of the toy.
Start with orange / yellow yarn.
KR 1: 6 vp close to the ring. 1 vp and SBN in a circle, go to the white yarn in the last SBN, close to the first SBN of the circular row.
KR 2: 1 vp, SBN in the same loop into which the row was closed. *2 SBN next. SBN, SBN next. SBN*. Repeat from * to * in a circle to the beginning, close to the first SBN using a connection. Art.
KR 3: 1 vp, SBN in the same loop into which the row was closed. *2 SBN next. SBN, SBN next. SBN. Repeat from * in a circle. Close the last loop and hide the ends of the threads.
( When knitting your legs, you may have « excess » loop in a circular row. This is normal, just tie the SBN into it and lock it to start the next row. )
Sew your paw to your leg as shown in the ( figure, the orange part of the leg connects to the paw ).
Final toy assembly:
- The author strongly recommends that all parts be folded with pins before stitching. This will give you the opportunity to make sure that you are satisfied with all parts before they are sewn into place.
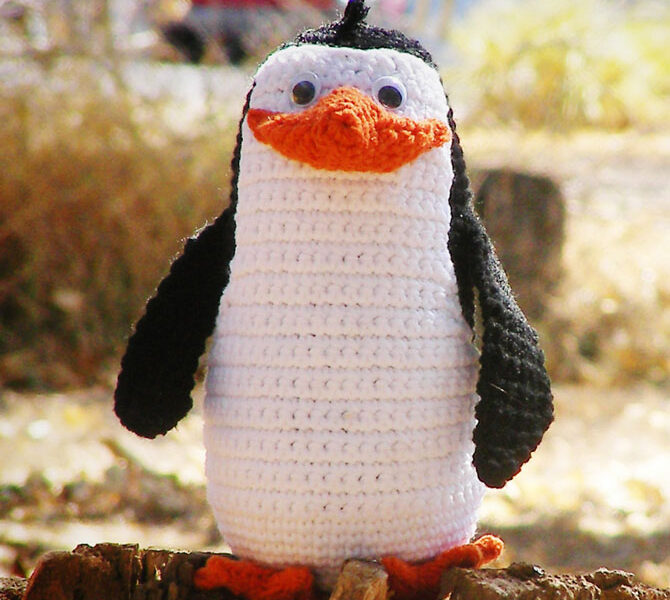
- The white tummy is tightly adjacent to the bottom of the abdomen and stretches towards the head ( see photos )
- The beak is slightly full and shape it. It is sewn on the face, as shown in the photograph. Rico always smiles, and so his beak seems more than the rest of the penguins.
- Paws sew below.
- Glaze with strong glue for the fabric.
- Wings are on the sides of the toy.
- Hair is a small piece of black buckle about 13 cm long. Attach these pieces in one line on the head with a hook, as shown in the photograph. Trim to the desired length.
As usual, if you have problems or questions according to the scheme, you can write them in the comments on the post.
Feel free to tag me (@freeamigurumii) in your photos on Instagram or Facebook if you’d like!
All Finished.