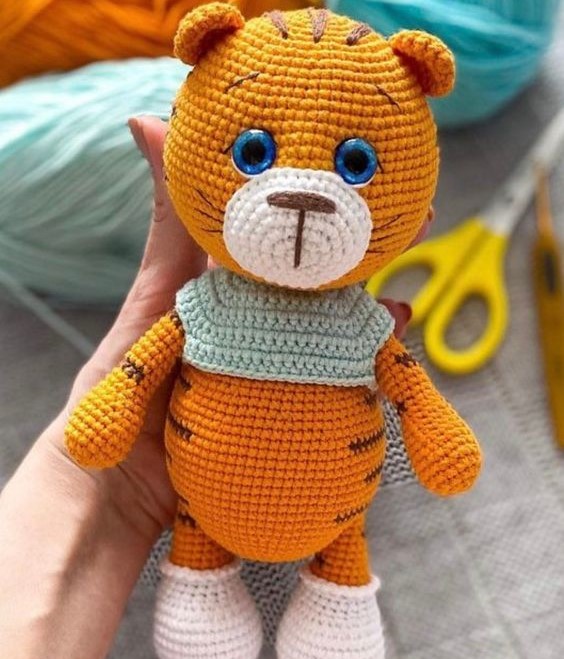
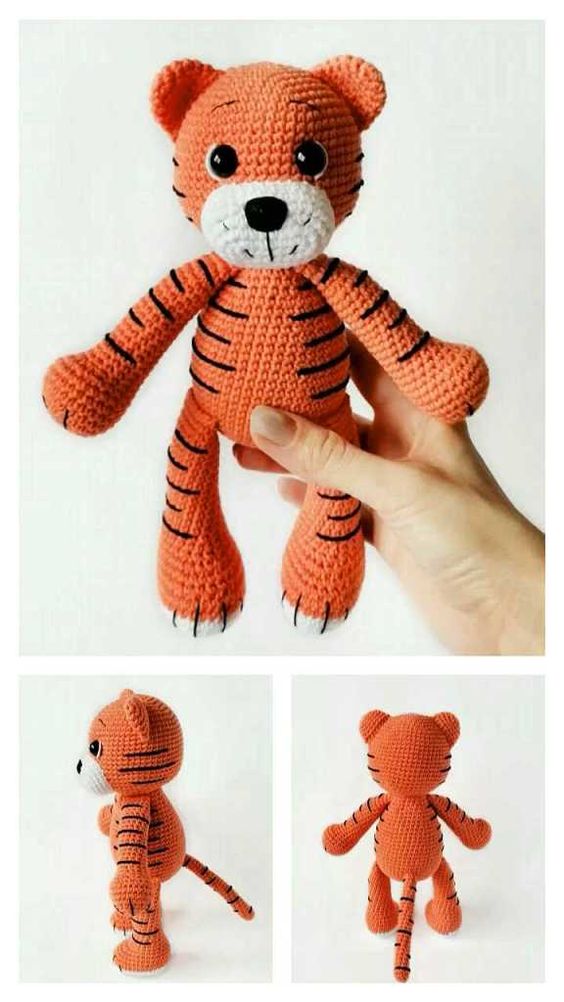
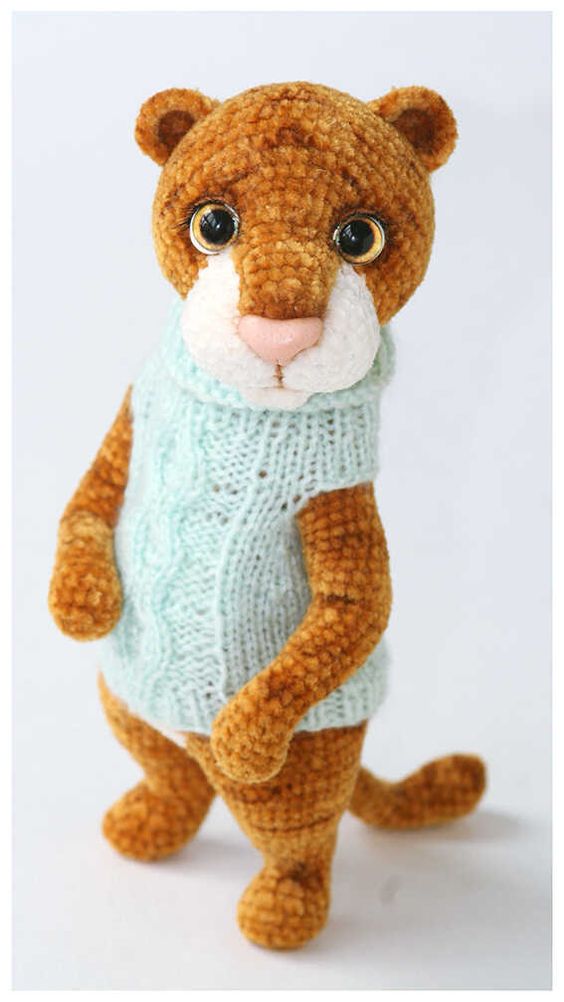
Hello amigurumi lovers and beautiful visitors, I wanted to share the free amigurumi patterns for you here. In my article I will share 1 pattern and how to make it for you. At the end of my article, I will share amigurumi patterns that can generate ideas for you.
Materials:
Himalayan yarn Dolphin Baby, color # 80318 red ( heart )
YarnArt Jeans yarn, color # 23 ( main color ), white ( muzzle and legs ), black ( for scratches )
2.0 mm and 3.5 mm for the plush wire
8 mm safety eyes
14 mm safety nose
Tapestry needle
Scissors
Refund
Abbreviations
( ms ) / ( sc ): greenhouse mesh
( bo ): popcorn point
( ml ) / ( ch ): Chainette, Air mesh
( MR ): Magic ring
( dim ) / ( dec ): decrease, decrease, decrease
( augm ) / ( inc ): increase
( M ) / ( st ): Point ( pt ) mesh
( FLO ): work only in the front loops
( BLO ): work only in rear loops
( d-br, dble.b ) / ( tr ): Double flange
( br ) / ( dc ): flange
( dB ) / ( hdc ): half flange
( mc ) / ( sl-st ): casting mesh, small mesh
( db / dbr ) ( dtr ): Double flange
( mct ) / ( tch ): chain meshes to rotate
( 3msm ) / ( sc3tog ): 3 ms in the same mesh
( F.o. ): Stop the wire.
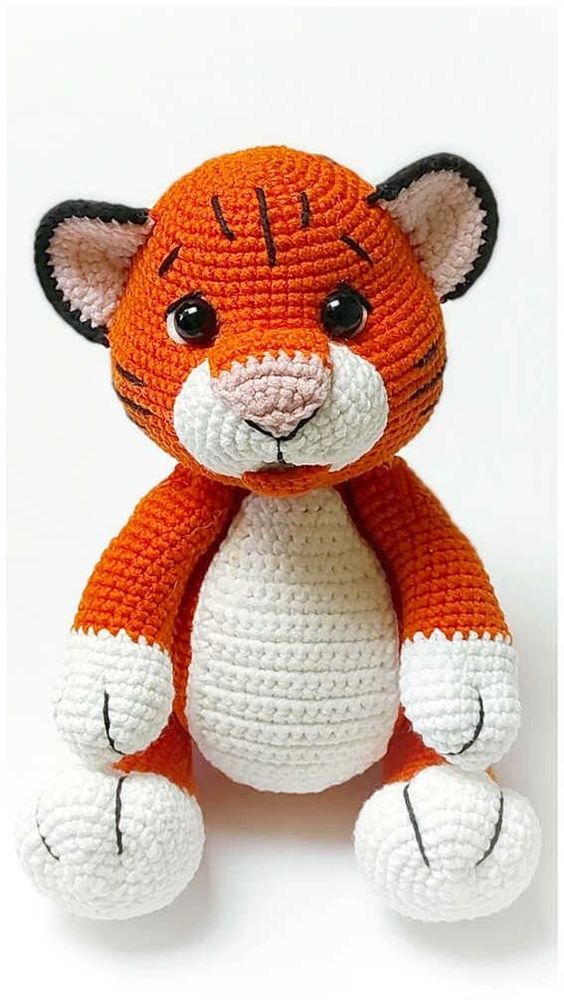
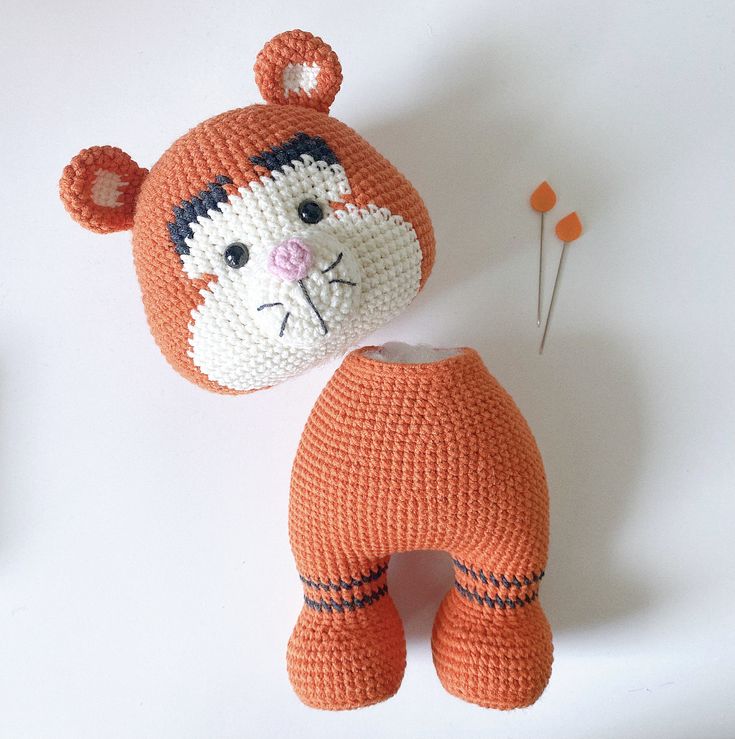
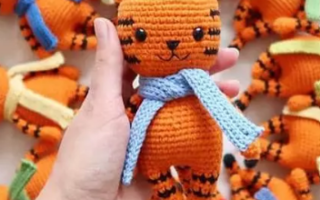
Tiger
Legs ( make 2 )
With white thread :
R 1: 6 ms in MR ( 6 )
R 2: ( augm ) * 6 ( 12 )
R 3: ( 1 ms, augm ) * 6 ( 18 )
R 4: ( 2 ms, augm ) * 6 ( 24 )
R 5: 24 ms
R 6: ( 3 ms, augm ) * 6 ( 30 )
R 7-10: 30 ms ( 4 rows )
R 11: ( 3 ms, dim ) * 6 ( 24 )
R 12: 24 ms
R 13: ( 2 ms, dim ) * 6 ( 18 )
R 14: 18 ms
R 15: ( 1 ms, dim ) * 6 ( 12 )
R 16: ( dim ) * 6 ( 6 )
Gently fill with padding fiber.
F.o.
Leg caps ( make 2 )
With pink thread:
R 1: 6 ms in MR ( 6 )
R 2: ( augm ) * 6 ( 12 )
R 3: ( 1 ms, augm ) * 6 ( 18 )
F.o. and leave a long tail for sewing.
Sew the leg pad on the leg.
Broke the legs with black thread.
Arm ( make 2 )
With white thread:
R 1: 6 ms in MR ( 6 )
R 2: ( augm ) * 6 ( 12 )
R 3: ( 1 ms, augm ) * 6 ( 18 )
R 4-5: 18 ms ( 2 rows )
R 6: ( 2 ms, augm ) * 6 ( 24 )
R 7-8: 24 ms ( 2 rows )
R 9: ( 2 ms, dim ) * 6 ( 18 )
Switch to orange thread:
R 10: ( 4 ms, dim ) * 3 ( 15 )
R 11-15: 15 ms ( 5 rows )
Fill only the lower part of the arm.
Bend your upper arm flat and ms across both sides across.
Embroider legs and scratches with black thread.
Muzzle
R 1: 6 ms in MR ( 6 )
R 2: ( augm ) * 6 ( 12 )
R 3: ( 1 ms, augm ) * 6 ( 18 )
R 4: ( 2 ms, augm ) * 6 ( 24 )
R 5: 24 ms
F.o. and leave a long tail for sewing.
Insert the safety nose in two rows under the center.
Head
Fill as you go.
R 1: 6 ms in MR ( 6 )
R 2: ( augm ) * 6 ( 12 )
R 3: ( 1 ms, augm ) * 6 ( 18 )
R 4: ( 2 ms, augm ) * 6 ( 24 )
R 5: ( 3 ms, augm ) * 6 ( 30 )
R 6: ( 4 ms, augm ) * 6 ( 36 )
R 7: ( 5 ms, augm ) * 6 ( 42 )
R 8: ( 6 ms, augm ) * 6 ( 48 )
R 9-10: 48 ms ( 2 rows )
R 11: ( 7 ms, augm ) * 6 ( 54 )
R 12-20: 54 ms ( 9 rows )
Insert safety eyes between R 14 and R 15 at a distance of 6 m from each other.
R 21: ( 7 ms, dim ) * 6 ( 48 )
R 22: ( 6 ms, dim ) * 6 ( 42 )
R 23: ( 5 ms, dim ) * 6 ( 36 )
R 24: ( 4 ms, dim ) * 6 ( 30 )
R 25: ( 3 ms, dim ) * 6 ( 24 )
R 26: ( 2 ms, dim ) * 6 ( 18 )
R 27: ( 1 ms, dim ) * 6 ( 12 )
R 28: ( dim ) * 6
F.o.
Ears ( make 2 )
Part 1
With white thread in the rotating rows :
R 1: 4 ms in MR, 1 rotating chain ( 4 )
R 2: ( augm ) * 4, 1 rotating chain ( 8 )
R 3: ( 1 ms, augm ) * 4 ( 12 )
F.o.
Part 2
With orange thread in the rotating rows:
R 1: 4 ms in MR, 1 rotating chain ( 4 )
R 2: ( augm ) * 4, 1 rotating chain ( 8 )
R 3: ( 1 ms, augm ) * 4 ( 12 )
Do not cut the thread !
Fold together part # 1 and part # 2, turn with the orange side towards you.
R 4: 12 ms
Turn the work.
R 5: 12 mc
F.o. and leave a long tail for sewing.
Heart
Fill as you go.
Make 2 details:
R 1: 6 ms in MR ( 6 )
R 2: ( augm ) * 6 ( 12 )
R 3: ( 1 ms, augm ) * 6 ( 18 )
R 4: ( 2 ms, augm ) * 6 ( 24 )
F.o
Do not cut the wire when you have completed the second detail.
Join two details together:
R 5: 24 ms on the 1st detail, 24 ms on the 2nd detail ( 48 )
R 6: 48 ms
R 7: 10 ms, dim, 22 ms, dim, 12 ms ( 46 )
R 8: ( 21 ms, dim ) * 2 ( 44 )
R 9: ( 9 ms, dim ) * 4 ( 40 )
R 10: 8 ms, dim, 18 ms, dim, 10 ms, dim ( 38 )
R 11: ( 17 ms, dim ) * 2 ( 36 )
R 12: ( 7 ms, dim ) * 4 ( 32 )
R 13: ( 6 ms, dim ) * 4 ( 28 )
R 14: ( 5 ms, dim ) * 4 ( 24 )
Fill with padding fiber.
R 15: ( 4 ms, dim ) * 4 ( 20 )
R 16: ( 3 ms, dim ) * 4 ( 16 )
R 17: ( 2 ms, dim ) * 4 ( 12 )
R 18: ( 1 ms, dim ) * 4 ( 8 )
R 19: ( dim ) * 4 ( 4 )
F.o.
Assembly
1. Sew the muzzle under the eyes between R 25 and R 16. Put some filling inside the muzzle before finishing.
2. Take a long needle with thread, tie a knot on the end of the wire.
Insert the needle from point # 1 and pull it from point # 2, then insert the needle into point # 3 and pull it from point # 1. Skip a point on the left and insert the needle at point n ° 4 and pull it at point n ° 5, then insert the needle at point n ° 6 and pull it at point n ° 4. Pull lightly.
Repeat once more. F.o.
3. Sew your ears on your head. Start on R 5-6 of the head.
4. Embroider scratches on the head, eyebrows and muzzle with black thread.
5. Sew the head, arms and legs to the heart.
Feel free to tag me (@freeamigurumii) in your photos on Instagram or Facebook if you’d like!
All Finished.