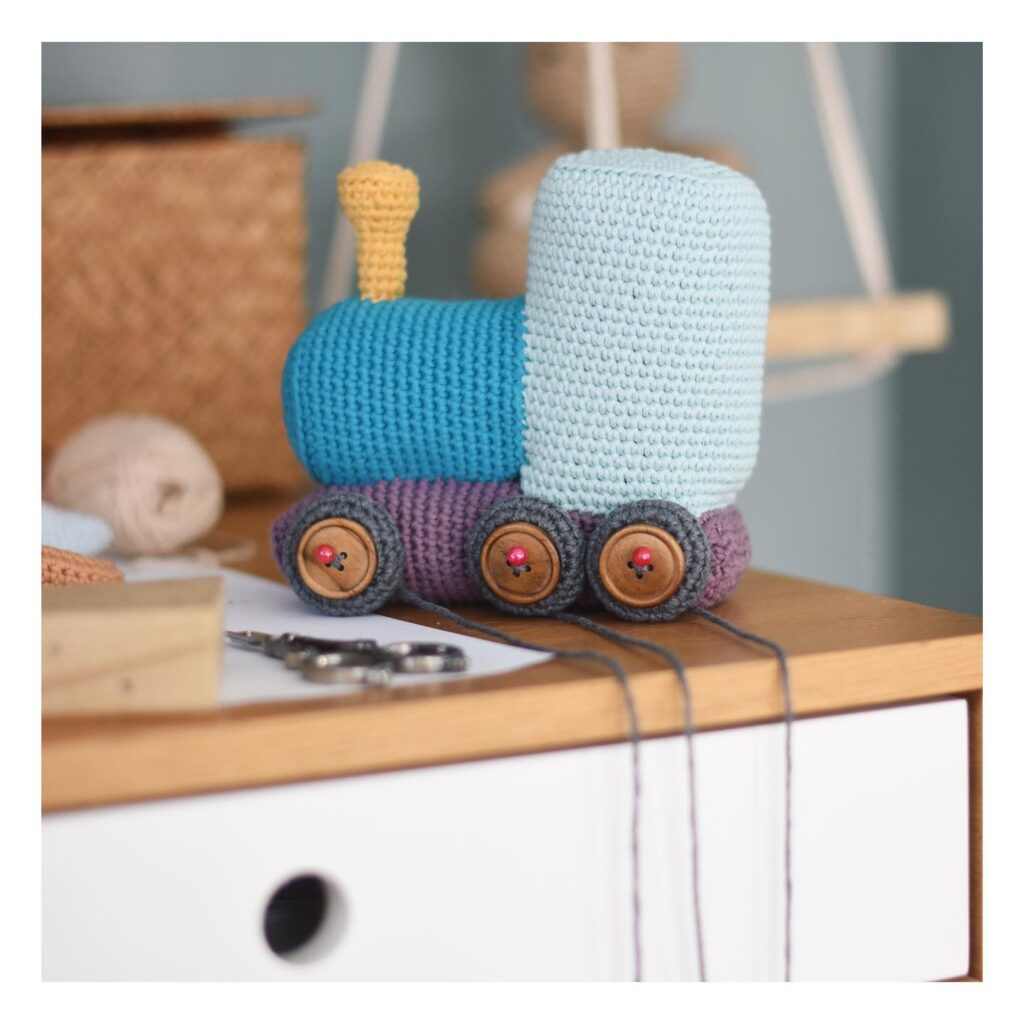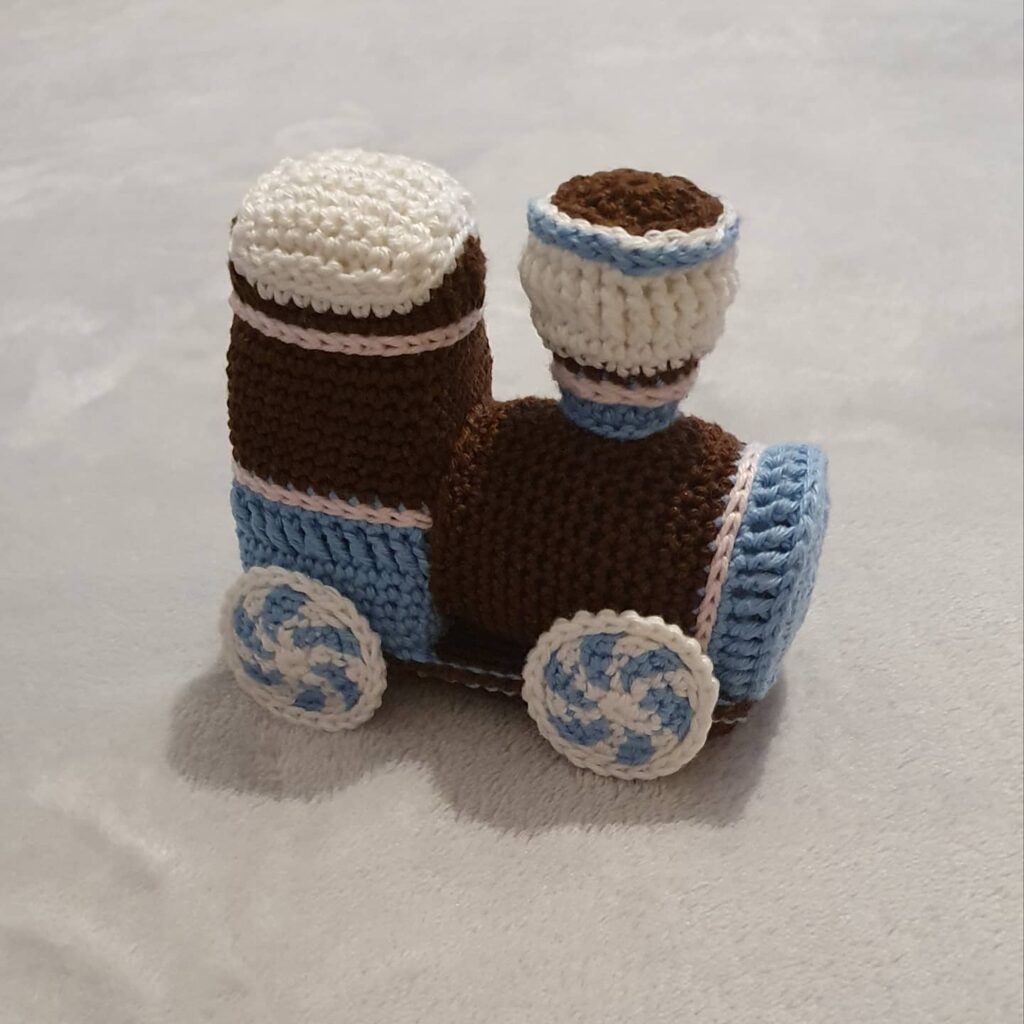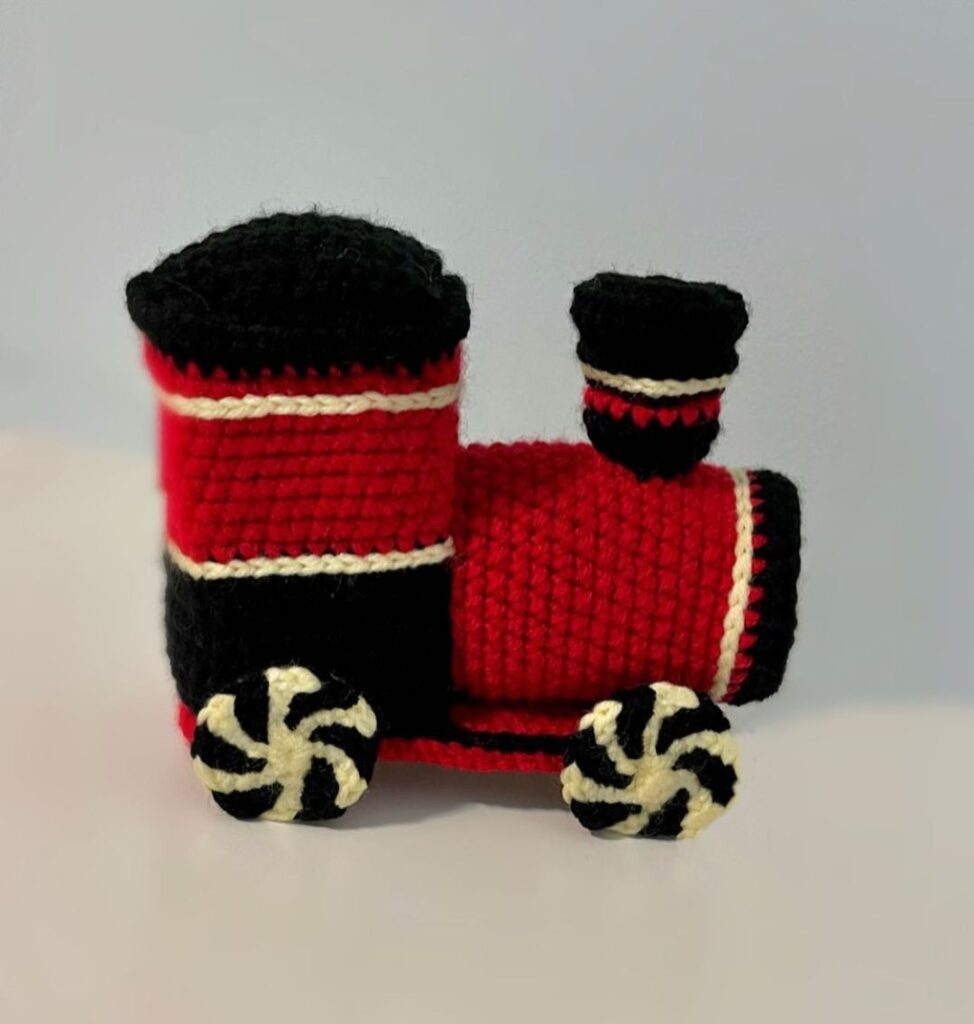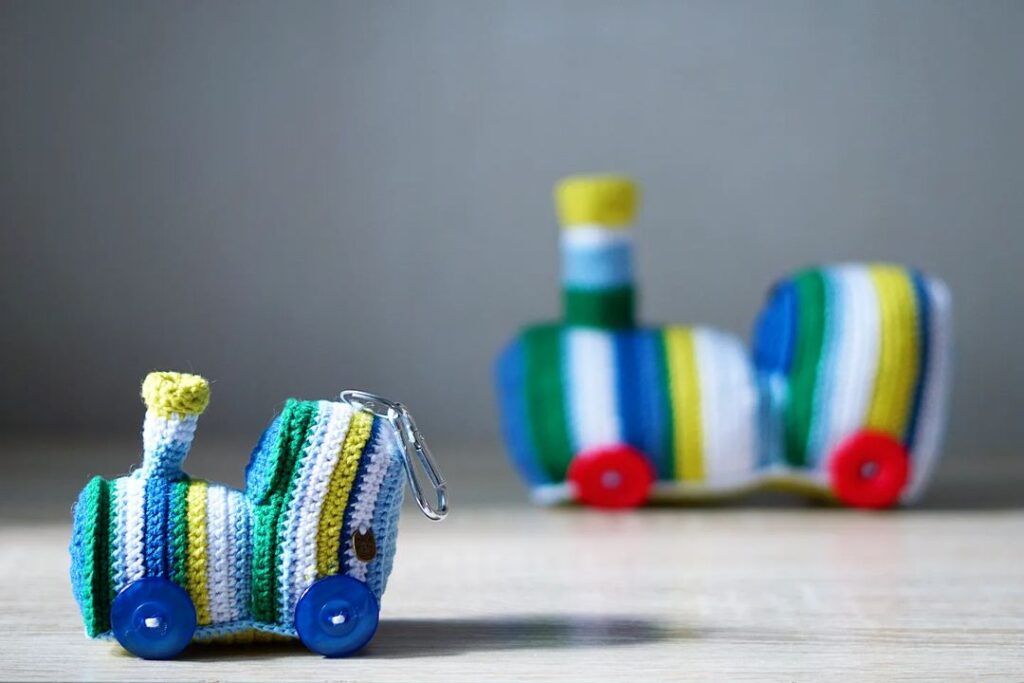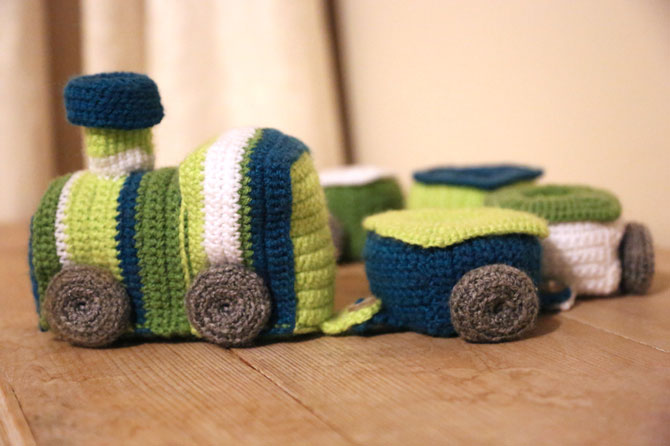
Hello amigurumi lovers and beautiful visitors, I wanted to share the free amigurumi patterns for you here. In my article I will share 1 pattern and how to make it for you. At the end of my article, I will share amigurumi patterns that can generate ideas for you.
You will need:
- wool yarn in 2 threads of any 4 colors + gray;
- 3 mm hook or any other so that the final work holds the filler well;
- needle with a big ear.
Abbreviations:
KR = Circular
SBN = table without cape
p. = loop
vp = air loop
ubav. = decrease
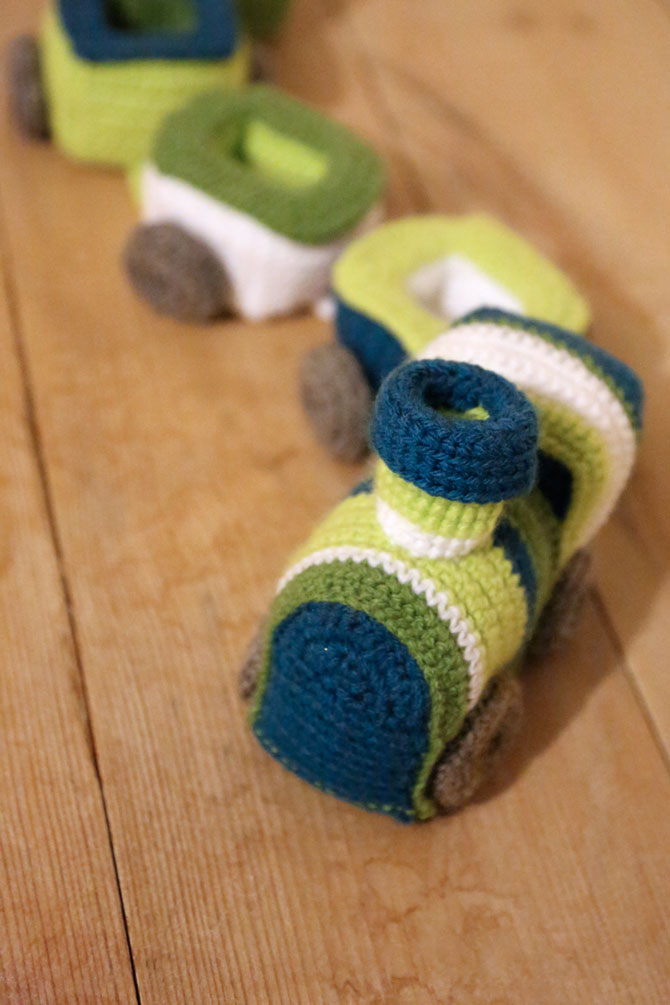
Chassie
12 vp, 1 vp, expand.
Row 1-25: 12 SBN, 1 vp, expand.
Row 26: 12 SBN, break the thread and stretch it through the last loop to close.
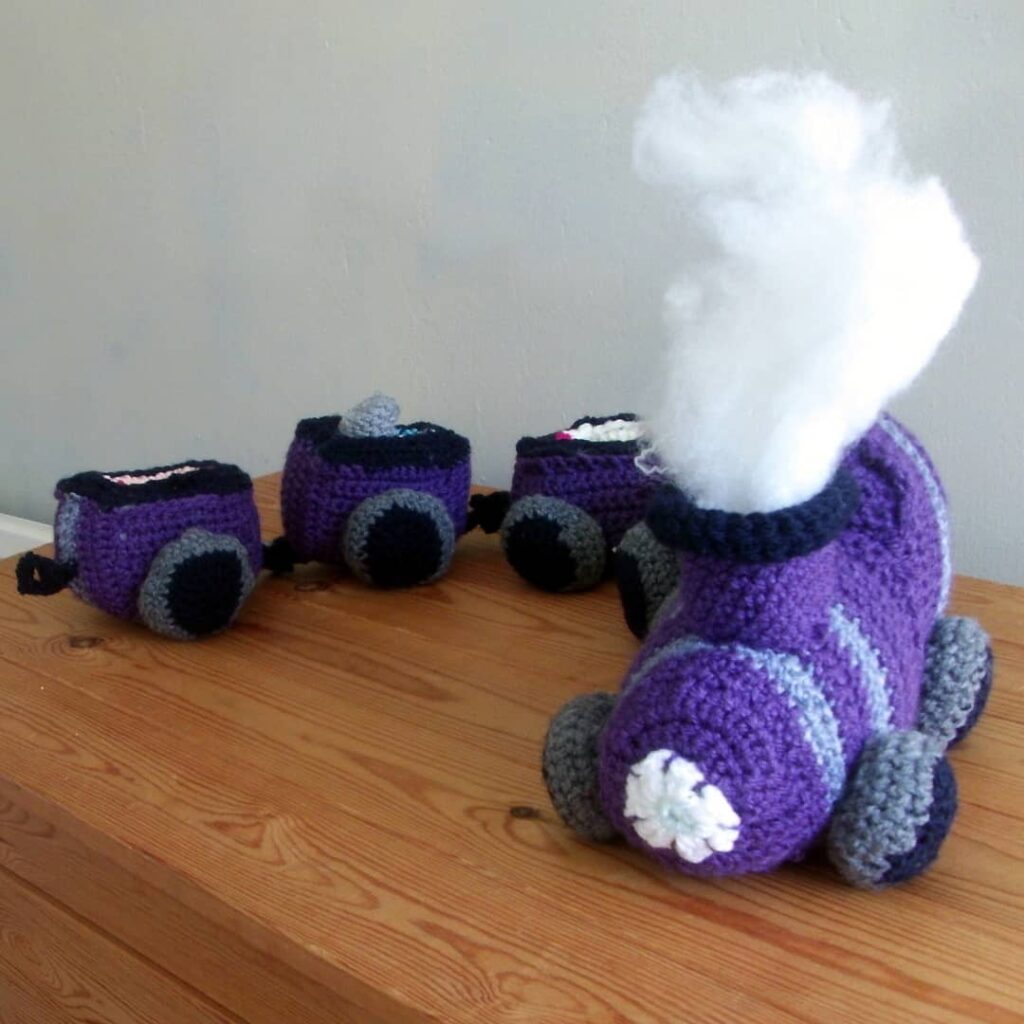
Locomotive
Front part of the locomotive
Half of the Kyrgyz Republic 1: 4 loops in the amigurumi ring, 1 vp, expand.
Half KR 2: 2 SBN in each p. ( 8 ) 1 vp, expand.
Half of the Kyrgyz Republic 3: 8 SBN, 1 vp, expand.
Half of the Kyrgyz Republic 4: 2 SBN in each p. ( 16 ) 1 vp, expand.
Half of the Kyrgyz Republic 5: 16 SBN
Row 1: 12 SBN along the straight edge of the semicircle, 1 vp, expand.
Row 2-7: 12 SBN, 1 vp, expand.
Row 8: 12 SBN, break the thread and stretch it through the last loop to close.
Top of the locomotive
42 vp, 1 vp, expand.
Row 1-15: 42 SBN, 1 vp, expand.
Row 16: 42 SBN, cut off the thread and stretch it through the last loop to close.
Machine driver’s booth
Back of the booth
12 vp, 1 vp, expand.
Row 1-17: 12 SBN, 1 vp, expand.
Row 18: 12 SBN, break the thread and stretch it through the last loop to close.
Top of the booth
54 vp, 1 vp, expand.
Row 1-9: 54 SBN, 1 vp, expand.
Row 10: 54 SBN, break the thread and stretch it through the last loop to close.
Front of the booth
12 vp, 1 vp, expand.
Row 1-5: 12 SBN, 1 vp, expand.
Row 6: 12 SBN, break the thread and stretch it through the last loop to close.
Wheels: 4 pcs.
They fit in the usual way, but then they must be turned out. It turns out an unusual texture.
4 SBN in the amigurumi ring.
KR 1: 2 SBN in each p. ( 8 )
KR 2: 2 SBN in each p. ( 16 )
KR 3: ( 2 SBN in the first paragraph, 1 SBN ) x 8 times ( 24 )
KR 4: ( 2 SBN in the first paragraph, 2 SBN ) x 8 times ( 32 )
KR 5-6: 32 SBN
KR 7: ( decrease, 2 SBN ) x 8 times ( 24 )
KR 8: ( decrease, 1 SBN ) x 8 times ( 16 ) Fill the wheel!
KR 9: decrease x 8 times ( 8 )
Tear off the thread, stretch it through the loop, stretch it through the last eighth loop and tighten it tight.
Trumpet
21 vp, lock in the first vp with the help of the sockets. Art. to get the ring.
KR 1-9: ST 21 SBN
KR 10: ( 2 SBN in the first paragraph, 2 SBN ) x 7 times ( 28 )
Row 11-13: 28 SBN, break the thread and stretch it through the last loop to close.
Turn out the upper 4 rows to make the neck.
Coupling coupling ( that part that connects the locomotive to the wagons )
5 vp, 1 vp, expand
Row 1-3: 5 SBN, 1 vp, expand.
Row 4: 1 SBN, 3 vp, SBN in the last p, 1 vp, expand.
Row 5: 5 SBN, break the thread and stretch it through the last loop to close.
Locomotive assembly
Sew the back of the driver’s cab to the base, then following the same form, sew the top of the cab, and then the back.
Sew the front of the cabin in the center of the top of the cabin.
Sew the front of the locomotive on the base at the right angle.
Sew the top of the locomotive to the base, observing the shape of the front. Sew the top of the locomotive to the front.
The upper part of the cab and the top of the locomotive must be in contact, stuffed, and then sewn together.
Sew a pipe in place.
Sew the wheels in place.
Sew a coupling coupling in place.
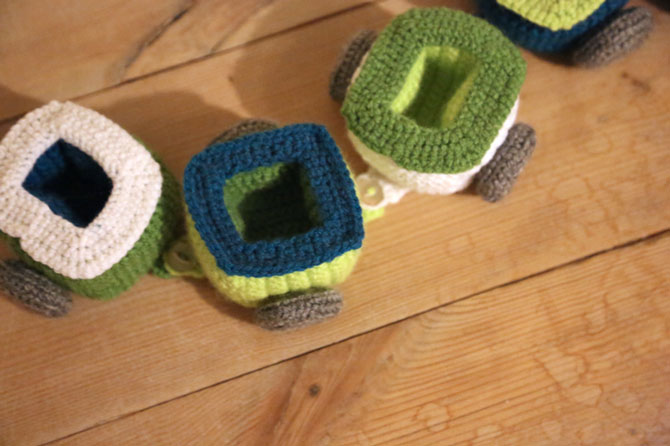
Wagons ( 4 pcs. )
You will need:
- wool yarn in 2 threads of any 4 colors + gray;
- 3 mm hook or any other so that the final work holds the filler well;
- needle with a large ear;
- buttons are approximately 1 cm in diameter.
Abbreviations:
KR = Circular
SBN = table without cape
p. = loop
vp = air loop
ubav. = decrease
Outside ( in the end, the shape of the cross )
12 vp, 1 vp, expand.
Row 1-9: 12 SBN, 1 vp, expand.
Row 10: 12 SBN, 12 vp, 1 vp, expand.
Row 11: 24 SBN, 12 vp, 1 vp, expand.
Row 12-21: 36 SBN, 1 vp, expand.
Row 22: 24 SBN, 1 vp, expand.
Row 23-31: 12 SBN, 1 vp, expand.
Row 32: 12 SBN, break the thread and stretch it through the last loop to close.
Inner ( in the end, the shape of the cross )
8 vp, 1 vp, expand
Row 1-5: 8 SBN, 1 vp, expand.
Row 6: 8 SBN, 8 vp, 1 vp, expand.
Row 7: 16 SBN, 8 vp, 1 vp, expand.
Row 8-14: 24 SBN, 1 vp, expand.
Row 15: 16 SBN, 1 vp, expand.
Row 16-21: 8 SBN, 1 vp, expand.
Row 22: 8 SBN, break the thread and stretch it through the last loop to close.
Top ( roundabout )
40 wp
KR 1: 4 SBN, ( 2 SBN next. p., 2 SBN per next. p., 8 SBN ) x 3 times, 2 SBN per next. p., 2 SBN per next. p., 4 SBN ( 48 )
KR 2: 5 SBN, ( 2 SBN next. p., 2 SBN next. p., 10 SBN ) x 3 times, 2 SBN per next. p., 2 SBN per next. p., 5 SBN ( 56 )
KR 3: 6 SBN, ( 2 SBN next. p., 2 SBN next. p., 12 SBN ) x 3 times, 2 SBN per next. p., 2 SBN per next. p., 6 SBN ( 64 )
Soyed. Art., break the thread and stretch it through the last loop to close.
Wheels: 2 pcs.
They appear as usual, but then they must be turned out. It turns out an unusual texture.
4 SBN in the amigurumi ring.
KR 1: 2 SBN in each p. ( 8 )
KR 2: 2 SBN in each p. ( 16 )
KR 3: ( 2 SBN in the first paragraph, 1 SBN ) x 8 times ( 24 )
KR 4: ( 2 SBN in the first paragraph, 2 SBN ) x 8 times ( 32 )
KR 5-6: 32 SBN
KR 7: ( decrease, 2 SBN ) x 8 times ( 24 )
KR 8: ( decrease, 1 SBN ) x 8 times ( 16 ) Fill the wheel!
KR 9: decrease x 8 times ( 8 )
Tear off the thread, stretch it through the loop, stretch it through the last eighth loop and tighten it tight.
Сцепляющая муфта (та деталь, которая соединяет локомотив с вагонами)
5 вп, 1 вп, развернуть
Ряд 1-3: 5 СБН, 1 вп, развернуть.
Ряд 4: 5 СБН, оборвать нить и протянуть ее через последнюю петлю, чтобы закрыть.
[adrotate group=»5″]
Сцепляющая муфта
5 вп, 1 вп, развернуть
Ряд 1-3: 5 СБН, 1 вп, развернуть.
Ряд 4: 1 СБН, 3 вп, СБН в последнюю п, 1 вп, развернуть.
Ряд 5: 5 СБН, оборвать нить и протянуть ее через последнюю петлю, чтобы закрыть.
Product assembly
Add two cruciform parts in the shape of cubes without top and sew along the edges. In a larger cube, put 2 cm of filler at the edges and insert a smaller cube inside. Sew the upper part and the coupling coupling A in front and the coupling coupling B in the back. Sew a button on a coupling coupling A and sew the wheels.
Hide the ends of the threads and shout: « Choo-choo! » The last instruction is required: )
Feel free to tag me (@freeamigurumii) in your photos on Instagram or Facebook if you’d like!
All Finished.