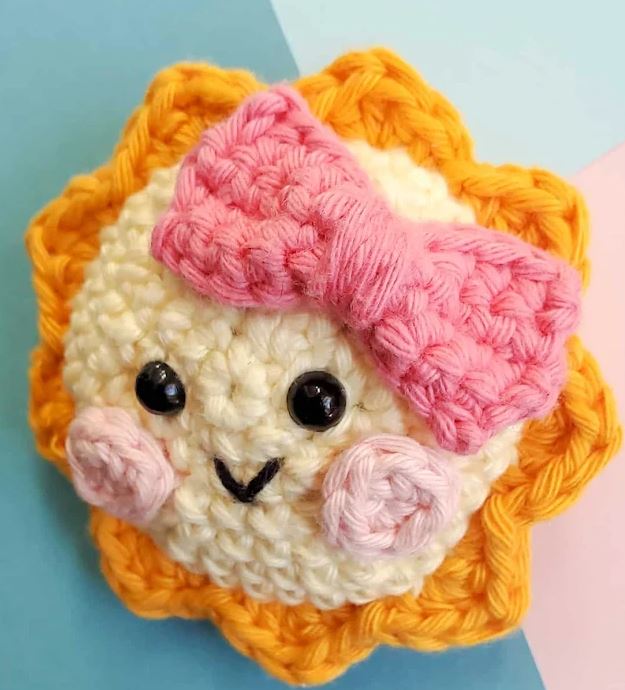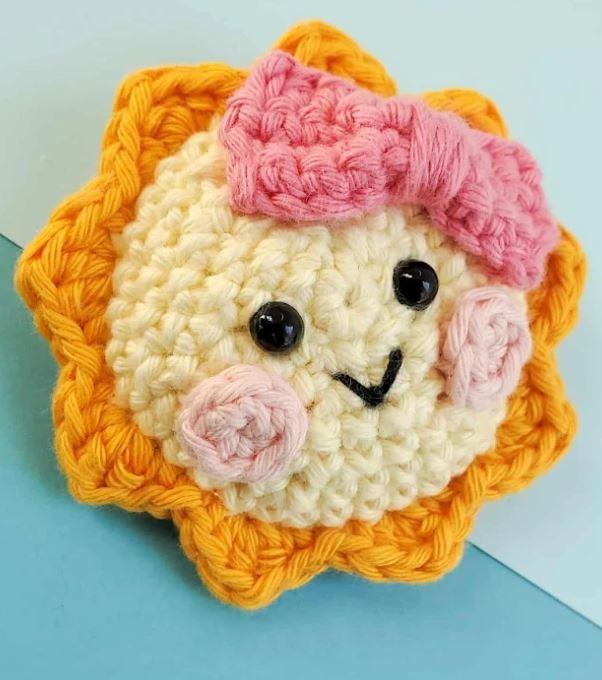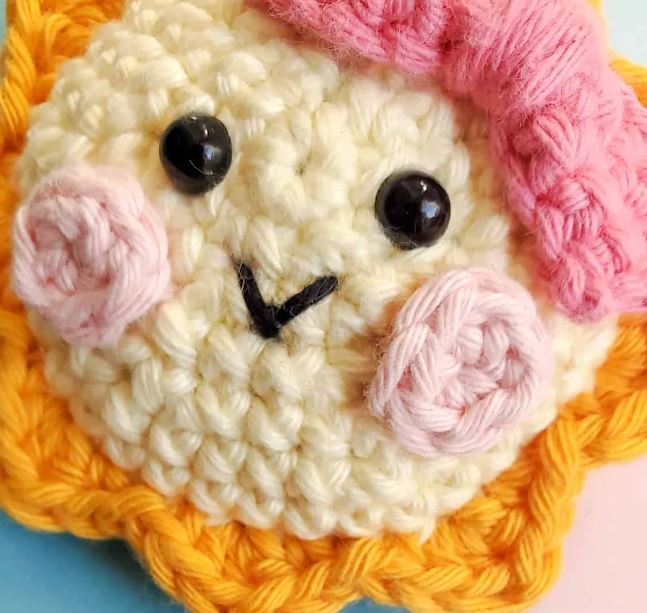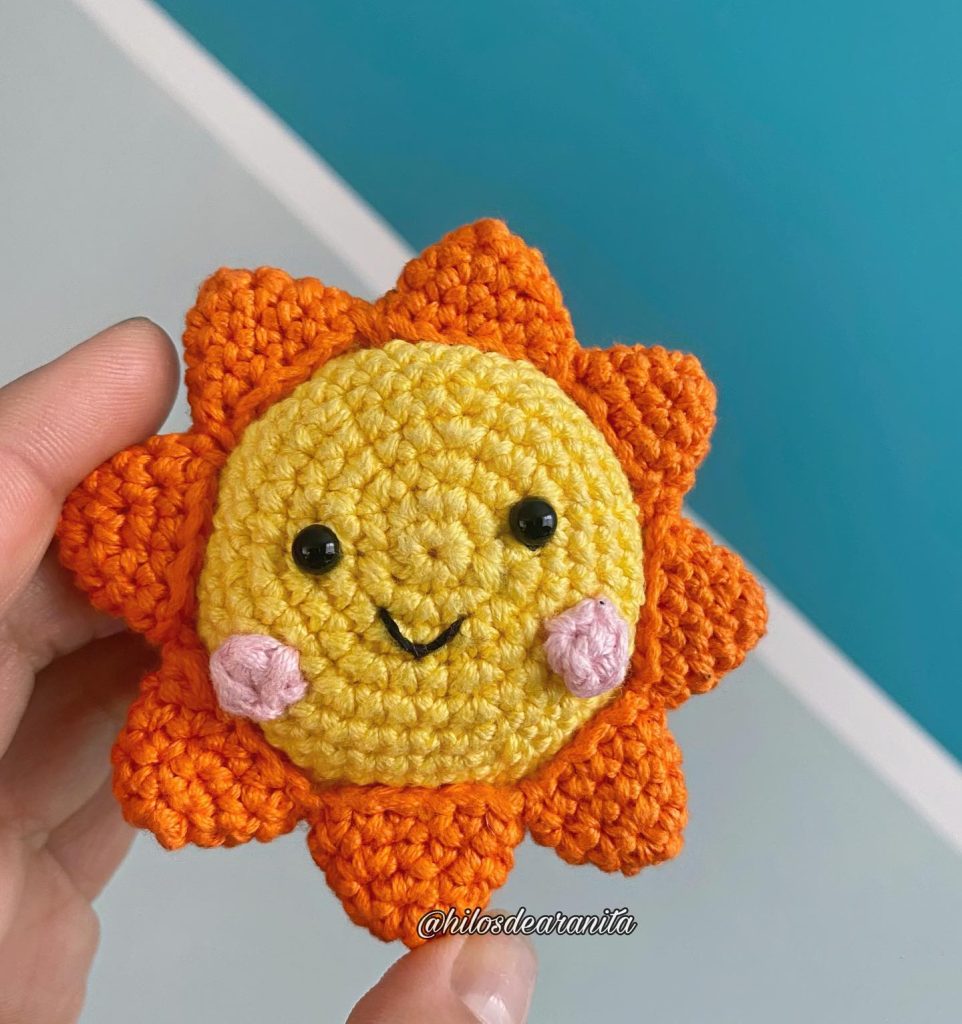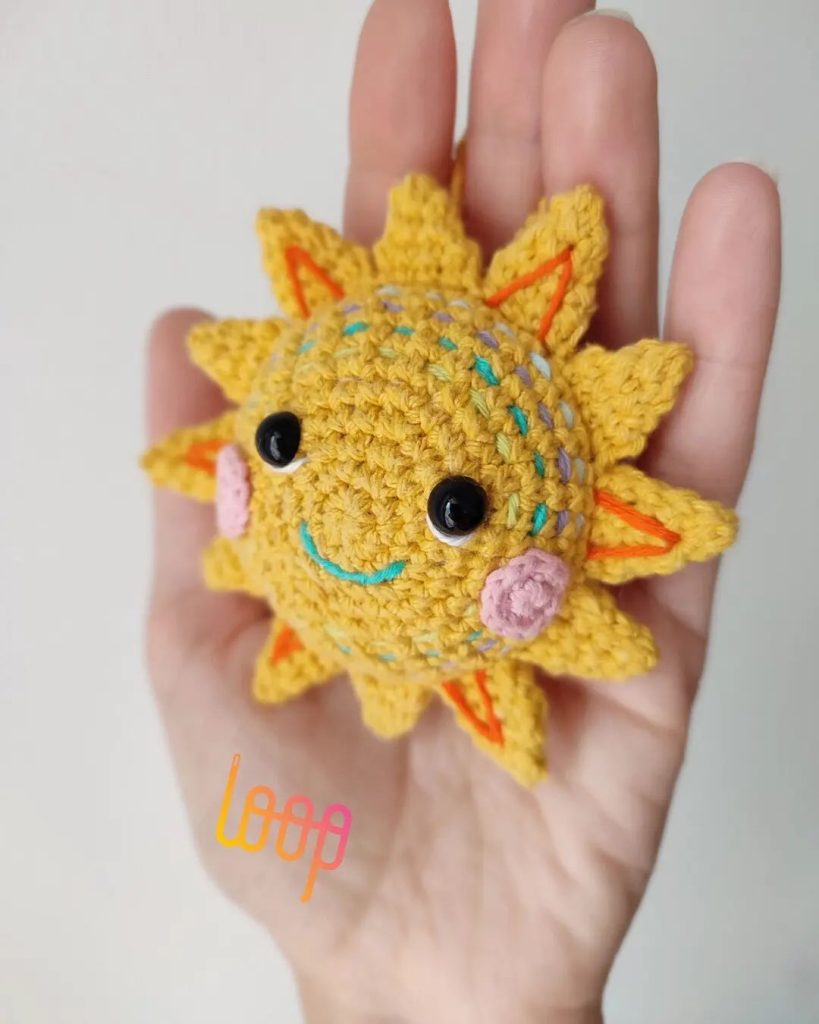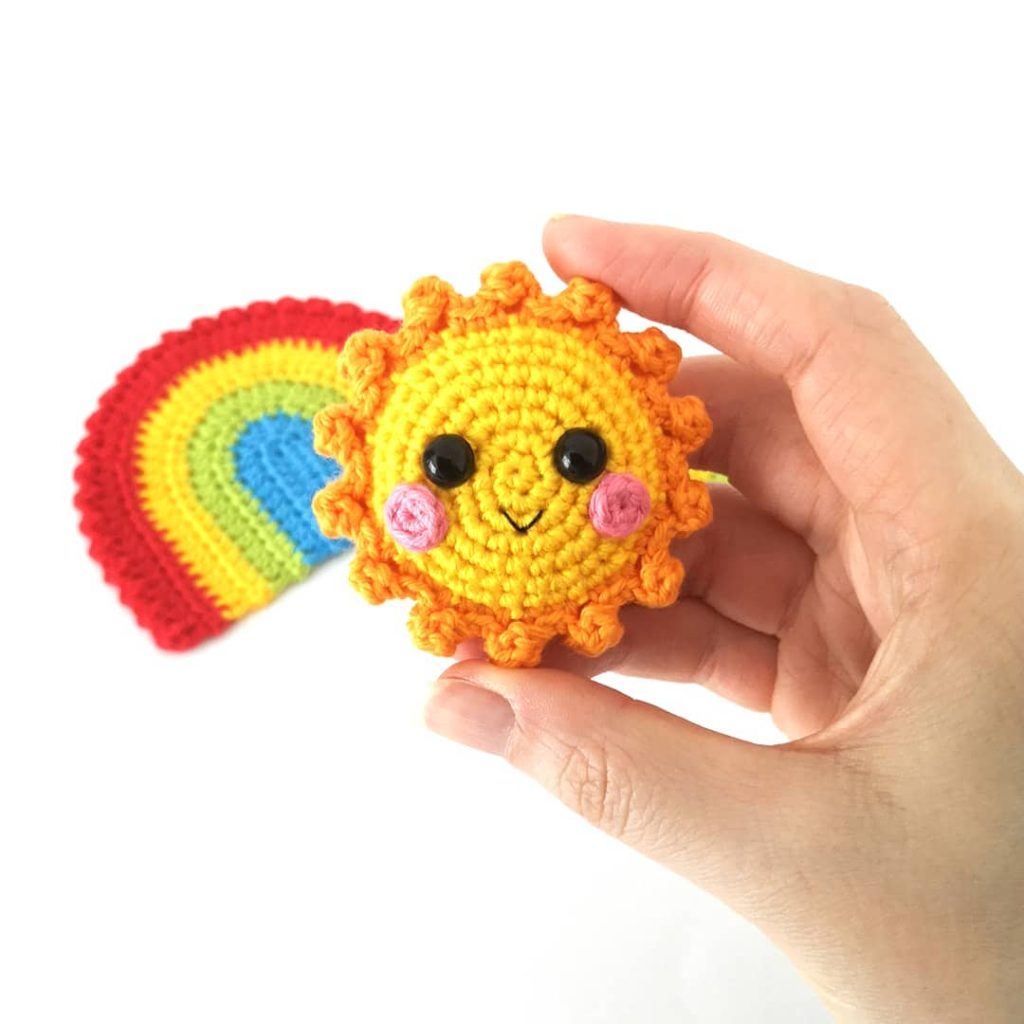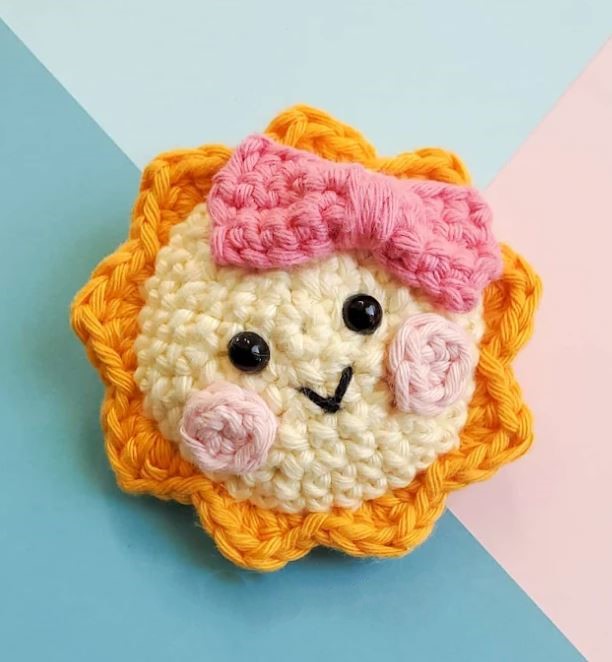
Hello amigurumi lovers and beautiful visitors, I wanted to share the free amigurumi patterns for you here. In my article I will share 1 pattern and how to make it for you. At the end of my article, I will share amigurumi patterns that can generate ideas for you.
Materials
Worsted weight yarn in the following colors:
Yellow (I used Hobbii Friends Cotton 8/8 in Pastel Yellow #21)
Dark Yellow (I used Hobbii Friends Cotton 8/8 in Dark Yellow
26)
Pink (I used Hobbii Friends Cotton 8/8 in Baby Pink #51)
Bright Pink (I used Hobbii Friends Cotton 8/8 in Candyfloss
45)
3.25 mm Crochet Hook
Safety Eyes (I used 6.0 mm)
Poly-fil or any Polyester Stuffing of your choice
Yarn Needle
Stitch Markers
Scissors
Stitches & Abbreviations
st/sts – stitch/stitches
ch – chain
slst – slip stitch
sc – single crochet
sc inc – single crochet increase, 2 single crochets in one stitch
sc dec – single crochet decrease, single crochet 2 stitches together
hdc – half double crochet
dc – double crochet
BLO – back loops only
Notes
Beginner-friendly crochet pattern but you have the option of
learning some new skills!
I made this amigurumi using the “Yarn Under Single Crochet”
technique. This technique makes the stitches tighter and appears
more aligned.
Crochet in continuous rounds. Do not join at the end of each
round. Use a running stitch marker to keep your place when
crocheting in rounds.
Use the ultimate finish to close up the back of the amigurumi sun.
Use invisible decreases when making single crochet decreases for a
nicer finish.
Use the invisible fasten-off method to finish off the rays.
Optional: I used the invisible increase method for my increases.
Final measurements: approximately 7.5 cm (almost 3 inches).
Gauge is not super important for this project as long as you keep
your tension consistent.
You can substitute and use a different yarn weight/category and
appropriate hook size for this project to make it bigger/smaller.
Crochet Pattern
Sun
Using a 3.25 mm crochet hook and some yellow yarn…
Round 1: Magic Ring with a base of 6 sc (6 sts)
Round 2: Sc inc in each st around (12 sts)
Round 3: [Sc, sc inc] x 6 times (18 sts)
Round 4: [Sc, sc inc, sc] x 6 times (24 sts)
Round 5: [3 sc, sc inc] x 6 times (30 sts)
Round 6: [2 sc, sc inc, 2 sc] x 6 times (36 sts)
Round 7: Sc in each st around (36 sts)
Round 8: Sc BLO in each st around (36 sts)
Attach safety eyes to either side of the magic ring between rounds 1
and 2.
Round 9: [2 sc, sc dec, 2 sc] x 6 times (30 sts)
Round 10: [3 sc, sc dec] x 6 times (24 sts)
Stuff the Sun with poly-fil before the opening gets too small.
Round 11: [Sc, sc dec, sc] x 6 times (18 sts)
Round 12: [Sc, sc dec] x 6 times (12 sts)
Round 13: Sc dec in each st around (6 sts)
Cut and fasten off with the ultimate finish to close up the hole.
Rays
Using a 3.25 mm crochet hook and some orange yarn…
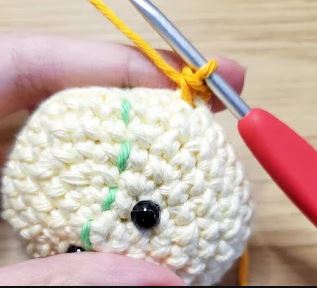
Crochet into the front loops of round 8 of the Sun. See below for
photographs.
Round 1: Join with a [sc, (hdc, dc, hdc) into the next st, sc, sl st] x 9
times [54 sts]
See the photos below, the green thread is my running stitch marker
that shows where the start of my rounds is.
Step 1: Join with dark yellow yarn a couple stitches before the stitch
marker (i.e. the last few stitches of round 8) for a smoother transition
and make a standing sc.
Step 2: Make a [hdc, dc, hdc] in the next st. Then sc in the next st.
Step 3: When you reach the jog, continue crocheting into the next
front loop available.
Make a slst in the next st. Follow the pattern and continue crocheting in
the front loops of round 8 to attach the rays to your amigurumi sun.
Cut and invisible fasten off.
Cheeks (X2)
Using a 3.25 mm crochet hook and pink yarn…
Round 1: Magic Ring with a base of 6 sc (6 sts)
Cut and fasten off with enough yarn to sew onto the cheeks of the Sun.
Bow
Using a 3.25 mm crochet hook and some bright pink yarn…
Ch 10
Row 1: Sc into the back bumps of the second loop from the ch, and
then in each st across (9 sts)
Row 2-4: Ch 1, turn, sc in each st across (9 sts)
Cut and fasten off.
Use a thread of bright pink yarn and wrap and cinch it around the
middle of the bow several times. Leave a yarn tail long enough to
attach to the Sun. Weave in any loose ends.
Feel free to tag me (@freeamigurumii) in your photos on Instagram or Facebook if you’d like!
All Finished.
