Hello amigurumi lovers and beautiful visitors, I wanted to share the free amigurumi patterns for you here. In my article I will share 1 pattern and how to make it for you. At the end of my article, I will share amigurumi patterns that can generate ideas for you.
Materials
Worsted Weight Yarn any color of your choice, and grey. Try the
following:
Hobbii Friends Cotton 8/8
Hobbii Rainbow Cotton 8/8
Hobbii Amigo XL
Brava Worsted
4.0 mm Crochet Hook
Poly-fil or any Polyester Stuffing of your choice
Yarn Needle
Stitch Markers
Scissors
Stitches & Abbreviations
st/sts – stitch/stitches
ch – chain
sc – single crochet
sc inc – single crochet increase, work 2 single crochets into the
same stitch
Using a 4.0 mm crochet hook and the color of your choice…
Round 1: Magic Ring with a base of 7 sc (7sts)
Round 2: Sc inc in each st around (14 sts)
Round 3: [sc, sc inc] x 7 times (21 sts)
Round 4: [2 sc, sc inc] x 7 times (28 sts)
Round 5: [3 sc, sc inc] x 7 times (35 sts)
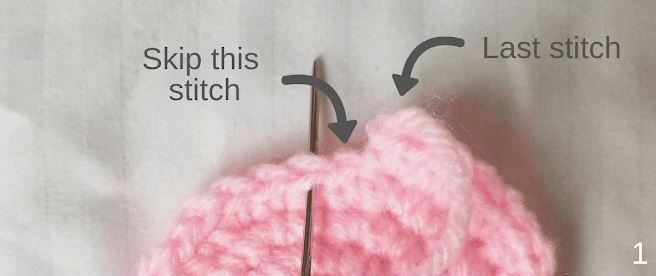
Fasten off invisibly:
Cut yarn, pull the yarn tail through the last stitch completely, and
thread the yarn tail onto the yarn/tapestry needle. Skip one stitch.
Then insert the needle into the next stitch in the same way you would
your crochet hook.
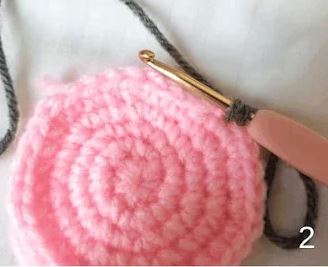
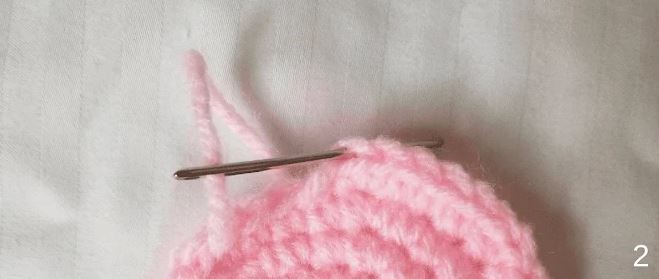
Next, insert the needle back into the same stitch that the yarn tail is
coming from but into the back loop only.
Pull gently – this creates a faux stitch that looks like the
skipped stitch. Weave the tail into the wrong side before trimming.
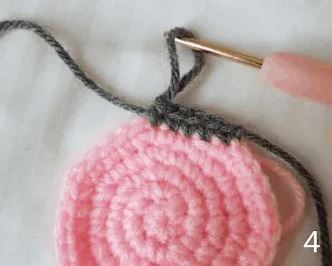
Join the grey yarn with a standing single
crochet to make the bauble cap:
Make a slip knot onto the hook. Then insert the hook into the indicated
stitch.
Wrap yarn around hook and pull loop through.
Wrap yarn around the hook and pull through 2 loops to complete the
single crochet.
Row 1: 5 sc (5 sts, see photo 4)
Row 2: Ch 1, turn, 5 sc (5 sts)
Make two pieces for the front and back.
Then put the two pieces together with the wrong side facing each
other. Single crochet along the edges changing colors when needed,
stuff with a little bit of leftover yarn ends or polyfill stuffing before
closing.
Feel free to tag me (@freeamigurumii) in your photos on Instagram or Facebook if you’d like!
All Finished.