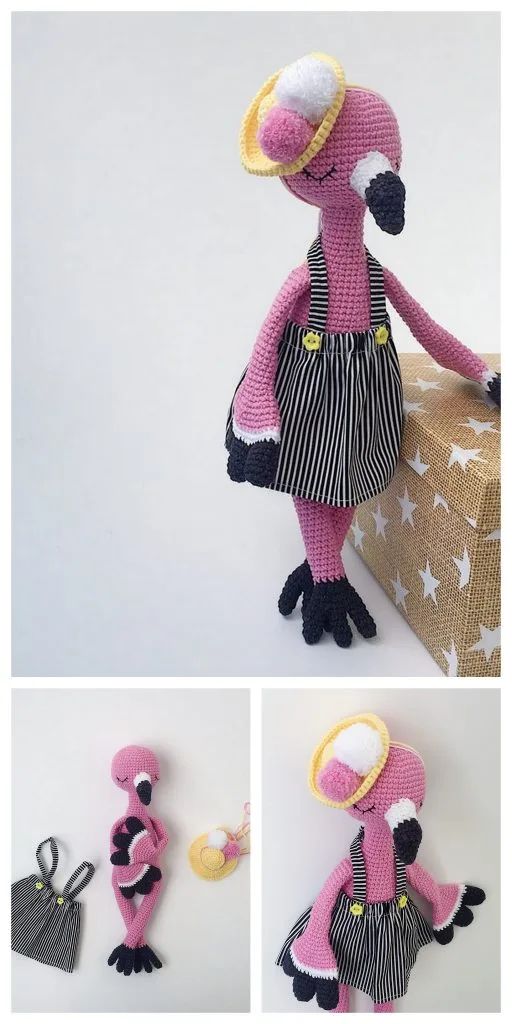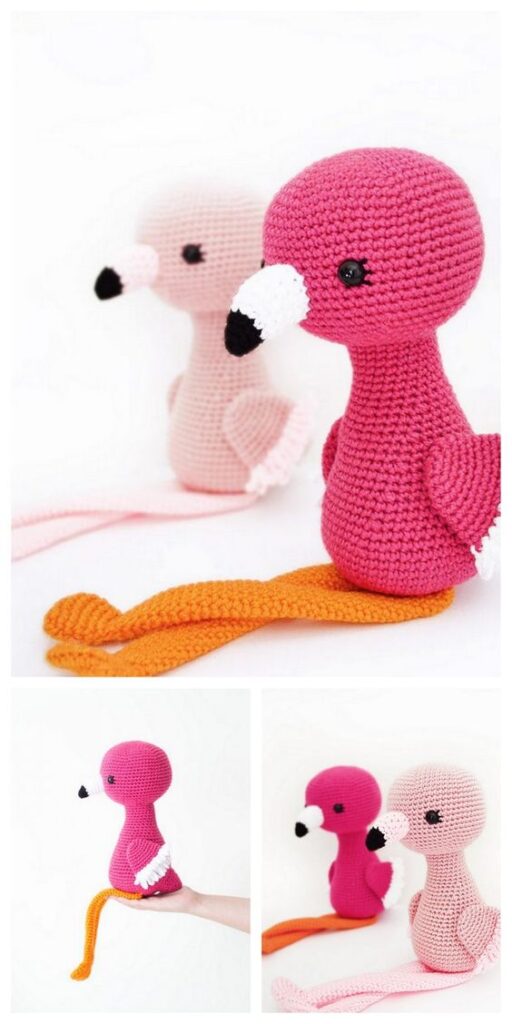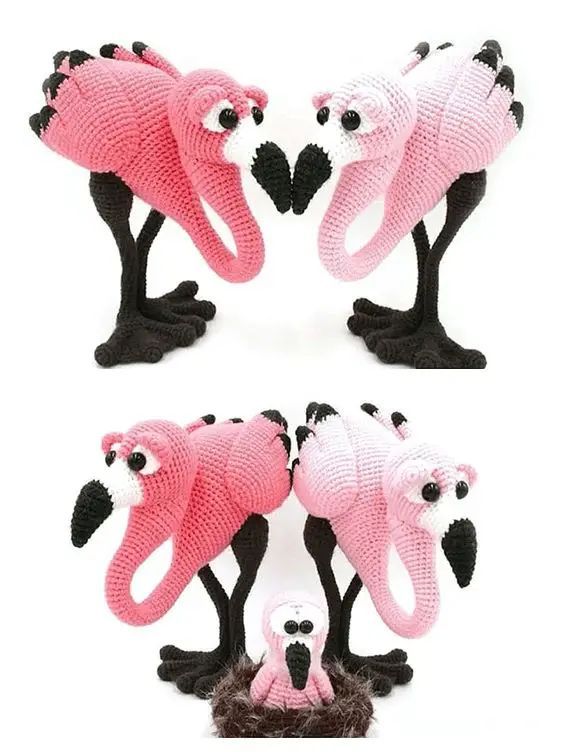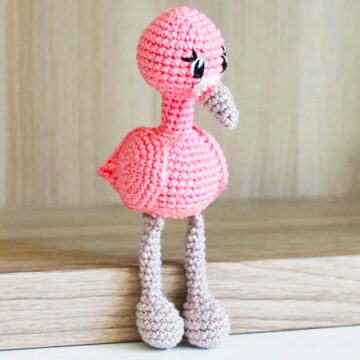
Hello amigurumi lovers and beautiful visitors, I wanted to share the free amigurumi patterns for you here. In my article I will share 1 pattern and how to make it for you. At the end of my article, I will share amigurumi patterns that can generate ideas for you.
Materials
• 25g of peach-colored cotton yarn
• 15g of gray cotton yarn
• There remains the cotton thread in white
• Black and white crochet thread
• Safety eyes 6 mm ( if desired )
• 2.5 mm hook
• Upholstery material
• Sewing needle
• Scissors
Abbreviations
(sc)/(sc): Single crochet
(BO) Hazelnut stitch
(ml)/(ch): Chain, Air stitch
(MR): Magic ring
(dim)/(dec): decrease, decrease, decrease
(augm)/(inc): increase
(M)/(st): Stitch (pt) stitch
(FLO): work only in front loops
(BLO): work only in back loops
(d-br, dble.b)/(tr): Double treble crochet
(br)/(dc): treble crochet (dB)/(hdc): half treble crochet (sc )/(sl-st): slip stitch, small stitch (db / dbr) (dtr): Double treble crochet (
mct)/( tch): chain stitches to turn (3msm)/(sc3tog): 3 sc in the same stitch (Fo): Fasten the yarn. (3 dc tog): 3 treble crochets together
Legs ( x2 )
Rnd 1. MR, 6ms ( 6 )
Rnd 2. ( augm ) * 6 ( 12 )
Rnd 3. ( 1ms, augm ) * 6 ( 18 )
Rnd 4-5. 18ms ( 2rnd )
Rnd 6. 5ms, ( dim ) * 4, 5ms ( 14 )
Rnd 7. 5ms, ( dim ) * 2, 5ms ( 12 )
Rnd 8. ( dim ) * 6 ( 6 )
Fill slightly
Rnd 9-18. 6ms ( 10rnd )
If desired, put a piece of wire in the leg to make it mobile. You don’t have to stuff it.
Rnd 19. 1ml, pick the opposites with 3sc together ( 3 )
Cut the wire and sew it or hook it in the body later.
Cross a second leg.
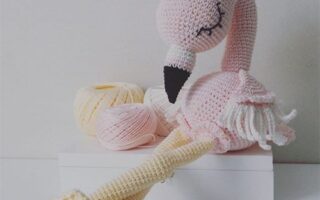
Head & Body
Rnd 1. MR, 6ms ( 6 )
Rnd 2. ( augm ) * 6 ( 12 )
Rnd 3. ( 3ms, augm ) * 3 ( 15 )
Rnd 4. ( 4ms, augm ) * 3 ( 18 )
Rnd 5. ( 2ms, augm ) * 6 ( 24 )
Rnd 6. ( 3ms, augm ) * 6 ( 30 )
Rnd 7-11. 30ms ( 5rnd )
Rnd 12. ( 3ms, dim ) * 6 ( 24 )
Rnd 13. ( 2ms, dim ) * 6 ( 18 )
If you are using safety eyes, place them between towers 10 and 11 with a visible space of 5 meshes.
Rnd 14. ( dim ) * 9 ( 9 )
Fill
Rnd 15-20. 9ms ( 6rnd )
Rnd 21. ( augm ) * 9 ( 18 )
Rnd 22. ( 2ms, augm ) * 6 ( 24 )
Rnd 23. ( 3ms, augm ) * 6 ( 30 )
Rnd 24. ( 4ms, augm ) * 6 ( 36 )
Rnd 25-28. 36ms ( 4rnd )
Rnd 29. ( 4ms, dim ) * 6 ( 30 )
Rnd 30. 30ms
Rnd 31. ( 3ms, dim ) * 6 ( 24 )
Rnd 32. ( 2ms, dim ) * 6 ( 18 )
In the next round, you will pick your legs.
The legs sew towards the head and the toes towards you.
Rnd 33. 5ms, 3 ms with leg 1, 5 ms, 3 ms with leg 2, 2 ms
Fill
Rnd 34. ( 1ms, dim ) * 6 ( 12 )
Rnd 35. ( dim ) * 6 ( 6 )
Cut the long wire. Close the remaining opening and sew the wire.
Wings ( x2 )
Rnd 1. MR, 6ms ( 6 )
Rnd 2. ( augm ) * 6 ( 12 )
Rnd 3. ( 1ms, augm ) * 6 ( 18 )
Rnd 4. ( 2ms, augm ) * 6 ( 24 )
Rnd 5. ( 3ms, augm ) * 2, hdc, 1 dc, 1hdc, augm, ( 3ms, augm ) * 3 ( 30 )
Rnd 6. 10ms, ( 1 dB, 1 br ) 1 d-br, 3 ml, 1 mc in 1 ml, 1 d-br (, ) 1 br, 1 dB (, 17ms ) 33 (
Cut the wire. Finish the invisible turn and use the wire later for sewing.
Pick up a second wing.
Tail
Rnd 1. MR, 6ms ( 6 )
Rnd 2. 6ms
Rnd 3. ( 1ms, augm ) * 3 ( 9 )
Cross in rows :
at. 4ms, 1 rotating ml ( 4 )
b. 5ms, 1 rotating ml ( 5 )
Rnd 4. 9ms
Close the tower by 1 mc in the 1st mesh.
Cut the wire and use it later for sewing.
The beak
Start with gray
Rnd 1. MR, 4ms ( 4 )
Rnd 2. ( 1ms, augm ) * 2 ( 6 )
Rnd 3. 6ms
Rnd 4. ( 1ms, augm ) * 3 ( 9 )
Rnd 5. 4ms, augm, 4ms ( 10 )
Change color while fishing
Rnd 6. dim, 6ms, dim ( 8 )
Change color to white
Rnd 7. 8ms
Cut the wire. Close the invisible circle and use the wire later for sewing.
Completion
• Sew the wings to the body. The tip point at the back. Place them on the 1st side above the legs. Just sew the front part. The wings have a visible distance of about 10 points from each other ( seen from the belly).
• Sew the tail to the body between the wings of the back, above towers 26-28. Pay it back slightly when sewing. Depending on the direction of the row part of the tail, the tail is facing up or down ( my rows down ).
• Sew the beak in the center of the head at towers 11-12. The threads of the color change will suffice for padding. The increase in tower 5 is at the top.
• Embroider your eyes to the right and to the left of your beak, 1 streak, in rows 10-11. Do not hesitate to embroider them as you prefer.
Feel free to tag me (@freeamigurumii) in your photos on Instagram or Facebook if you’d like!
All Finished.