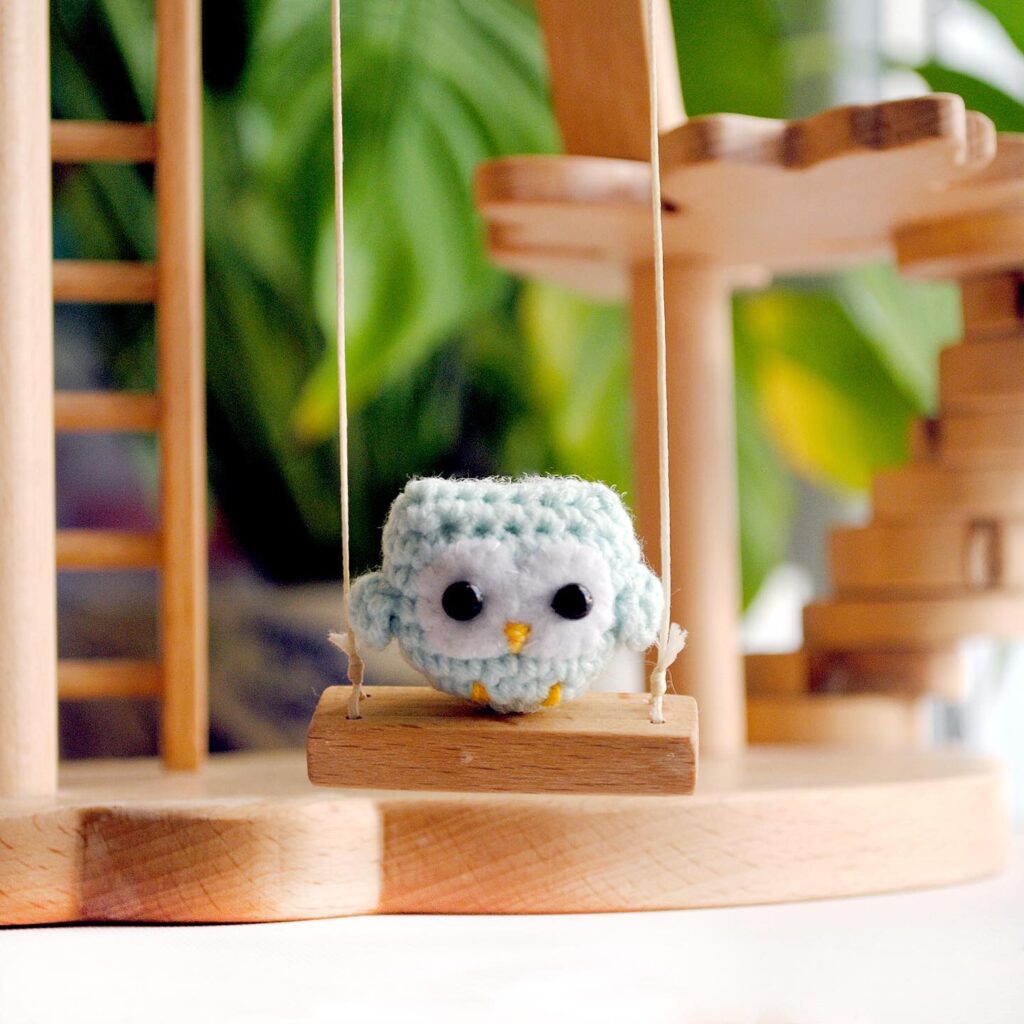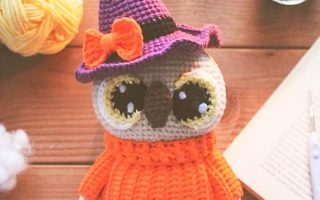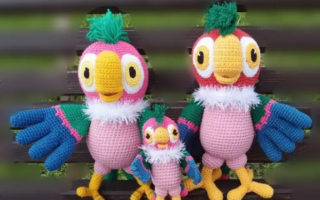
Hello amigurumi lovers and beautiful visitors, I wanted to share the free amigurumi patterns for you here. In my article I will share 1 pattern and how to make it for you. At the end of my article, I will share amigurumi patterns that can generate ideas for you.
Materials:
- hook 3.75 mm;
- hook 4 mm;
- yarn of gray-brown and beige flowers;
- hollofiber;
- black buttons on a 13 mm leg in diameter ( or safe eyes );
- a small amount of felt for the beak and bow;
- a little thread ( to sew a bow );
- hot glue;
- pink acrylic paint.
Body
4 mm hook:
Row 1: 6 Sat in Amigurumi Ring ( 6 Art )
Row 2: 2 Sat in everybody. Art. ( 12 t )
Row 3: *Sat next Art, 2 Sat *, repeat 6 times ( 18 t )
Row 4: *Sat next 2 tbsp, 2 sbn *, repeat 6 times ( 24 t )
Row 5: *Sat next 3 tbsp, 2 sbn *, repeat 6 times ( 30 t )
Row 6: *Sat next 4 tbsp, 2 sbn *, repeat 6 times ( 36 t )
Row 7: *Sat next 5 tbsp, 2 Sat *, repeat 6 times ( 42 t )
Row 8: *Sat next 6 tbsp, 2 sbn *, repeat 6 times ( 48 t )
Rows 9-20: Sat in everybody. Art to the end of the row ( 48 t )
Row 21: *Sat next 6 tbsp, vm 2 sbn *, repeat 6 times ( 42 t )
Row 22: *Sat next 5 tbsp, vm 2 Satn *, repeat 6 times ( 36 t )
Row 23: *Sat next 4 tbsp, vm 2 sbn *, repeat 6 times ( 30 t )
Row 24: *Sat next 3 tbsp, vm 2 sbn *, repeat 6 times ( 24 t )
Row 25: *Sat next 2 tbsp, vm 2 Satn *, repeat 6 times ( 18 t )
Fasten the thread. Leave a long end for sewing.
Wings ( 2 pcs )
4 mm hook:
Row 1: 6 Sat in Amigurumi Ring ( 6 Art )
Row 2: 2 Sat in each. Art to the end of the row ( 12 t )
Row 3-5: Sat in everybody. Art to the end of the row ( 12 t )
Fasten the thread. Leave a long end for sewing.
Lichiko
3.75 mm hook:
Row 1: connect the base row from 12 Satn, 1 pack, rotate ( 12 Art )
Row 2: Sat in the first. Art, 2 Sat in the wake. Art, Sat in the wake. 8 tbsp, 2 abn next Art, Satn et seq. Art, 1 vp, turn ( 14 t )
Row 3: Sat in the first. Art, 2 Sat in the wake. Art, Sat in the wake. 10 tbsp, 2 abn next Art, Satn et seq. Art, 1 vp, turn ( 16 t )
Row 4: Sat in the first. Art, 2 Sat in the wake. Art, Sat in the wake. 10 tbsp, 2 abn next Art, Satn et seq. Art, 1 vp, turn ( 18 t )
Row 5: Sat in the first. Art, 2 Sat in the wake. Art, Sat in the wake. 10 tbsp, 2 abn next Art, Satn et seq. Art, 1 vp, turn ( 20 t )
Row 6: Sat in every. Art across, 1 pack, turn ( 20 t )
Row 7: Sat in the first. Art, vm 2 Satn, Sat in the wake. 10 tbsp, vm 2 abn, br. tbsp, 1 vp, turn ( 18 t )
Row 8: Sat in the first. Art, vm 2 Satn, Sat in the wake. 8 tbsp, vm 2 sbn, abn later. Art, 1 vp, turn ( 16 t )
Row 9: Sat in the first. Art, vm 2 Satn, Sat in the wake. 4 tbsp, 1 vp, turn ( 6 t )
Row 10: Sat in the wake. 3 tbsp, vm 2 Satn, Sat last. Art. Fasten the thread ( 5 t )
Row 9 continue: Skip the trace. 2 tbsp in row 8, Sat in the next. 4 tbsp, vm 2 sbn, Sat last. Art, 1 vp, rotate ( 6 t )
Row 10 continue: Sat in the first. Art, vm 2 Satn, Sat in the wake. 3 tbsp, 1 vp, turn ( 5 t )
Sat to the end of the row for a clear edge.
Leave a long end for sewing.
Butterfly
Cut two pieces of felt in the following sizes:
4 cm x 3 cm
0.6 cm x 1.2 cm
Sew a smaller rectangle around the center of more.
Assembly
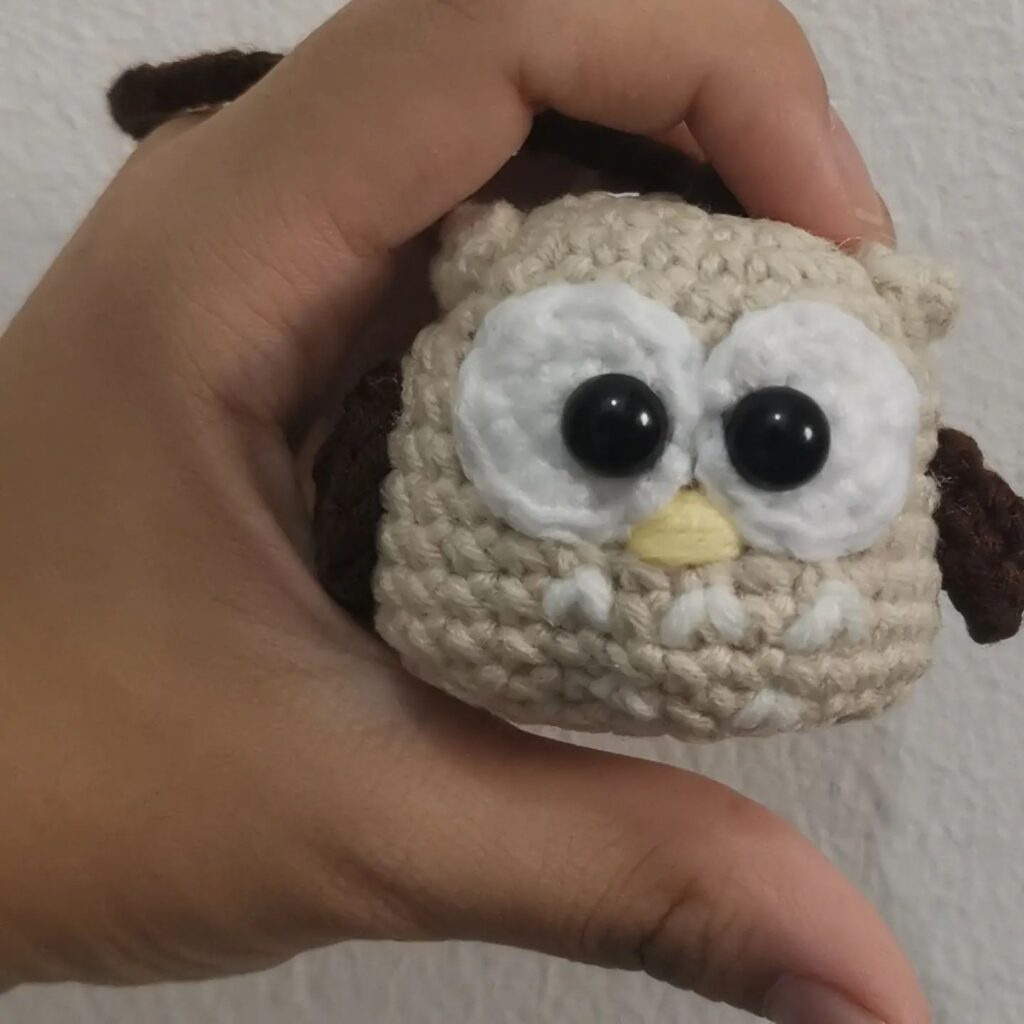
- Sew your face, wings and a bow to your body.
- Attach your eyes. Safe eyes with plugs are preferable than buttons, as they are more reliable.
- Tightly fill with a hollofiber.
- Pull the hole, give a straight curved shape. Sew the edges together.
- For the beak, cut out a small triangle of felt and stick hot glue to your face.
- Apply some pink paint, depicting cheeks.
Feel free to tag me (@freeamigurumii) in your photos on Instagram or Facebook if you’d like!
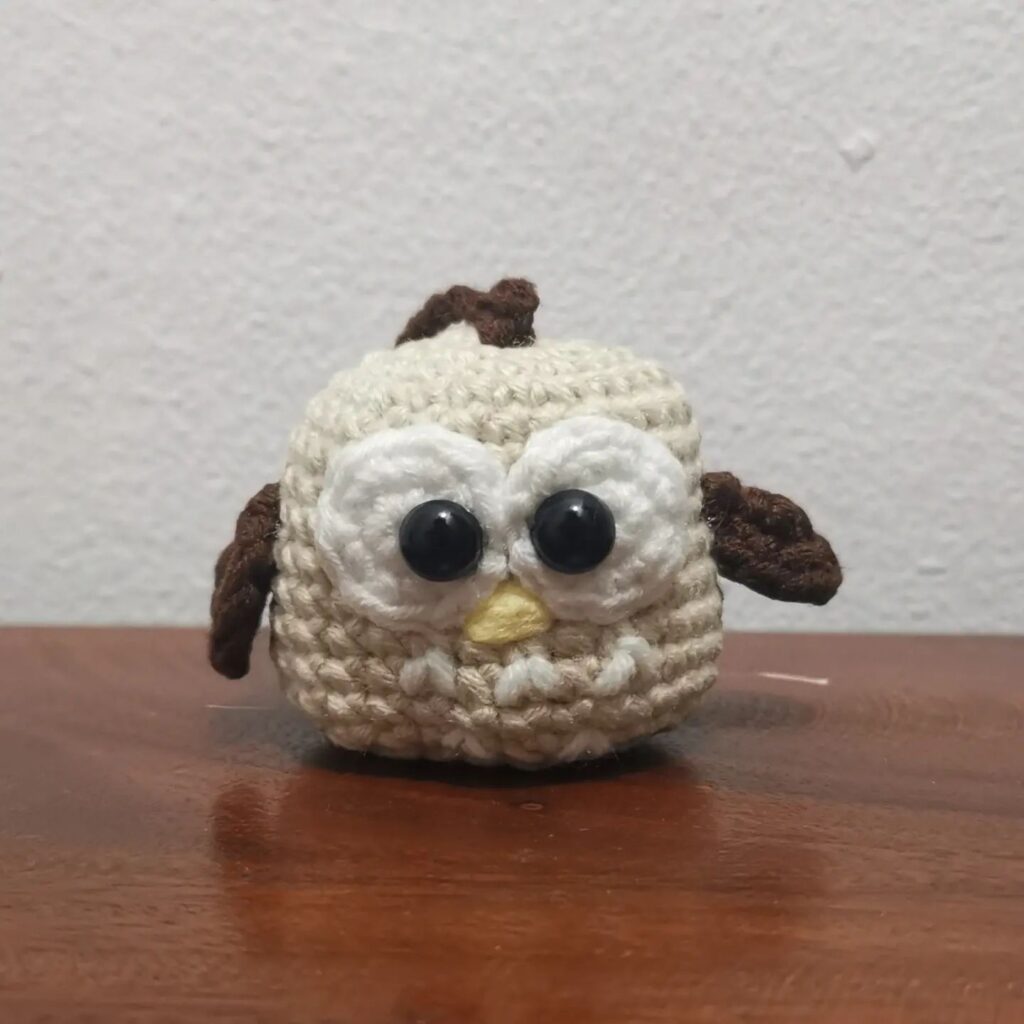
All Finished.