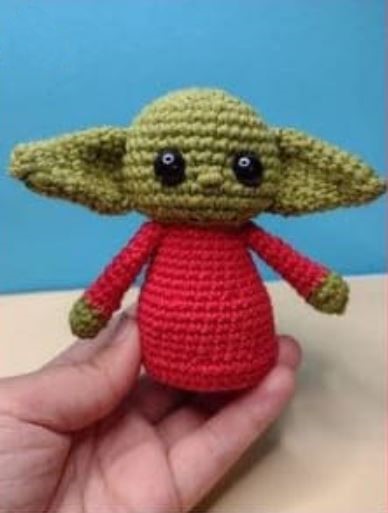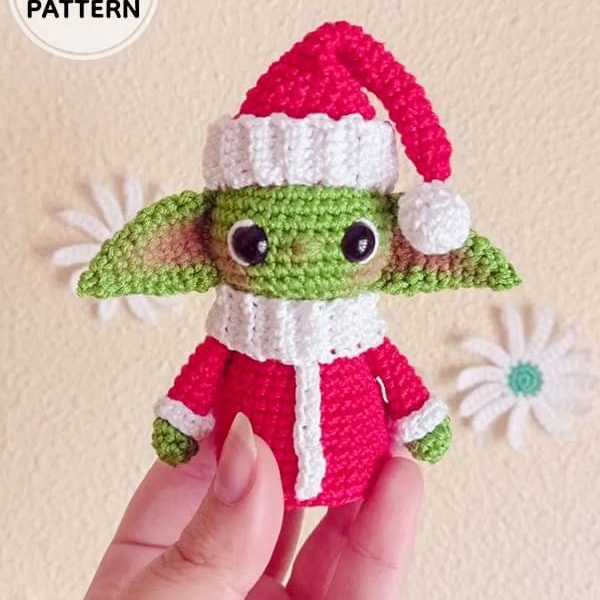
Hello amigurumi lovers and beautiful visitors, I wanted to share free amigurumi models with you here. In my article, I will share with you a model and how to make it. At the end of my article, I will share with you the detailed construction patterns of the mold.
Abbreviations
MR – magic ring
sc – single crochet
slst- Slip Stitch
inc- increase
dec- decrease
ch – chain
st(s) = stitch(es)
BLO- Back loop only
Rnd- round
Materials
Thread color: green, red and white
Safety eyes 10mm
Synthetic cotton
Point markers
Crochet no 2,2
Liquid silicone (optional)
Small piece of cardboard (body base)
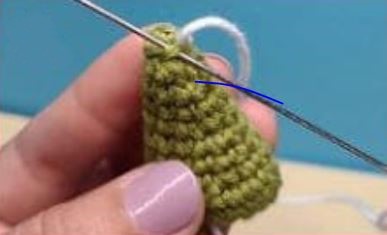
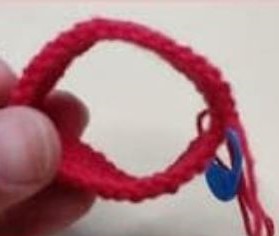
Example of Closed
This example is made with a thread of a different color than the fabric to make it more visible.
This example is for ears and hat.
With the needle take one by one the threads that go outside the fabric
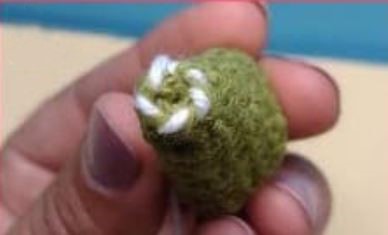
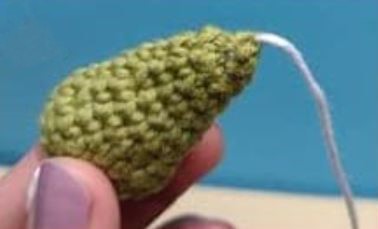
Pull the thread until the fabric closes, it will look like a magic ring.
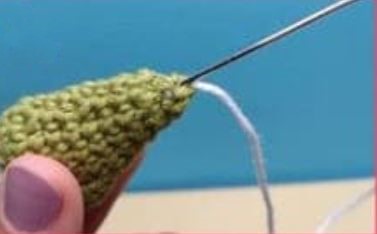
Insert the needle through the center of the fabric (magic ring) and hide the thread.
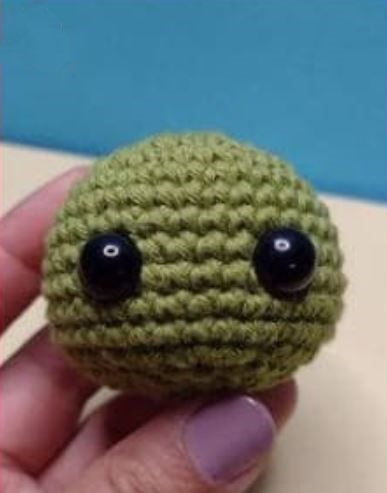
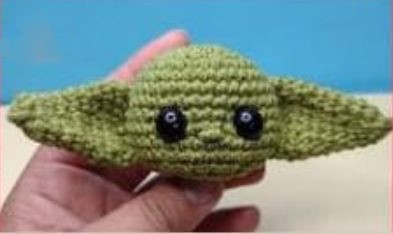
Head
Green thread
Rnd 1. MR x 8st
Rnd 2. inc x 8 (16st)
Rnd 3. (1sc, 1 inc) x 8 (24st)
Rnd 4. (24st)
Rnd 5. (1sc, 1 inc) x 12 (36st)
Rnd 6-12. (36st) Insert the eyes on row 9 with 6 stitches apart
Rnd 13. (2sc, 1 dec) x 9 (27st)
Rnd 14. (2sc, 1 dec) x 6, 1sc, 1 dec (20st)
Rnd 15. (1sc, 1 dec) x 6, 2sc (14st) Fill with cotton.
Rnd 16. dec x 7 (7st) Fasten off.
Ears (x2)
Green thread
When starting to weave, leave the thread long and then sew
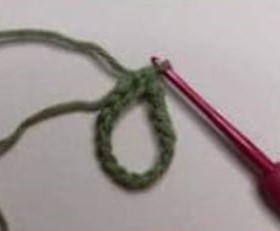
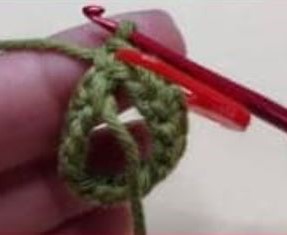
Rnd 1. ch x 16st.
Join the other end with a sc, put the stitch marker.
Rnd 2-3. (16st)
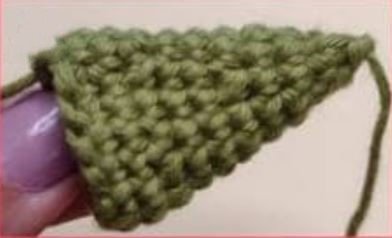
Rnd 4. (2sc, 1 dec) x 4 (12st)
Rnd 5-6. (12st)
Rnd 7. (2sc, 1 dec) x 3 (9st)
Rnd 8-9. (9st)
Rnd 10. dec x 4, 1sc (5st)
Fasten off.
Sew between row 6-12
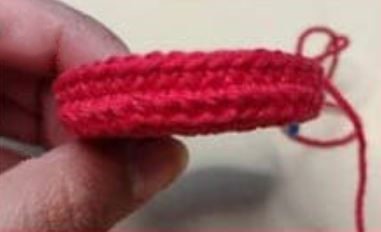
Body
Red thread
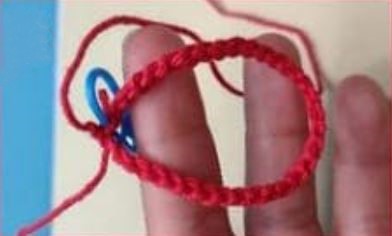
Rnd 1. MR x 8st
Rnd 2. inc x 8 (16st)
Rnd 3. (1sc, 1 inc) x 8 (24st)
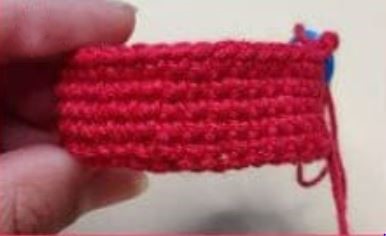
Rnd 4. (24st)
Rnd 5. (2sc, 1 inc) x 8 (32st)
Rnd 6. (2sc, 1 inc) x 9, 2sc (42st)
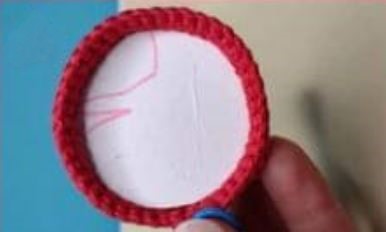
Rnd 7. Knit only BLO (42st)
Rnd 8. (42st)
For the base of the body, cut a piece of cardboard the diameter of the fabric and glue it to the base.
Rnd 9. (3sc, 1 dec) x 8, 2sc (34st)
Rnd 10-14. (34st)
Rnd 15. (3sc, 1 dec) x 6, 2sc, 1 dec (27st)
Rnd 16-20. (27st)
Rnd 21. (4sc, 1 dec) x 4, 3sc (23st)
Leave thread to sew to the body
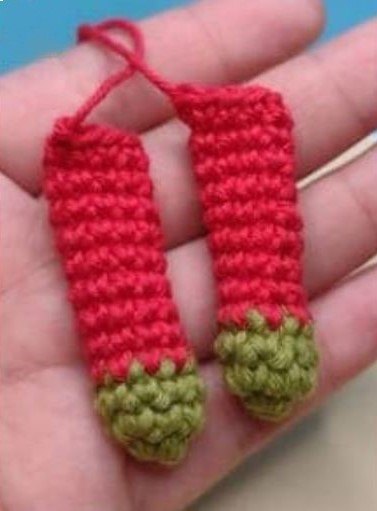
Arms (x2)
Green thread
Rnd 1. MR x 6st
Rnd 2. (1sc, 1 inc) x 3 (9st)
Rnd 3. (9st)
Rnd 4. start round with red color change (9st)
Rnd 5-12. (9st). Thank you for visiting our website amigurumireceitas.com.
Finish with a slst and leave a long thread to sew.
Do not fill. Sew to the body.
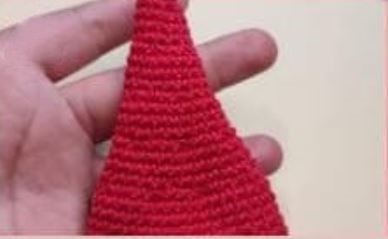
Hat
Red thread
Rnd 1. ch x 34st
Rnd 2-6. (34st)
Rnd 7. (2sc, 1 dec) x 8, 2sc (26st)
Rnd 8-10. (26st)
Rnd 11. (2sc, 1 dec) x 6, 2sc (20st)
Rnd 12-14. (20st)
Rnd 15. (2sc, 1 dec) x 5 (15st)
Rnd 16-18. (15st)
Rnd 19. (2sc, 1 dec) x 3, 1sc, 1 dec (11st)
Rnd 20-22. (11st)
Rnd 23. (2sc, 1 dec) x 2, 1sc, 1 dec (8st)
Rnd 24-25. (8st)
Rnd 26. dec x 4 (4st)
Fasten off.
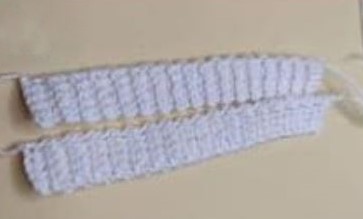
Hat And Coat Detail
White thread
Piece x2 (hat and collar)
Elastic knit
Remember to make a chain to go up in each turn
Rnd 1. ch x 6st. turn
Rnd 2. 5sc
Knit only BLO on each round
Rnd 3-34. (5sc)
Sew the ends
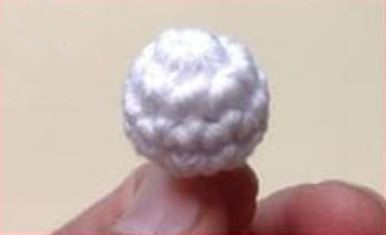
Pompom
Rnd 1. MR x 8st
Rnd 2. (1sc, 1 inc) x 4 (12st)
Rnd 3-4. (12st)
Rnd 5. dec x 6 (6st)
Fasten off.
Coat detail x3
Rnd 1. ch x 13st, turn
Rnd 2. 12sc. Leave thread to sew.
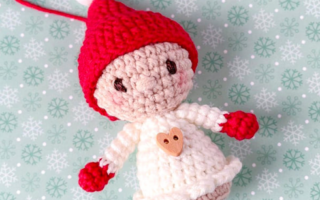
Assembly
1. Sew the hat to the doll’s head so that it is fixed
2. Sew or glue the woven pieces in ribbing on the neck and on the base of the hat
3. Sew the sphere to the tip of the hat. Thank you for visiting our website amigurumireceitas.com.
4. Sew or glue the small challenging pieces onto the sleeves of the doll. (Cover the color change)
5. Sew or glue the last piece right in the middle of the coat
6. Apply blush or pink eyeshadow to the ears
7. With white thread embroider the contour of the eyes.
Feel free to tag me (@freeamigurumii) in your photos on Instagram or Facebook if you’d like!
All Finished.