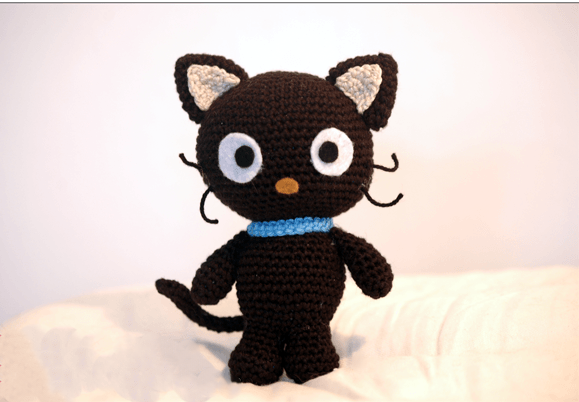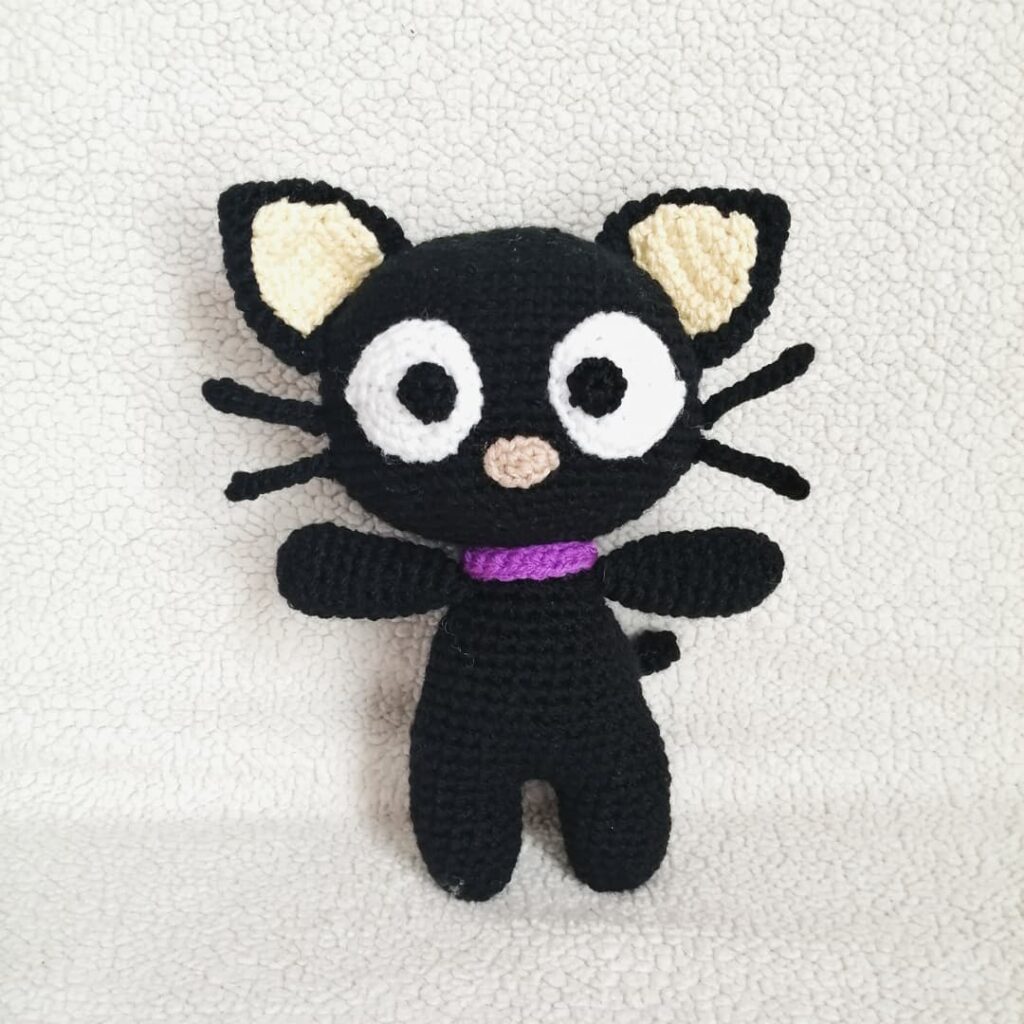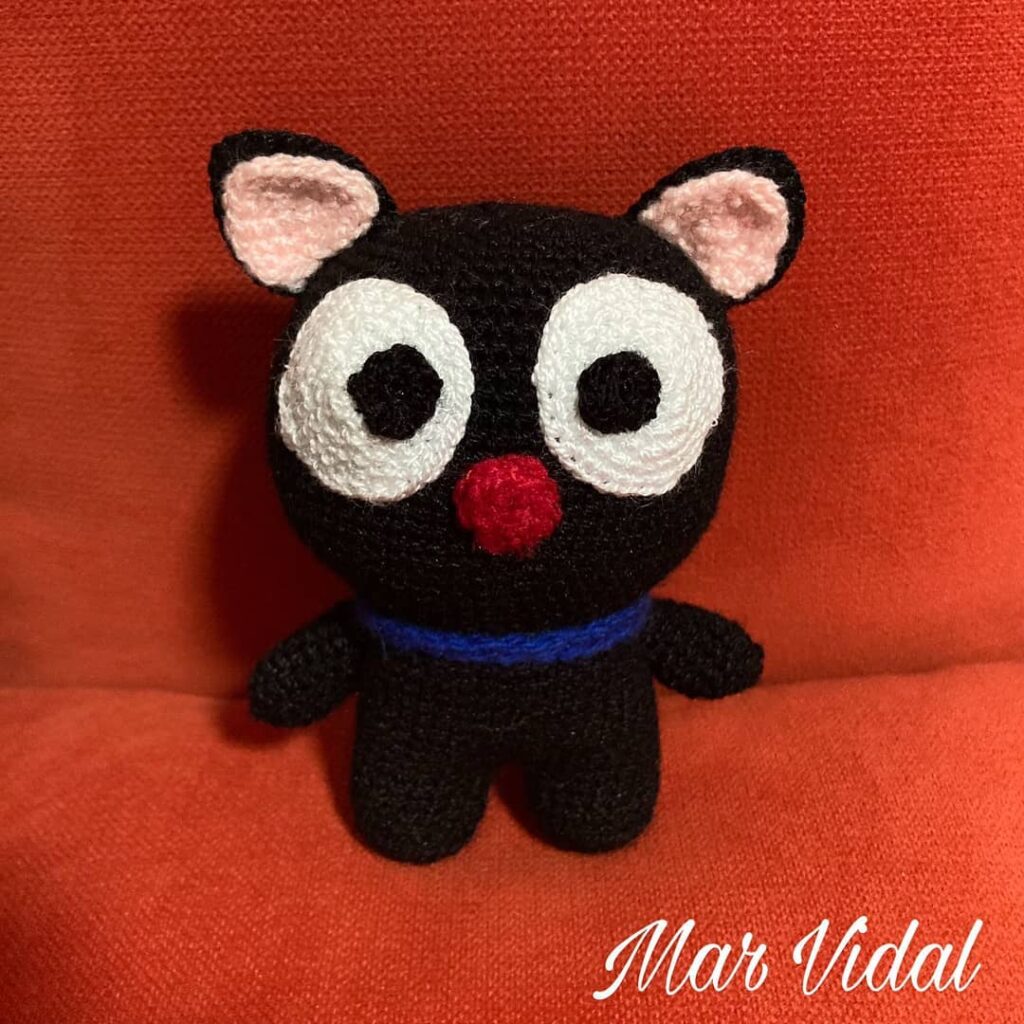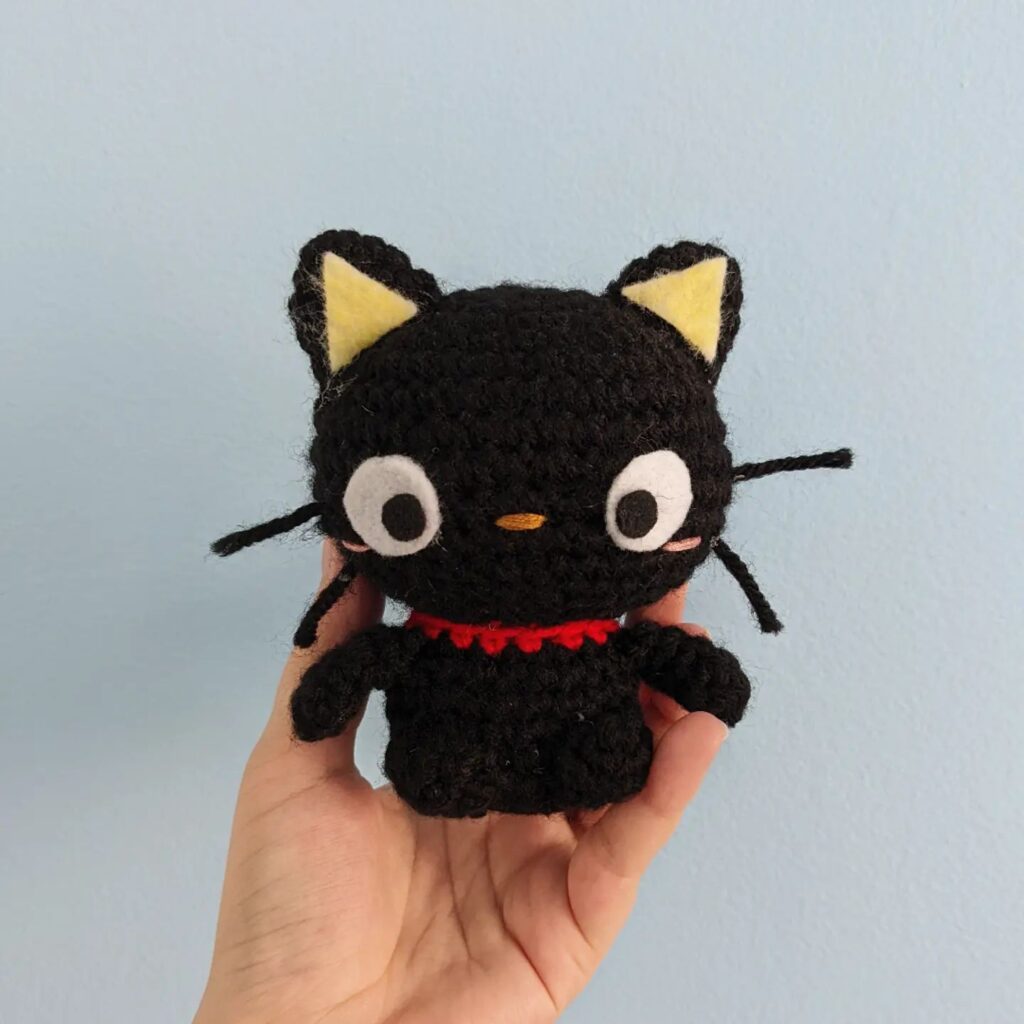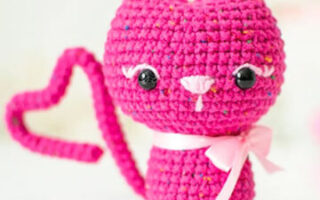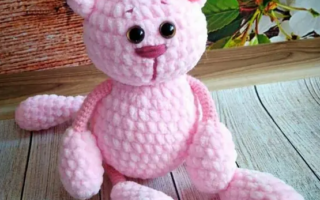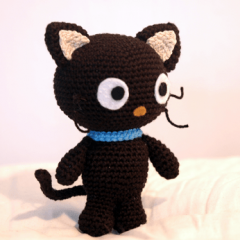
Hello amigurumi lovers and beautiful visitors, I wanted to share the free amigurumi patterns for you here. In my article I will share 1 pattern and how to make it for you. At the end of my article, I will share amigurumi patterns that can generate ideas for you.
You will need:
- Needle with large eye and blunt tip (2.5 mm)
- Black yarn
- Beige yarn
- Blue yarn
- Fiberfill
- Black, white and brown felt
- Iron wire
Abbreviations:
KR = circular row
RLS = single crochet conn
. Art. = connecting post
ch = air loop
rotary ch = rotary air loop
decrease. = decrease
Head
(Use black yarn)
KR 1: 6 sc in amigurumi ring (6 loops)
KR 2: 2 sc in every sc (12)
KR 3: 2 sc in every second sc (18)
KR 4: 2 sc in every third sc (24)
KR 5: 2 RLS in every fourth RLS (30)
KR 6: 2 RLS in every fifth RLS (36)
KR 7: 2 RLS in every sixth RLS (42)
KR 8: 2 RLS in every seventh RLS (48 )
KR 9: 2 sc in every eighth sc (54)
KR 10-19: 54 sc (54)
KR 20: decrease over every eighth and ninth sc (48)
KR 21: decrease over every seventh and eighth sc (42)
KR 22: decrease over every sixth and seventh sc (36)
CR 23: decrease over every fifth and sixth sc (30)
CR 24: decrease over every fourth and fifth sc (24)
CR 25: decrease over every third and fourth sc (18 )
Stuff your head. Close the last loop of the connection. Art. and leave a tail for sewing the head to the body.
Leg 1
(Use black yarn)
KR 1: 6 sc in amigurumi ring (6 loops)
KR 2: 2 sc in each sc (12)
KR 3: 2 sc in every second sc (18)
KR 4-5: 18 sc ( 18)
KR 6: decrease over every second and third RLS (12)
KR 7-8: 12 RLS (12)
Close the last loop of the connection. Art. and leave a small tail.
Leg 2/Body
(Use black yarn)
KR 1-8: same as leg 1, do not bind off last stitch
KR 9: work around leg 1 and leg 2 (24)
Cover the hole between the legs by sewing them together from the inside with the remaining yarn from leg 1
KR 10: 24 RLS (24)
KR 11: 2 RLS in every fourth RLS (30)
KR 12-19: 30 RLS (30)
KR 20: decrease over every fourth and fifth RLS (24)
KR 21: 24 RLS ( 24)
KR 22: decrease over every third and fourth sc (18)
Stuff the body. Close the last loop of the connection. Art. and hide the yarn in the body.
Ears (outer part, 2 pcs.)
(Use black yarn)
KR 1: 6 sc in amigurumi ring (6 loops)
KR 2: 6 sc (6)
KR 3: 2 sc in each sc (12)
KR 4: 12 sc (12)
KR 5: 2 RLS in every second RLS (18)
KR 6: 18 RLS (18)
KR 7: 2 RLS in every third RLS (24)
KR 8: 24 RLS (24)
Close the last loop of the connection. Art. and leave a tail for sewing the ears to the head.
Ears (inner part, 2 pieces)
(Use beige yarn)
Row 1: ch 2 + 1 ch (2)
Row 2: 2 sc in last ch + 1 ch (1 sc in other ch) (3)
Row 3 : 2 sc in last ch + 1 rotary ch (1 sc in another ch) (4)
Row 4: 2 sc in last + 1 rotary ch (1 sc in another ch) (5)
Row 5: 2 sc in last ch ( 1 sc in another ch) (6)
Bind off the last stitch and leave enough yarn to sew this part of the ears to the outside.
Paws (2 pcs)
(Use black yarn)
KR 1: 6 sc in amigurumi ring (6 loops)
KR 2: 2 sc in first, third, fourth and sixth sc (10)
KR 3-7: 10 sc (10)
KR 8: decrease over every fourth and fifth sc (8)
Stuff your hands and continue to stuff until the last row.
KR 9: 8 RLS (8)
KR 10: decrease over every third and fourth RLS (6)
Close the last loop of the connection. Art. and leave a tail for sewing the arms to the body.
Tail
(Use black yarn)
Row 1: 20 ch + 1 turn ch (20)
Row 2-3: 20 sc + 1 turn ch (20)
Row 4: 20 sc (20)
Bind off last st, leaving a long tail. Cut a piece of wire the length of the resulting row. Place the wire inside the row (you can use glue) and close the row, stitching the remaining yarn back and forth from one side to the other.
Collar
(Use black yarn)
Row 1: ch 25 + 1 turn ch (25)
Row 2: 25 sc (25)
Cast off last st, leaving enough yarn to secure collar to neck.
Assembly
- Sew the head to the body. Sew the inside of the ears to the outside. Then sew the ears to the head at level KP5.
- Sew the paws to the body.
- Sew the tail to the back of the body, at level KR 10 (counting from the top).
- Wrap the collar around your neck and sew the ends together.
- For the eyes, cut out 2 circles from white felt and 2 small circles from black. Glue the black circles to the white ones. Then glue the white circles to the head at level KR 13, leaving a gap of 5 loops between the eyes.
- Cut out a nose from brown felt and glue it to the head at row 18.
- Use black yarn. Pull the yarn through the cheeks (about three stitches from the bottom of the eye) so that it sticks out on both sides. Tie a small knot where the mustache emerges from the cheeks. Do this for both cheeks.
Feel free to tag me (@freeamigurumii) in your photos on Instagram or Facebook if you’d like!
All Finished.