Hello amigurumi lovers and beautiful visitors, I wanted to share free amigurumi models with you here. In my article, I will share with you a model and how to make it. At the end of my article, I will share with you the detailed construction patterns of the mold.
Materials
• Cotton yarn (50g/125m) skin color, hair color, body color, wing color.
• Embroidery thread in black
• Crochet hook 2.5 mm
• Needle for sewing
• Fiberfill
• Stitch marker
• Scissors
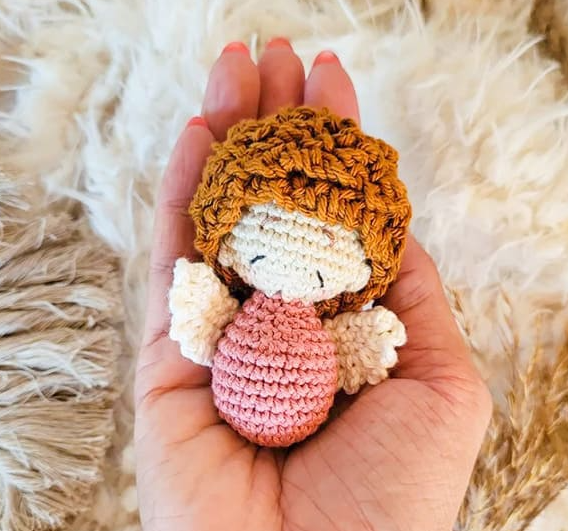
• With the specified materials the angel will be about 8 cm tall.
Abbreviations
MR: Magic ring
Sc: Single crochet
St: Stitch
Slst: Slip stitch
Hdc: Half double crochet
Dc: Double crochet
Ch: Chain
FLO: Front loop only
BLO: Back loop only
Inc: Increase
Dec: Decrease
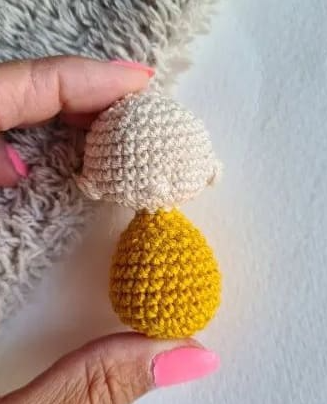
Body
Begin with the body color, here yellow.
Rnd 1. 6 sc in MR (6)
Rnd 2. 6 inc (12)
Rnd 3. (1sc,inc)*6 (18)
Rnd 4. 1sc, inc, (2sc,inc)*5, 1 sc (24)
Rnd 5-9. 24 sc (24) (5 rows)
Rnd 10. 6 sc, (1sc,dec)*3, 9 sc (21)
Rnd 11. 7 sc, (dec)*3, 8 sc (18)
Start stuffing the head.
Rnd 12. (1sc,dec)*6 (12)
Rnd 13. (1sc,dec)*4 (8)
Change color to skin color.
Don’t cut the thread and continue with the head.
Rnd 14. 8 sc (8)
Rnd 15. FLO- (inc)*8 (16)
Rnd 16. (1sc,inc)*8 (24)
Rnd 17. (3sc,inc)*6 (30)
In the next round crochet the ears. Make sure that the decreases from the body are centered to them.
If necessary, you have to move the stitches a little.
Rnd 18. 9 sc, bobble st, 13 sc, bobble st, 6sc (30)
Rnd 19-22. 30 sc (30) (4 rows)
Rnd 23. (3sc,dec)*6 (24)
Rnd 24. 1 sc, dec, (2sc,dec)*5, 1 sc (18)
Rnd 25. (1sc,dec)*6 (12)
Rnd 26. (dec)*6 (6)
Fasten off, pull the thread through the 6 front loops to close the opening. You can embroider the nose directly with the thread.
To do this, pass it one round below the ears (between rounds 17/18) about 2 times over 2 stitches. Weave in the end.
How to crochet a bobble stitch
In this pattern a bobble stitch is crocheted with 3 dc together.
To crochet a bobble stitch, yarn over, go into the next stitch, pull up a loop and then yarn over, pull up just through the first two loops.
Keep adding two more stitches going through the same stitch. When you have four loops on your needle, yarn over and pull up through them.
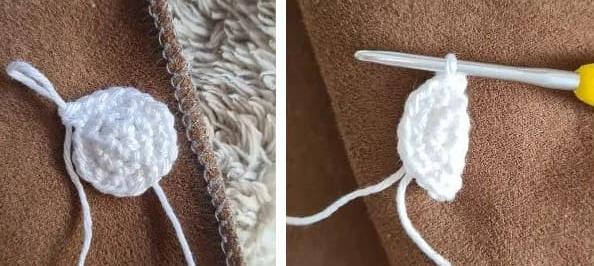
Wings (Make 2)
Use the wing color, here white.
Rnd 1. 6 sc in MR (6)
Rnd 2. 6 inc (12)
Rnd 3. (1sc,inc)*6 (18)
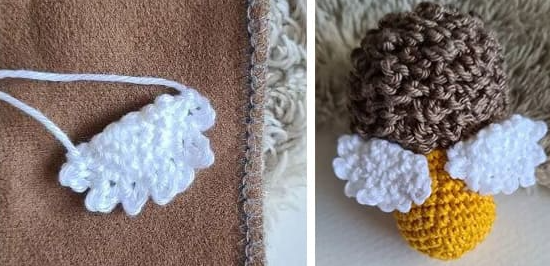
Fold the wing and crochet:
slst, (4ch, slst into the next stitch)*7
End with a slst, cut the thread long to sew the wing onto the back.
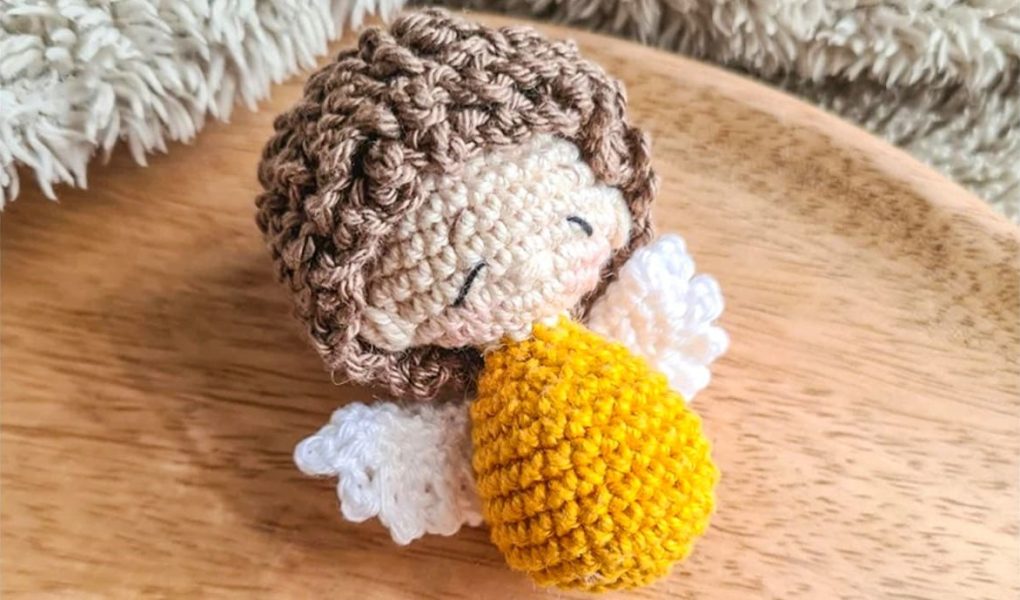
I attached them from about round 8 to 10. Between the wings there are about 2-3 visible stitches.
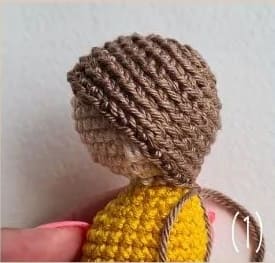
Hair
Use the hair color, here brown.
Crochet only into the blo.
Rnd 1. 6 sc in MR (6)
Rnd 2. (inc)*6 (12)
Rnd 3. (1sc,inc)*6 (18)
Rnd 4. (2sc,inc)*6 (24)
Rnd 5-8. 24 sc (24) (4 rows)
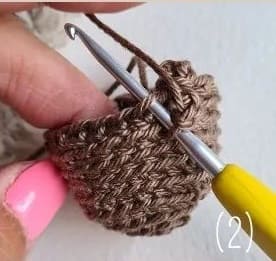
Put on Angel’s hair and see if it already reaches the ears (1).
If not, crochet another round of 24 sc. (Don’t worry, the hair is now every close to the head. By crocheting into the FLO it will be much looser later).
Now continue crocheting into the FLO of the last round (2)
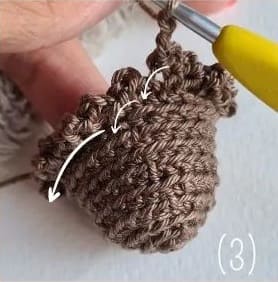
and work in a spiral to the MR in all FLO (3):
3 ch, slst into the next stitch.
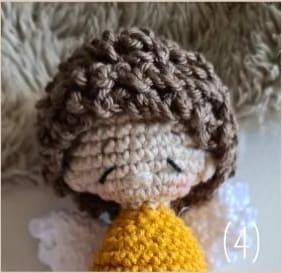
Crochet a final slst into the MR, cut the thread long and pass it to round 8 or 9. Sew the hair all around the head (4).
Finishing
Embroider the eyes. They start one round above the nose, one stitch further out.
They go diagonal across two stitches and end one round lower.
Embroider the eyebrows with black thread or thread that matches the hair color, two rounds above the eyes.
They diagonally over one stitch.
If you like, apply some blush to Angel’s cheeks.
Feel free to tag me (@freeamigurumii) in your photos on Instagram or Facebook if you’d like!
All Finished.