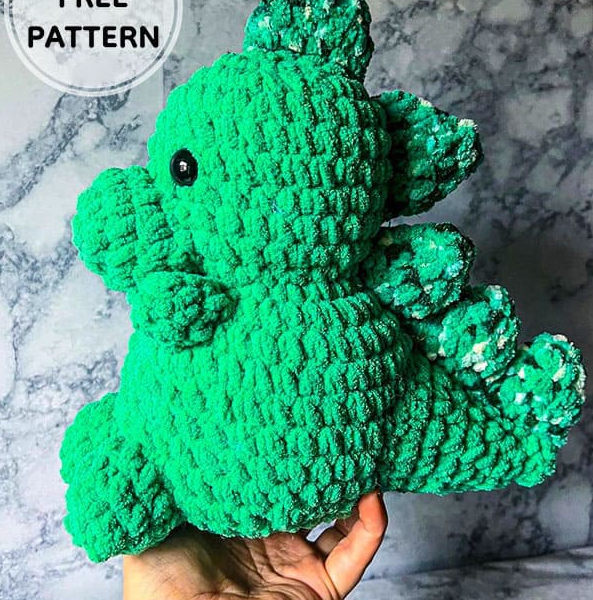
Hello amigurumi lovers and beautiful visitors, I wanted to share free amigurumi models with you here. In my article, I will share with you a model and how to make it. At the end of my article, I will share with you the detailed construction patterns of the mold.
Supplies
• Size 4 worsted weight yarn
• Polyfil
• Darning needle
• Scissors
• Safety eyes ( ı used size 12 mm for size 4 worsted weight yarn)
• 4mm crochet hook
Abbreviations
Mr: Magic ring
Sc: Single crochet
Inc: Increase
Dec: Decrease
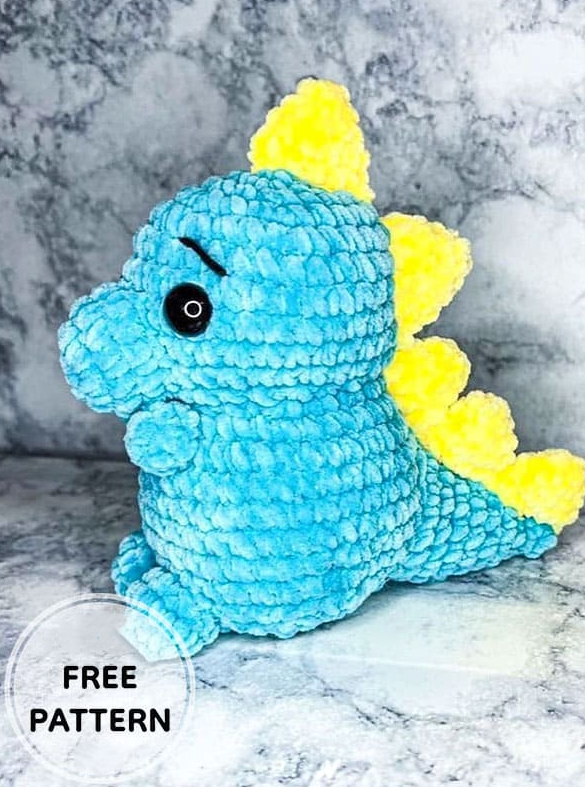
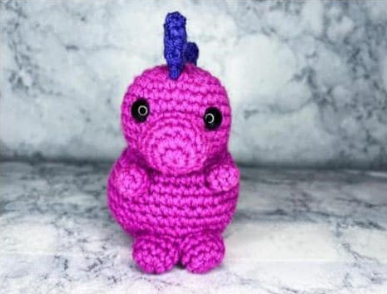
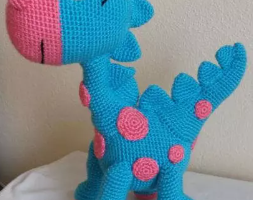
Head and body (1 piece)
Rnd 1. 6 sc in MR (6)
Rnd 2. 6 inc (12)
Rnd 3. (sc,inc)*6 (18)
Rnd 4. (2sc,inc)*6 (24)
Rnd 5. (3sc,inc)*6 (30)
Rnd 6. 5 rows of 30 sc (30)
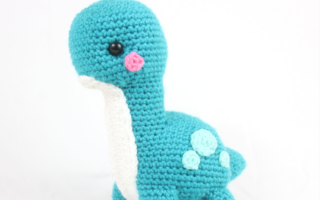
Insert eyes between rows 2 and 3 of the 5 rows you just made. 6 sts apart.
Rnd 7. (3sc,dec)*6 (24)
Rnd 8. (2sc,dec)*6 (18)
Start stuffing the head and continue stuffing as you go.
Rnd 9. (inc)*18 (36)
Rnd 10. 7 rows of 36 sc (36)
Rnd 11. (4sc,dec)*6 (30)
Rnd 12. (3sc,dec)*6 (24)
Rnd 13. (2sc,dec)*6 (18)
Rnd 14. (1sc,dec)*6 (12)
Rnd 15. 6 dec (6)
Finish off and close bottom of the circle.
Nose
Rnd 1. 7 sc in MR (7)
Rnd 2. 7 inc (14)
Rnd 3. 2 rows of 14 sc (14)
Finish off and leave a long tail for sewing, add stuffing to nose.
Arms (Make 2)
Rnd 1. 4 sc in MR (4)
Rnd 2. (1sc,inc)*2 (6)
Rnd 3. 1 row of 6 sc
Rnd 4. Finish off and leave long yarn tail for sewing. Do not stuffing.
Legs (Make 2)
Rnd 1. 5 sc in MR (5)
Rnd 2. 5 inc (10)
Rnd 3. 2 rows of 10 sc (10)
Finish off and leave long yarn tail for sewing, add stuffing to the legs.
Tail
Rnd 1. 5 sc in MR (5)
Rnd 2. 2 rows of 5 sc (5)
Rnd 3. 5 inc (10)
Rnd 4. 2 rows of 10 sc (10)
Rnd 5. (1sc,inc)*5 (15)
Rnd 6. 1 row of 15 sc (15)
Rnd 7. (inc)*4, 10 sc, inc (20)
Rnd 8. 1 row of 20 sc
Finish off and leave long yarn tail for sewing, add stuffing to the tail.
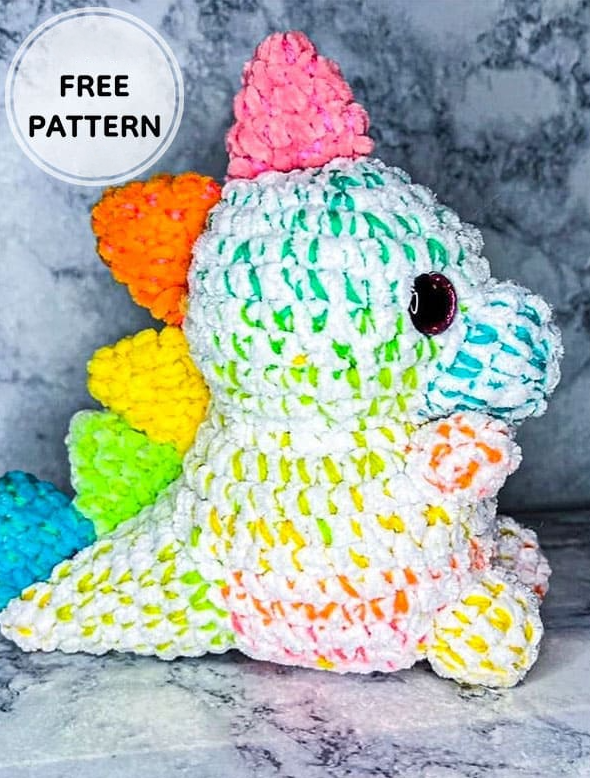
Head and tail spikes (Make 5)
Rnd 1. 5 sc in MR (5)
Rnd 2. 1 row of 5 sc (5)
Rnd 3. 5 inc (10)
Rnd 4. 1 row of 10 sc (10)
Rnd 5. sc the spikes closed.
Finish off and leave long yarn tail for sewing.
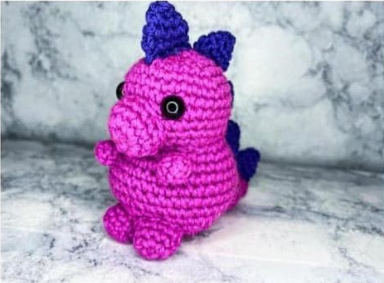
Assembly
• The nose is sewn between the eyes, ı add stuffing as ı sew.
• Arms are sewn on more towards the front, to give it the trex looking tiny arms, do not stuffing the arms. The legs are sewn on in the middle of the body. Try to line them up with the middle of the nose, ı also add stuffing as ı sew. Thank you for visiting our website amigurumireceitas.com.
• The tail is sewn on in the middle of the back of the body, you can add stuffing as you sew or stuffing before hand then sew.Spikes are sewn starting at the tip of the tail, then continue going up the tail, body and head. But you can position them to your own liking.
Feel free to tag me (@freeamigurumii) in your photos on Instagram or Facebook if you’d like!
All Finished.