Hello amigurumi lovers and beautiful visitors, I wanted to share free amigurumi models with you here. In my article, I will share with you a model and how to make it. At the end of my article, I will share with you the detailed construction patterns of the mold.
Supplies
Any size 4 worsted weight yarn, you will need 4 different colors. Skin color, hair color and two different colors for the outfit and shoes.
4.5 mm crochet hook
Polyfil
Darning needle
Scissors
Abbreviations
Ch: Chain
Mr: Magic ring
Sc: Single crochet
Dec: Decrease
Inc: Increase
Hdc: Half double crochet
Slst: Slip stitch
BLO: Back loop only
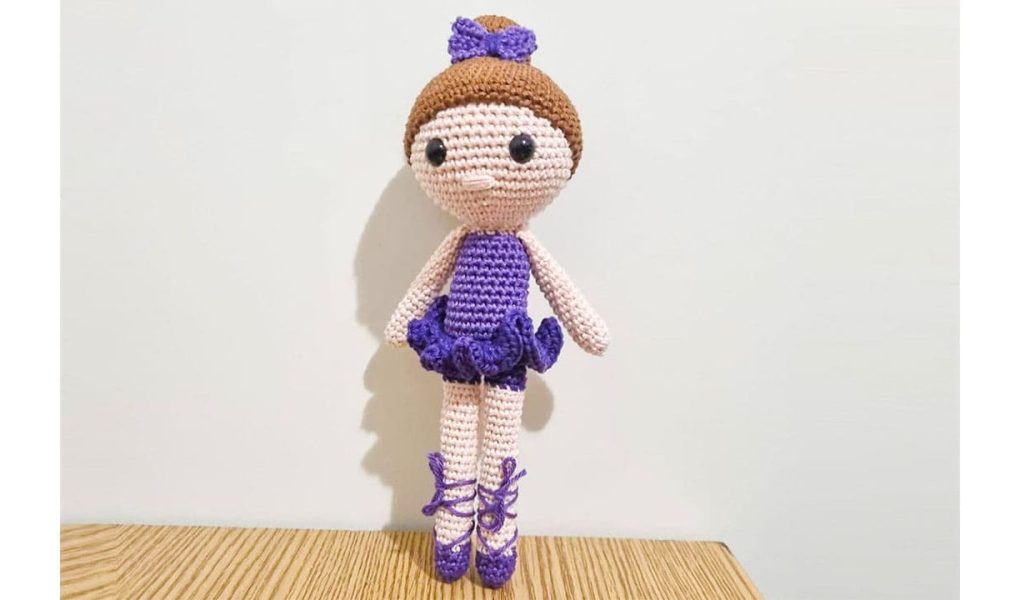
Skill level: Intermediate
Finished ballerina height: When the specified materials are used, it will be 40 cm on average.
Important notes:
The majority of the ballerina is crocheted in continuous rows. You wan’t be joining after every row.
The only part you will be joining is the tutu.
Accent color #1- shoes, shoe ties, bow, shirt.
Accent color #2- tutu, shorts, tie to wrap around bow.
When you’re crocheting the tutu, ch 1 does not count as a stitch.
Arms (Make 2)
Rnd 1. 4 sc in MR (4)
Rnd 2. 4 inc (8)
Rnd 3-16. 13 rows 8 sc (8)
Stuffing the tips of the hands lightly.
Single crochet closed and finish off with long yarn tail for sewing.
Legs (Make 2)
In accent color #1
Rnd 1. 5 sc in MR (5)
Rnd 2. 5 inc (10)
Rnd 3-5. 3 rows of 10 sc
Color change to skin color.
Rnd 6. 10 sc in BLO (10), Stuffing with polyfil and continue to stuffing as you go.
Rnd 7-25. 18 rows of 10 sc (10)
In accent color #2
Rnd 26. 10 sc BLO (10)
Rnd 27. 10 sc (10)
Fasten off the 1st leg. Not the 2nd leg.
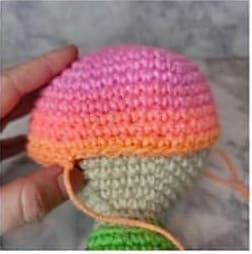
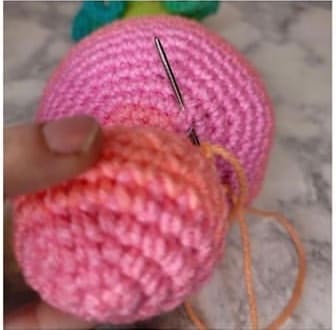
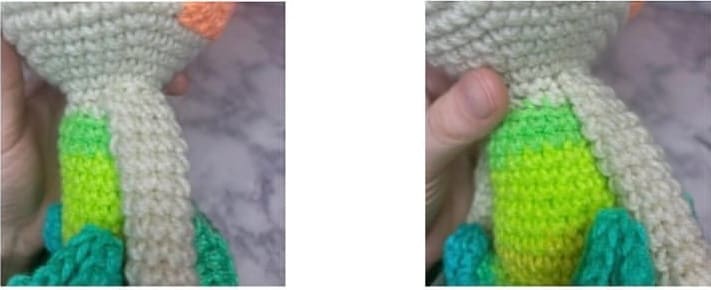
Instructions for last leg: see photos below if needed
Rnd 1. 4 sc then chain 2. Fasten to the first leg with a single crochet, you will not place your single crochet where you finished off, you will place it in the stitch next to it.
Rnd 2. Sc around the leg, place 1 sc into each chain space and continue to sc to next leg (22)
Rnd 3. 1 sc into each chain space, single crochet around (24)
Rnd 4-5. 2 rows of 24 sc (24)
Rnd 6. 14 sc to make sure color change is in the back of the doll, color change to accent color #1.
Body
Stuffing the body as you go.
Rnd 1. 24 sc BLO (24)
Rnd 2. 24 sc (24)
Rnd 3. 5 sc, dec, 10 sc, dec, 5 sc (22)
Rnd 4-5. 2 rows of 22 sc (22)
Rnd 6. 5 sc, dec, 9 sc, dec, 4 sc (20)
Rnd 7-9. 3 rows of 20 sc (20)
Rnd 10. 5 sc, dec, 9 sc, dec, 2 sc (18)
Rnd 11. 1 row of 18 sc
Starting the neck and head
If you want extra stabilization for the neck insert a wooden dowel. I don’t use one, ı stuffing the neck and head very firmly. Thank you for visiting our website amigurumireceitas.com.
Rnd 1. BLO, (1sc,dec)*6 (12)
Rnd 2. 1 row of 12 sc
Rnd 3. (inc)*12 (24)
Rnd 4. 1 row of 24 sc
Rnd 5. (3sc,inc)*6 (30)
Rnd 6. (4sc,inc)*6 (36)
Rnd 7. (5sc,inc)*6 (42)
Rnd 8. (6sc,inc)*6 (48)
Rnd 9-16. 8 rows of 48 sc (48)
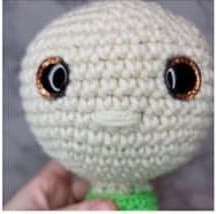
Eyes between row 4 and 5 of the 8 rows of 48 sc you just completed. 8 stitches apart.Add eyelashes before fastening on the eyes.
Rnd 17. (6sc,dec)*6 (42)
Rnd 18. (5sc,dec)*6 (36)
Rnd 19. (4sc,dec)*6 (30)
Start stuffing your head, make it nice and round. And continue stuffing as you go.
Rnd 20. (3sc,dec)*6 (24)
Rnd 21. (2sc,dec)*6 (18)
Rnd 22. (1sc,dec)*6 (12)
Rnd 23. (dec)*6 (6)
Tie off and sew closed.
Nose: covers 3 stitches.
Tutu
Remember, ch 1 does not count as a stitch.
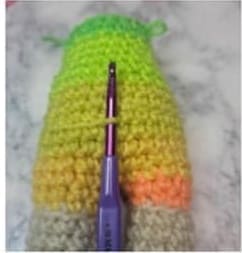
Rnd 1. Attach to the front loops of the section we single crocheted into the blo.(see picture for reference) slip stitch to attach, ch 1 and sc into the same stitch.Single crochet around (24)
Rnd 2. Join to 1st sc with a slst. Ch 1, place 2 hdc into each stitch (48 hdc)
Rnd 3. Joint to 1st hdc with a slst. Ch 1, place 3 hdc into each stitch (144 hdc)
Rnd 4. Join to 1st hdc with a slst. Tie off and weave in ends.
Wig cap
Whatever hair color you’d like.
Rnd 1. 6 sc in MR (6)
Rnd 2. 6 inc (12)
Rnd 3. (1sc,12sc)*6 (18)
Rnd 4. (2sc,inc)*6 (24)
Rnd 5. (3sc,inc)*6 (30)
Rnd 6. (4sc,inc)*6 (36)
Rnd 7. (5sc,inc)*6 (42)
Rnd 8. (6sc,inc)*6 (48)
Rnd 9-14. 8 rows of 48 sc (48)
Sew the wig cap onto the doll at an angle, ı do 5 rows up from where the color change was made.
Hair bun
Hair color.
Rnd 1. 6 sc in MR (6)
Rnd 2. 6 inc (12)
Rnd 3. (1sc,inc)*6 (18)
Rnd 4. (2sc,inc)*6 (24)
Rnd 5-7. 3 rows of 24 sc (24)
Rnd 8. (2sc,dec)*6 (18)
Rnd 9. 1 row of 18 sc
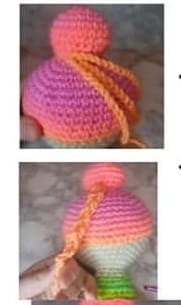
Bun positioning can be wherever you’d like it to be, mine covers the magic ring all the way to the 24 sc increse on the wig cap. You can position it lower, or higher. Or even make space buns.
Bun piece
Hair color.
Rnd 1. Leave a long starting tail and chain 20, leave a long yarn tail and tie off make there total.
Attach the tails to the back of the middle of the bun. Braid your chains. Sew the ends together and then wrap the braid around the bun and secure. See photos below if needed.
• Attach tails to back of middle of bun.
• Braid the three chains together.
• Sew the ends together then wrap around the bun and attach where you attached the beginning tails. Secure them and then cut.
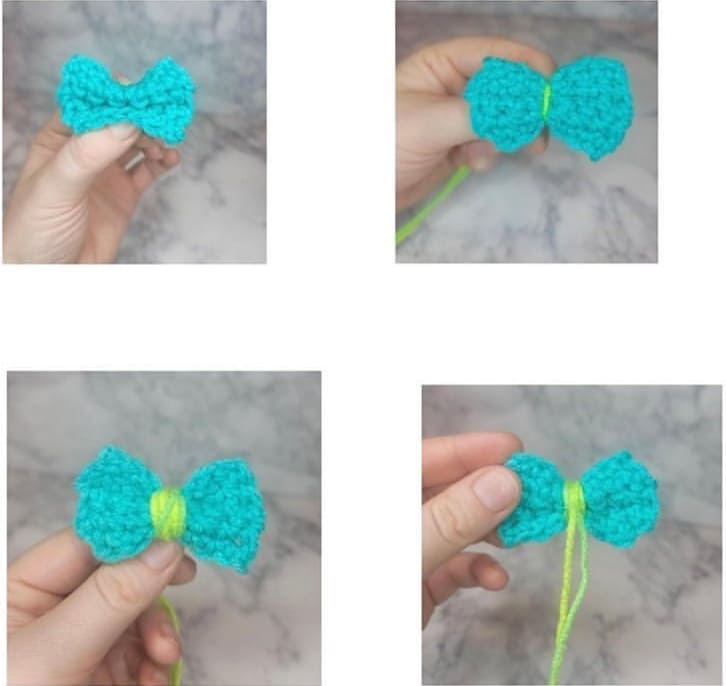
Bow
Rnd 1. ch 8
Rnd 2. sc into 2nd from hook and sc down, ch 1 and turn (7)
Rnd 3-6. 4 rounds of 7 sc. ch 1 and turn after every round knot off and weave in ends.
With accent color #2 tie in the middle of the bow. Wrap around a few times and tie again. Sew into the bun. See photos if needed.
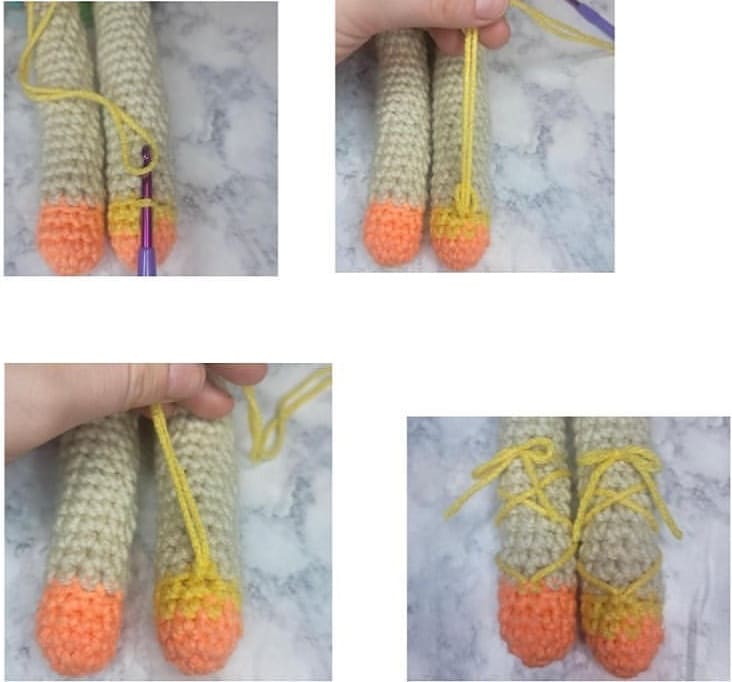
Shoes
With accent color #1
Cut off a long piece of yarn. Find the middle of the shoe and attach.
Wrap both pieces of yarn around in an “x” to create the ballet slippers.
Tie a bow and cut off the remaining amount of yarn to make them even.
See photos if needed:
Arm placement
At the base of the neck, on the sides.
Feel free to tag me (@freeamigurumii) in your photos on Instagram or Facebook if you’d like!
All Finished.