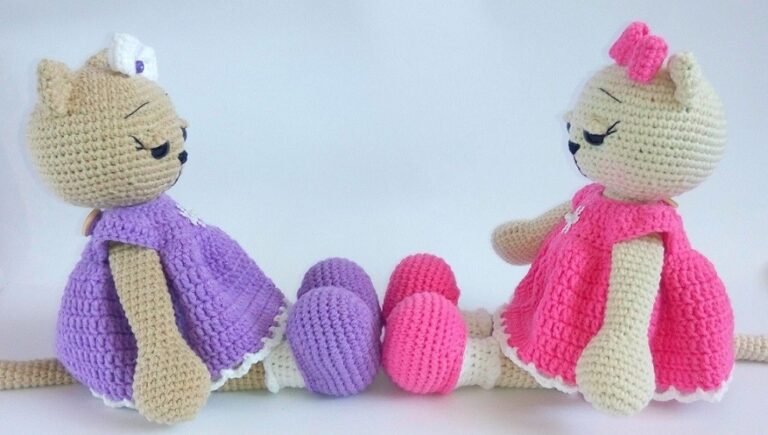
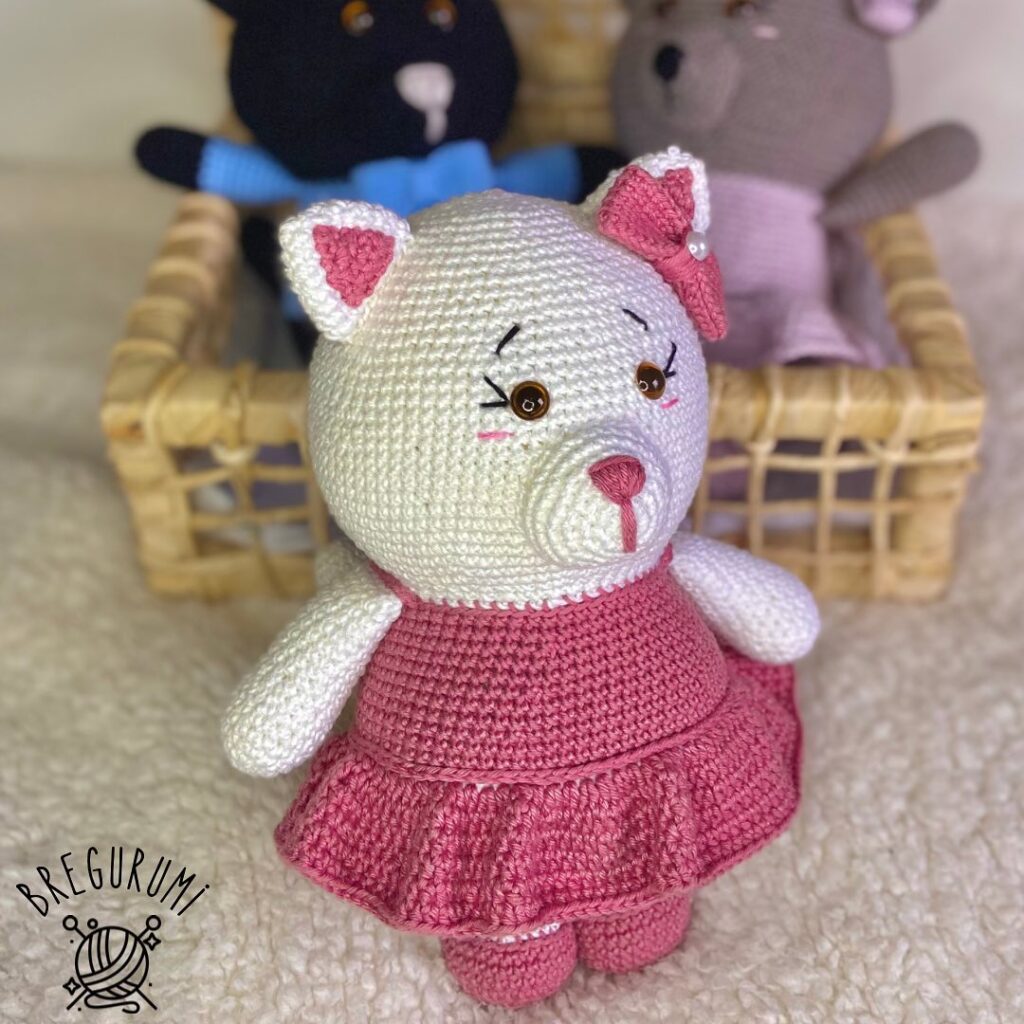
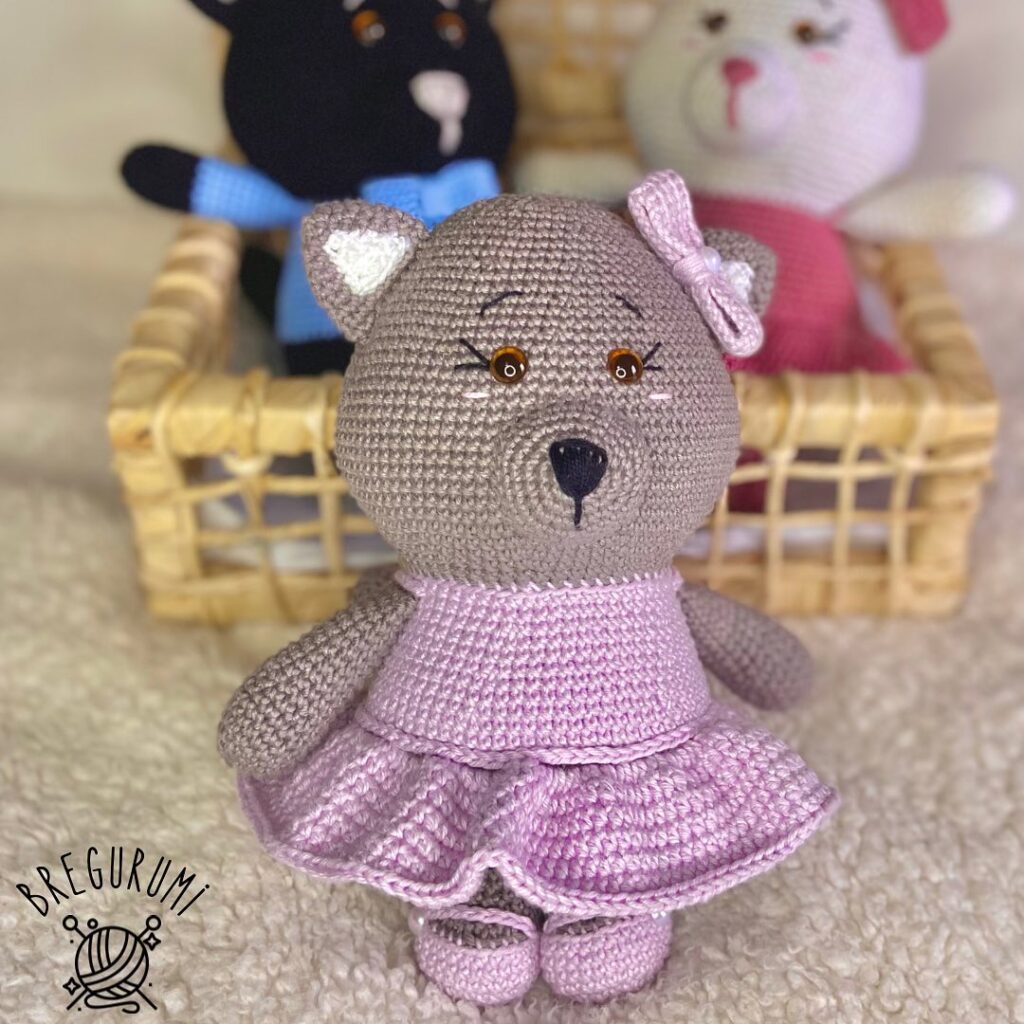
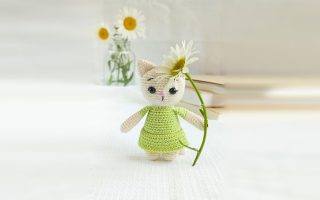
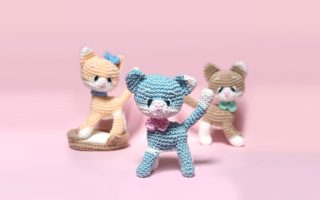
Hello amigurumi lovers and beautiful visitors, I wanted to share the free amigurumi patterns for you here. In my article I will share 1 pattern and how to make it for you. At the end of my article, I will share amigurumi patterns that can generate ideas for you.
Necessary materials:
– YarnArt JEANS yarn and hook 2.5 and 2.0
– main color for the body – less than a skein (40g)
– color for a dress and shoes – floor of the skein
– white for socks and shorts – 20g
– holofiber filler
– eyes with a diameter of 12 mm (preferably screw)
– instant glue
– black thread for embroidering a nose
– a button for a dress
Abbreviations:
KA – amigurumi ring
VP – chain loop
sc – single crochet
Dc – double crochet
PR – increase
UB – decrease
Head
1. 6sc in KA (6)
2. PR*6 (12)
3. (sc, PR)*6 (18)
4. (2sc, PR)*6 (24)
5. (3sc, PR)*6 (30)
6. (4sc, PR)*6 (36)
7. (5sc, PR)*6 (42)
8. (6sc, PR)*6 (48)
9. (7sc, PR)*6 (54 )
10. (8sc, PR)*6 (60)
11.-17. 60sc in the circle (60)
18. (8sc. UB)*6 (54)
19. (7sc, UB)*6 (48)
20. (6sc, UB)*6 (42)
21. (5sc, UB)* 6 (36)
22. (4sc, UB)*6 (30)
23. (3sc, UB)*6 (24)
Fill with holofiber
24. (2sc, UB)*6 (18)
25. (sc, UB)* 6 (12)
26. 6UB (6)
Fasten and cut the thread.
Ears (2 pcs.)
1. 5 sc in KA (5)
2. 5 sc in circle (5)
3. PR*5 (10)
4. (sc, PR)*5 (15)
5. 15 sc in circle (15)
6. (4sc, PR)*3 (18)
Fasten the thread and leave a little for sewing
Eyelids (2 pcs.)
We knit the eyelids with a smaller crochet, I have it 2.0
1. cast on 3 ch, 3 sc in the second from the hook, 3 sc in the next loop
Fasten and trim, leaving the end for sewing.
We will make the tightening and attach the eyes and eyelids at the assembly stage.
Arm (2 pcs.)
1. 6sc in KA (6)
2. PR*6 (12)
3. (sc, PR)*6 (18)
4. (2sc, PR)*6 (24)
5.-6 . 24sbn in a circle (24)
7. (UB, 10sbn)*2 (22)
8. (UB, 9sbn)*2 (20)
9. (UB, 8sbn)*2 (18)
10. (UB, 4sbn)* 3 (15)
11.(UB, 3sc)*3 (12)
12.-26. 12sc in a circle (12)
/fill only the palm with holofiber/
27. (UB, 2sc)*3 (9)
Fold in half and knit 3sc so that the seam is parallel to the palm, fasten the thread
and leave the end for sewing.
Tail
1. 5sc in KA (5)
2. PR*5 (10)
3.- 32. 10sc in a circle
The tail can be left unfilled, or the lower part can be lightly secured, the thread can be secured and the end left
for sewing.
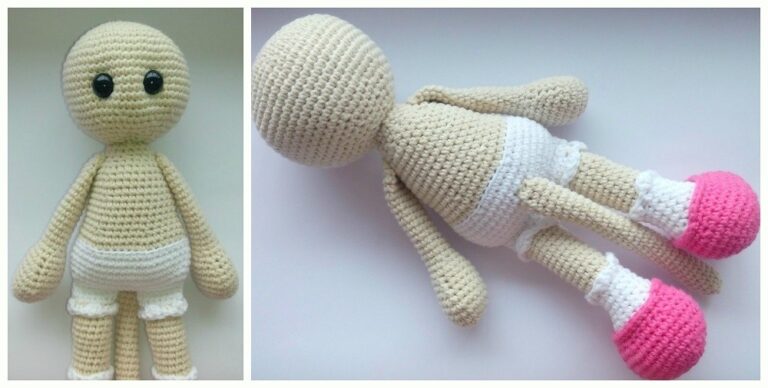
Legs-body
We will have legs and torso as one piece, we start knitting from the left leg.
Take the color for the shoes:
In the first row we knit, forming an oval, on both sides of the chain.
1. 8VP, PR in the second from the hook, 5sc, 4in1, 5sc, PR (18)
2. PR, 6sc, 4PR, 6sc, PR (24)
3. (3sc. PR)*6 (30)
4. 2sc, PR, (4sc, PR)*5, 2sc (36)
5. (PR, 5sc)*6 (42)
6.-8. 42sc in the circle (42)
9. (UB, 5SC)*6 (36)
10. 12SC, 7UB, 10SC (29)
Next we take white yarn for the sock, but do not cut the previous color yet!
11. for the back loop: UB, 8sc, (UB, sc)*4, 7sc (24)/ 11. for the front loop we knit the
color of the shoe 29 sc, fasten and cut the thread.
We continue to knit the sock:
12. 3sbn, (UB, sbn)*6, 3sbn (18)
13. 6sbn, 3UB, 6sbn (15)
14.-16. 15sc in the circle (15)
Take the yarn for the cat’s body, but don’t cut the white one yet:
17.-28. for the back loop: 15 sc in a circle (15) / 17. for the front loop we knit in white:
(3 DC in 1, skip one loop, sc in the next, skip one loop) * 4, 3 DC in 1,
fasten in the next one. It looks like a ruffle on the toe. Fasten the thread and cut it.
We continue to knit the leg, for the 29th row we again take white yarn:
29. for the back loop 15sc (15)/29.
We knit ruffles in the front loop: (3DC in 1, skip one loop , sc in the next, skip one loop)*4, 3DC in 1, fasten in the next one
30. 15sc in a circle (15)
Fasten the thread and cut. Fill the shoe tightly, only lightly fill the foot itself.
We knit the right leg using the same principle, but do not cut the thread! Now you need to connect
the two legs, continue knitting from the right leg:
fold the knitting in half and knit as if closing the hole (look at photo 4)
31. 7sc, 3VP, 7sc on the left leg / important(!) fold the left leg so that the shoe is at
a slight angle from the right one, so that the toes are apart and the heels are together (also look
at the photo).
32. knit in the front loop, start along the front of the cat (from the tummy) – 34 sc
in a circle (34)
33. PR, 16 sc, PR, (3 sc, PR) * 4 (40)
34. sc, PR, 7 sc, PR , 7sbn, PR, 2sbn, (PR, 3sbn) * 5 (48)
35.-38. 48 sc in the circle (48)
39. (6 sc, UB) * 6 (42)
Change the yarn for body color:
40. for the back loop: 42 sc in the circle (42)
41. 42 sc in the circle (42)
42. (UB, 5 sc )*6 (36)
43.-46. 36sbn in a circle (36)
47. (UB, 10sbn)*3 (33)
48.-49. 33 sc in the circle (33)
50. (UB, 9 sc)*3 (30)
51. 30 sc in the circle (30)
52. (3 sc, UB)*6 (24)
53. (2 sc, UB)*6 (18)
54.-55. 18sc in a circle (18)
Fasten and cut the thread, leaving the end for sewing. Fill the body tightly.
The description of the dress under the yarn and hook is exactly the same as that used on the body. First we knit with fabric, back and forth.
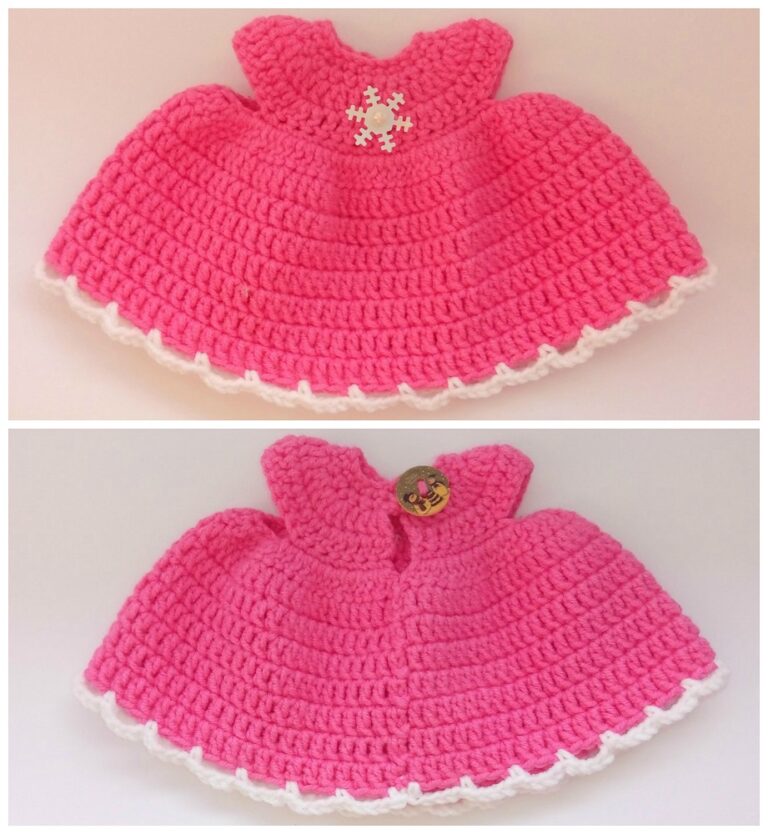
Dress
1. 25 VP, sc in the second from the hook, 23 sc, VP, turn
2. (3 sc, PR) * 6, 2 VP, turn
further we knit with double crochets (unless otherwise indicated), and increases are also Dc,
I simply designate PR
3 . PR, 2СН, 7 PR, (2ССН, PR)*3, ССН, 7ПР, 2СН, PR, 2ВП, turn 4.
3СН, PR, 14СН,(3ССН, PR)*3, ССН, 14СН, PR, 3СН, 2VP, turn (54)
in the next row single crochets:
5. 7sbn, 7VP (skip 12 stitches of the previous row, then knit in the 13th), 16sc,
7VP (skip 12 stitches of the previous row, then knit in the 13th), 7sbn (44)
Next double crochet again:
6. PR*44, VP, turn (88)
7. 88DC, connecting stitch with the first loop of the row, 2VP lift, and then we knit
Dc in a circle, starting each row from lifting loops
8.-12. 88Dc
Change the yarn to the color for tying:
13. (4 ch, skip 2 stitches, sc in the third)* to the end of the row
Fasten the thread and cut it.
Sew a button on top of the dress and make a loop.
Bow
1. 3VP, sc in the second from the hook, sc, VP, turn (2)
2. sb, PR, VP, turn (3)
3. 3sc, VP, turn (3)
4. 2sc, PR, VP, turn (4)
5.-7. 4sbn, VP, turn (4)
8. 2sbn, UB, VP, turn (3)
9. 3sbn, VP, turn (3)
10. sbn, UB, VP, turn (2)
11. 2sbn, VP, turn ( 2)
12. sbn, PR, VP, turn (3)
13. 3sbn, VP, turn (3)
14. 2sbn, PR, VP, turn (4)
15.-17. 4sbn, VP, turn (4)
18. 2sbn, UB, VP, turn (3)
19. 3sbn, VP, turn (3)
20. sbn, UB, VP, turn (2)
21. 2sbn
Sewing the edges of knitting is middle of the bow.
Assembling a knitted amigurumi cat toy
For those who have not yet attached the eyes, let me remind you that they need to be inserted between rows 14 and 15,
the distance between them is 8-9 columns. We insert it, but don’t glue it yet!
The tightening here is actually very simple, for a slight relief of the head, and so that
the eyes do not protrude too much with the eyelids.
So, insert a needle with thread for tightening in place 1, pull it out at point “2”, insert it at “3”, pull it out at“
4”, insert it at “5” and pull it out at point 6, tighten it a little, tie and hide
the thread!
It turns out that the eyes are drawn in, and the place for the nose sticks out. Now you can glue the eyes (I dab the eye rod with superglue and quickly insert it.
Sew the arms on the sides, retreating 2-3 rows from the head.
Sew the tail in the center of the butt; first, don’t forget to check whether
the cat can sit steadily, and then you can sew it on.
Sew the ears in the center, retreating 3-4 rows from the middle of the head (look at the photo).
All that remains is to embroider the nose and eyelashes, or, if desired, a mustache.
The bow can be sewn in the center of the head or near the ear, according to your taste.
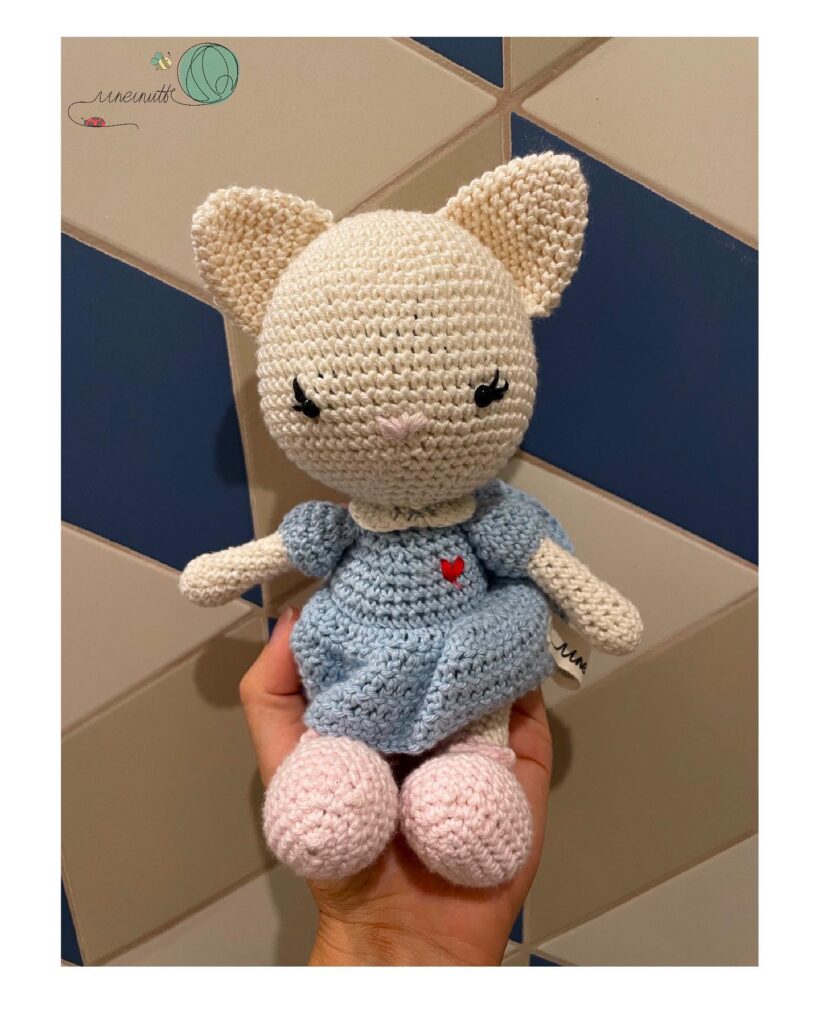
All you have to do is dress the cat in a dress and she’s ready!
Feel free to tag me (@freeamigurumii) in your photos on Instagram or Facebook if you’d like!
All Finished.