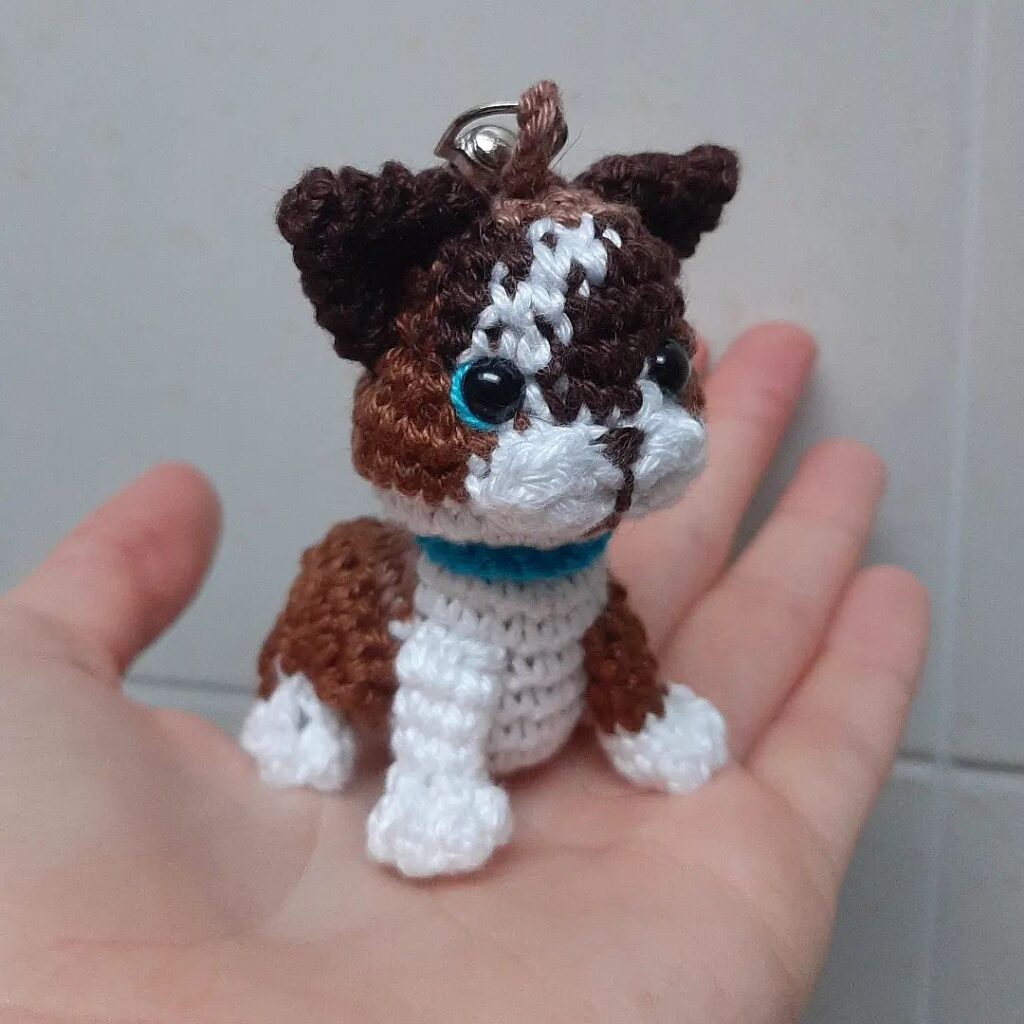
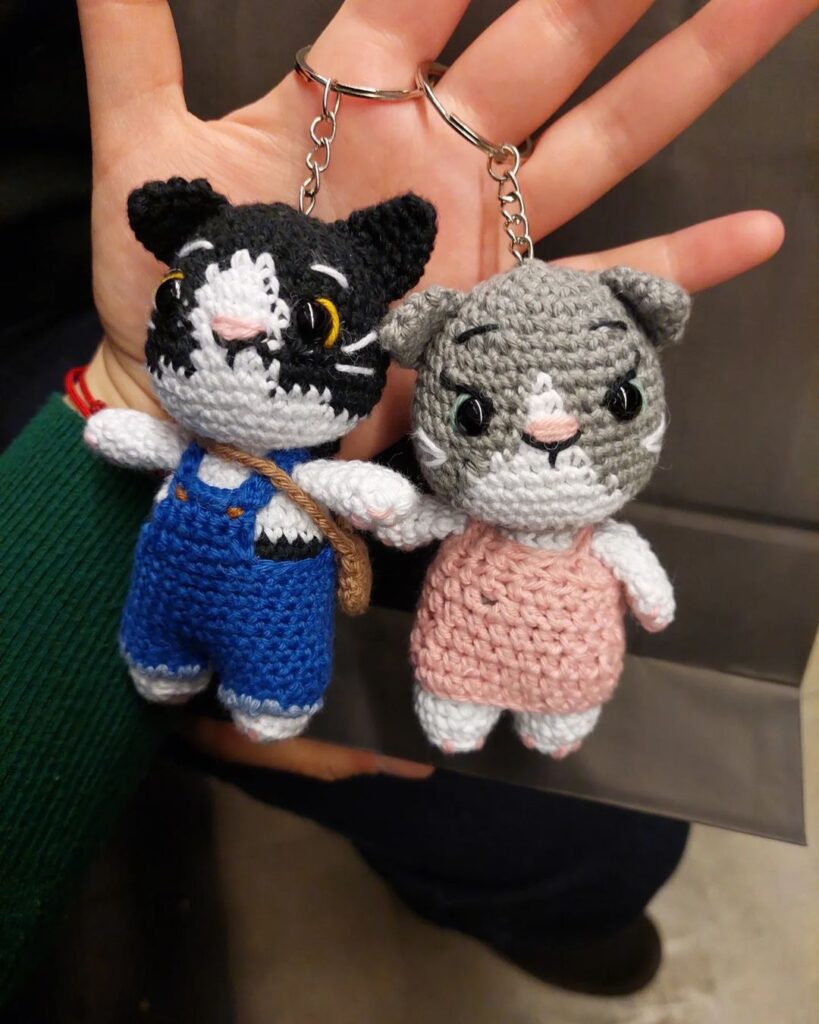
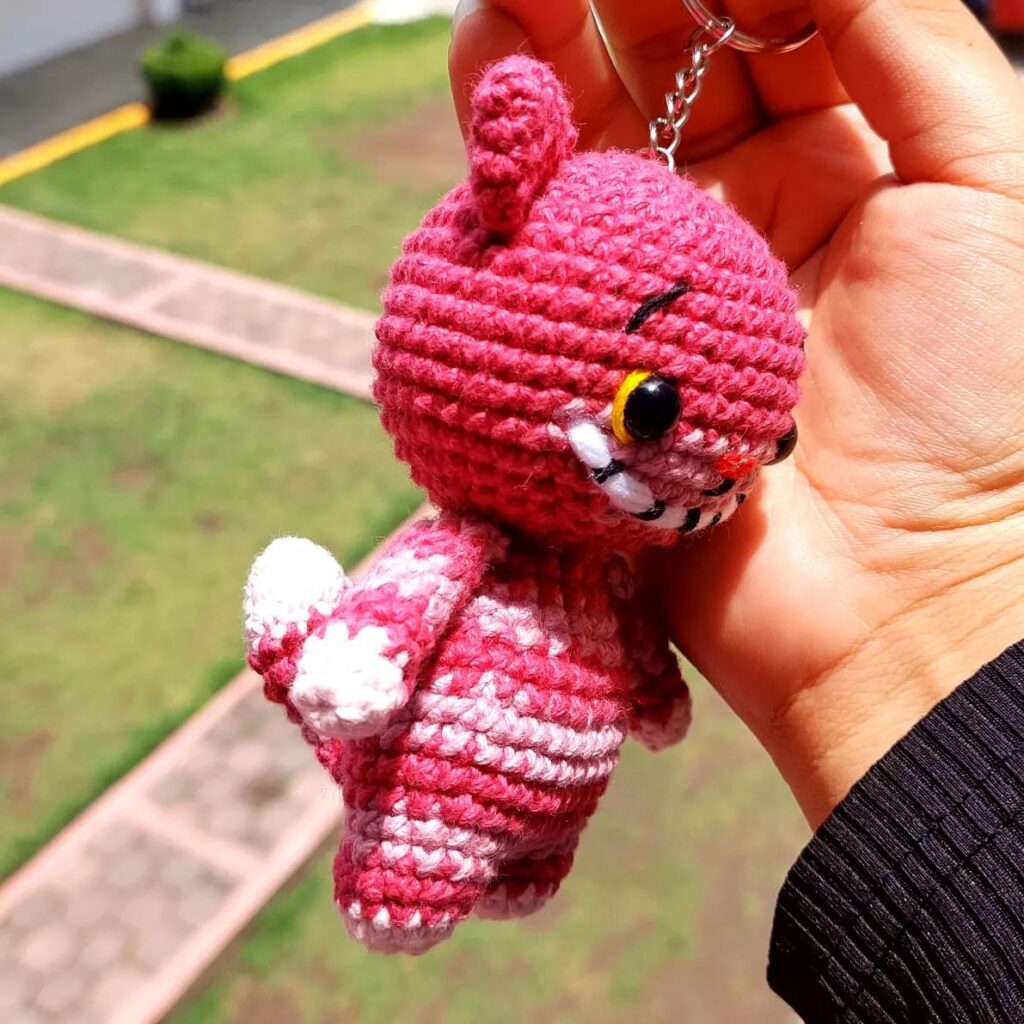
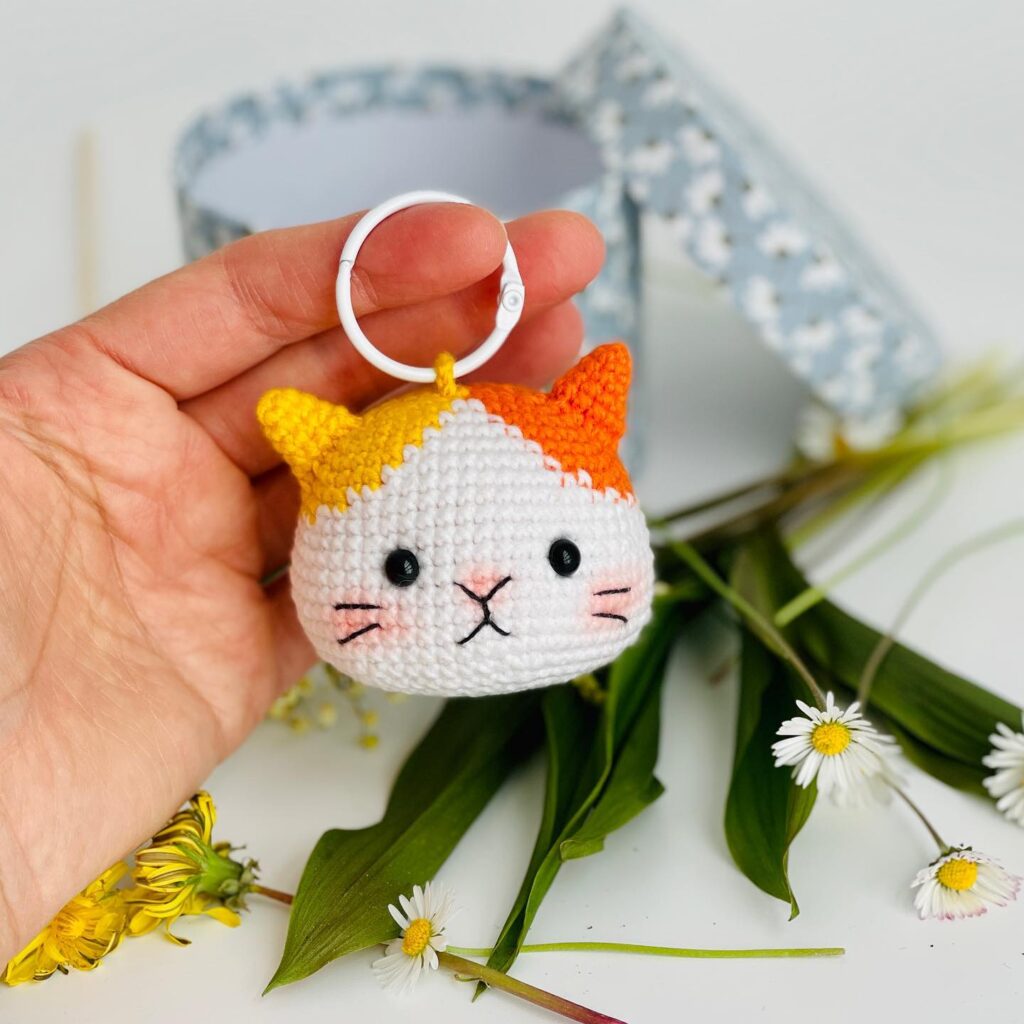
Hello amigurumi lovers and beautiful visitors, I wanted to share the free amigurumi patterns for you here. In my article I will share 1 pattern and how to make it for you. At the end of my article, I will share amigurumi patterns that can generate ideas for you.
Materials
• Vita Brilliant yarn (45% wool, 55% acrylic, 380m/100g)
• Hook size 1.5mm
• Plastic eyes size 3mm and glue
• Black embroidery thread
• Sewing needle and scissors
• Stuffing in polyester and stuffing stick
The size of the toy is about 6-7 cm.
Abbreviations
(sc)/(sc): single crochet
(bo): popcorn stitch
(ml)/(ch): chain, air stitch
(MR): magic ring
(dim)/(dec): decrease, decrease, decrease
(increase )/(inc): increase
(M)/(st): Stitch (st) stitch
(FLO): work only in front loops
(BLO): work only in back loops
(d-dc,dble.b)/ (tr): Double treble crochet
(br)/(dc): treble crochet
(dB)/(hdc): half treble crochet
(sc)/(sl-st): slip stitch, small stitch
(db / dbr) (dtr): Double flange
(mct)/(tch): chain stitches to turn
(3msm)/(sc3tog): 3 sc in the same stitch
(Fo): Stop the thread.
Head
Blanc
Rnd 1. 6 ms en MR
Rnd 2. 6 augm (12)
Rnd 3. (1 ms,augm)*6 (18)
Rnd 4. (2 ms, augm)*6 (24)
Rnd 5. (3 ms, augm)*6 (30)
Rnd 6-10. 30 ms (5 rnds)
Rnd 11. 4 ms, (1 ms, augm)*3, 9 ms, (1 ms, augm)*3, 5 ms (36)
(les augmentations indiqueront les côtés de la tête)
Rnd 12-13. 36 ms (2 rnds)
Rnd 14. 4 ms, (1 ms, dim)*3, 9 ms, (1 ms, dim)*3, 5 ms (30)
Rnd 15. (3 ms, dim)*6 (24)
Rnd 16. 12 dim (12)
Secure the thread, cutt it off and weave in the ends. Fill.
White body
Rnd 1. 6 sc in MR
Rnd 2. 6 inc (12)
Rnd 3. (1 sc, inc)*6 (18)
Rnd 4. (2 sc, inc)*6 (24)
Rnd 5. (7 sc, inc)*3 (27)
Rnd 6-8. 27 sc (3 rnds)
Rnd 9. (7 sc, dec)*3 (24)
Rnd 10. (6 sc, dec)*3 (21)
Rnd 11. (5 sc, dec)*3 (18)
Rnd 12 (4 sc, dec)*3 (15)
Rnd 13. (3 sc, dec)*3 (12)
Rnd 14. 12 sc
Secure yarn, leave yarn end for sewing. Fill.
Legs (make 2)
White.
Rnd 1. 6 sc in MR
Rnd 2. 6 inc (12)
Rnd 3. (1 sc, inc)*6 (18)
Rnd 4. 18 sc
Rnd 5. 6 dec, 6 sc (12)
Rnd 6. 3 dec , 6 sc (9)
Rnd 7-9. 9 sc (3 rnds)
Fill the foot only. Crochet another 2 sc, fold in half and crochet 4 sc to close the opening. Cut the thread, leave a piece of thread for sewing.
Arms (make 2)
White.
Rnd 1. 6 sc in MR
Rnd 2. 6 inc(12)
Rnd 3. 12 sc
Rnd 4. 4 inc, 4 sc(8)
Rnd 5. 2 inc, 4 sc(6)
Rnd 6-9. 6 sc (4 rnds)
Fill the foot only. Crochet another 1 sc, fold in half and crochet 3 sc to close the opening. Cut the thread, leave a piece of thread for sewing.
Ears
Rnd 1. White 6 sc in MR
Rnd 2. White: 3 sc, pink: 1 sc, White: 2 sc (6)
Rnd 3. White: 1 sc, inc, 1 sc, pink: inc, 1 sc, White : inc (9)
Rnd 4. White: 2 sc, inc, 1 sc, pink: 1 sc, inc, 1 sc, White: inc (12)
Leave the yarn ends white and pink for sewing.
White Muzzle
Rnd 1. 6 sc in MR
Rnd 2. (inc, 1 sc)*3 (9), sl st
Cut yarn, leave yarn tail for sewing.
Tail
White
Rnd 1. 6 sc in MR
Rnd 2-13. 6 sc (12 rnds)
Cut the yarn, leave a piece of yarn for sewing. Do not fill.
Collar with a pink bow tie
. Hook size 2mm (0.5-1mm larger than main hook).
Crochet 18 ch for a collar, from the 2nd stitch from the hook crochet 17 sl sts along the chain. Cut the thread, leave a piece of thread for sewing. Make 25 ch for a knot, join in a circle with a sl st. Knit 5 rounds of 25 sc each in a spiral, the 6th round – 25 sl sts. Cut the thread, leave a piece of thread to tie a knot. Wrap the part with the left yarn in the middle and pull tight to create an arc shape. Fix the thread, do not cut it.
Assembly
1. Sew the ears 4-7 turns on the sides of the head (sew the white part with white thread, the pink part with pink thread).
2. Glue the eyes between the 10th and 11th rounds, there are 6 sc between the eyes.
3. Sew the muzzle 11-14 rounds in the middle between the eyes, filling it in a little as you go
4. Embroider a nose with pink thread on the muzzle, embroider mustaches with black thread on the 12th and 13th rounds, width is 3 sc. Go around the pink nose with black thread, then embroider a vertical line under the nose and embroider a mouth. Add blue dots to the sides of the eyes, optionally.
5. Sew the head to the body.
6. Sew the legs 3-6 turns to the sides of the body, securing them in advance with pins.
7. Sew the arms on the 10th round in front of the body, fixing them beforehand with pins.
8. Sew the tail to the back 3-5 turns.
9. Wrap the collar around the neck and sew the edges with the left thread, sew the collar to the toy, placing the seam in the middle of the back. Sew the knot to the collar in place of the seam. Weave in all the ends inside the toy
Feel free to tag me (@freeamigurumii) in your photos on Instagram or Facebook if you’d like!
All Finished.