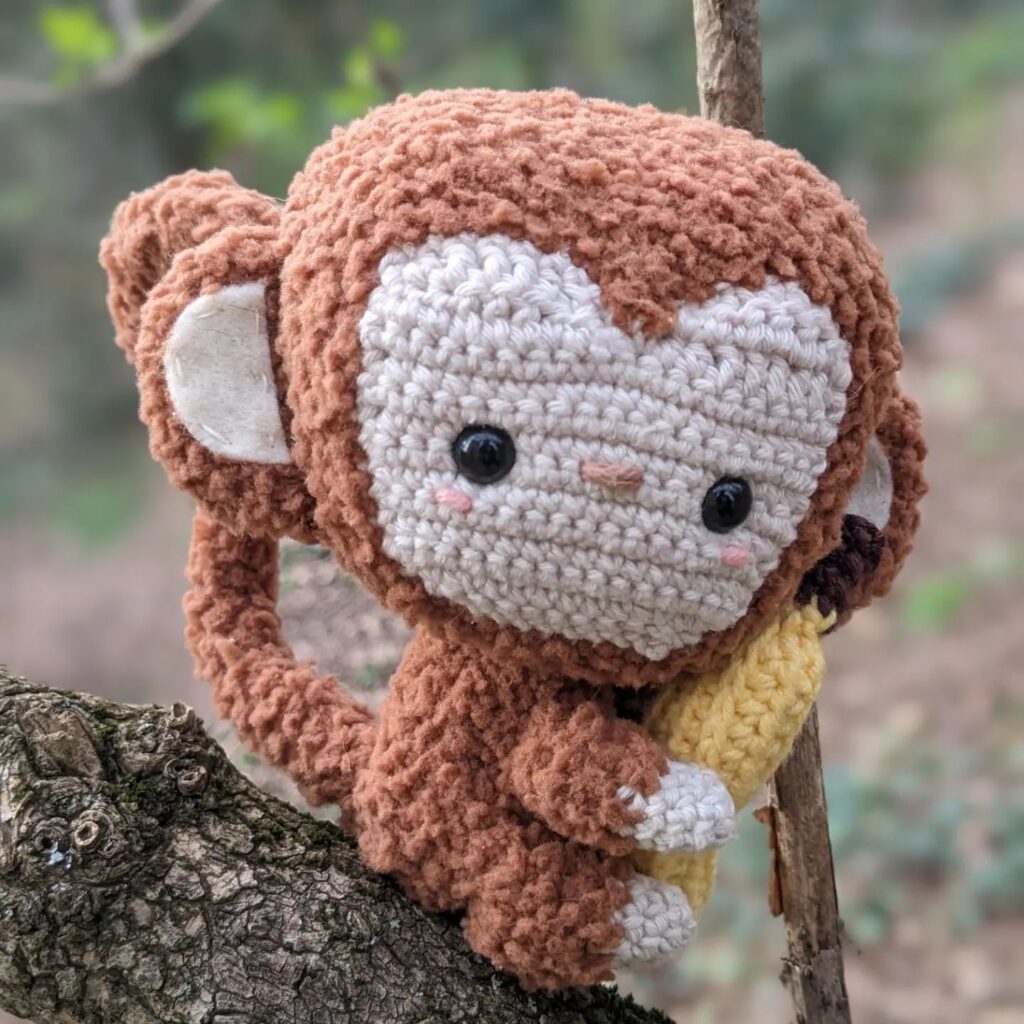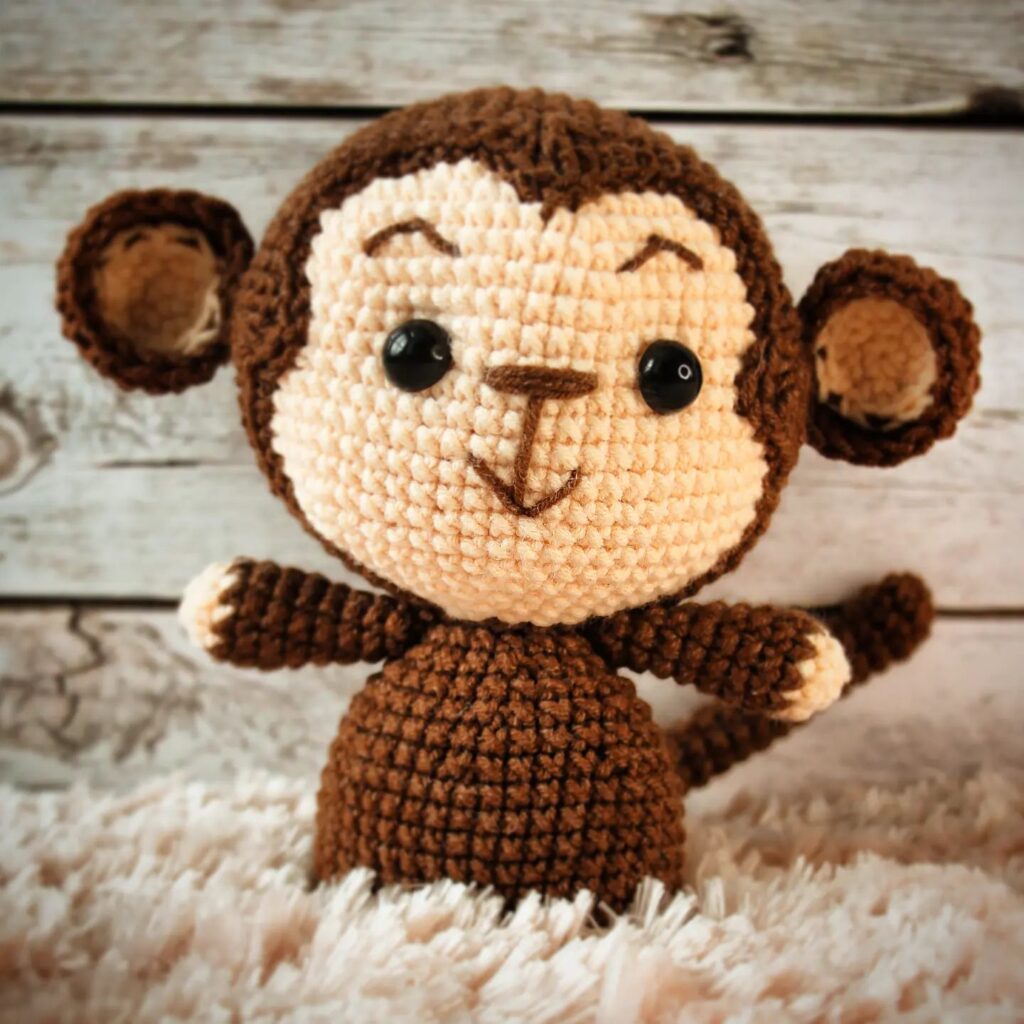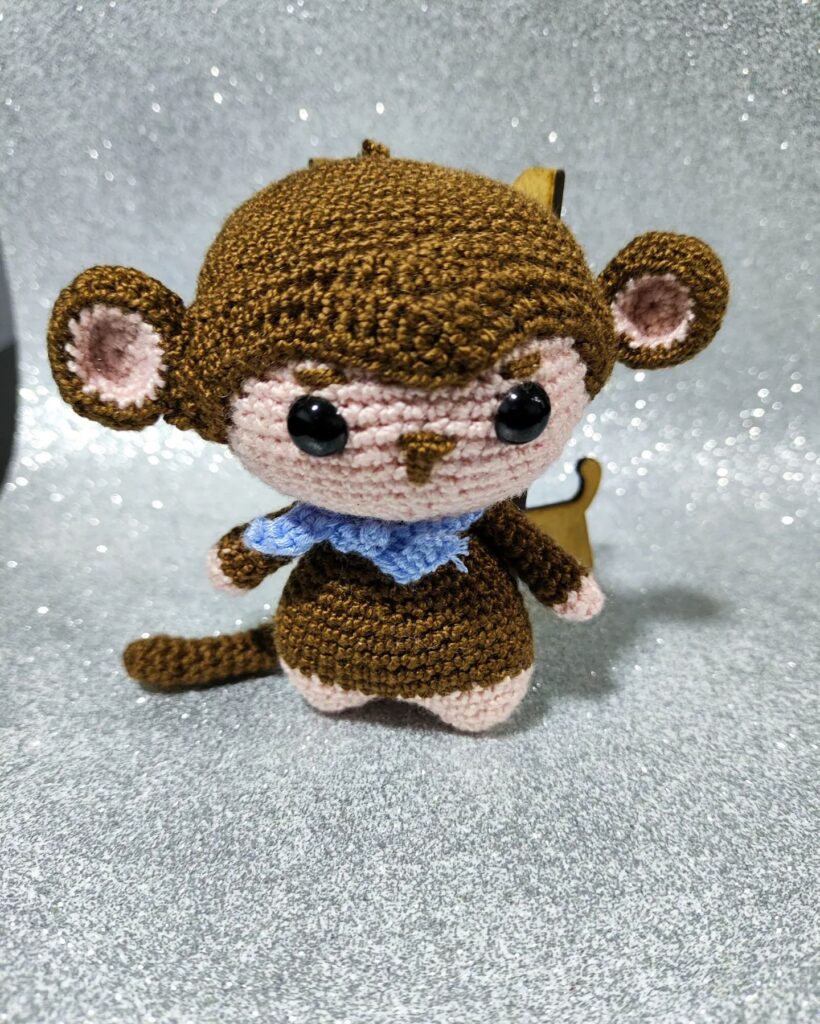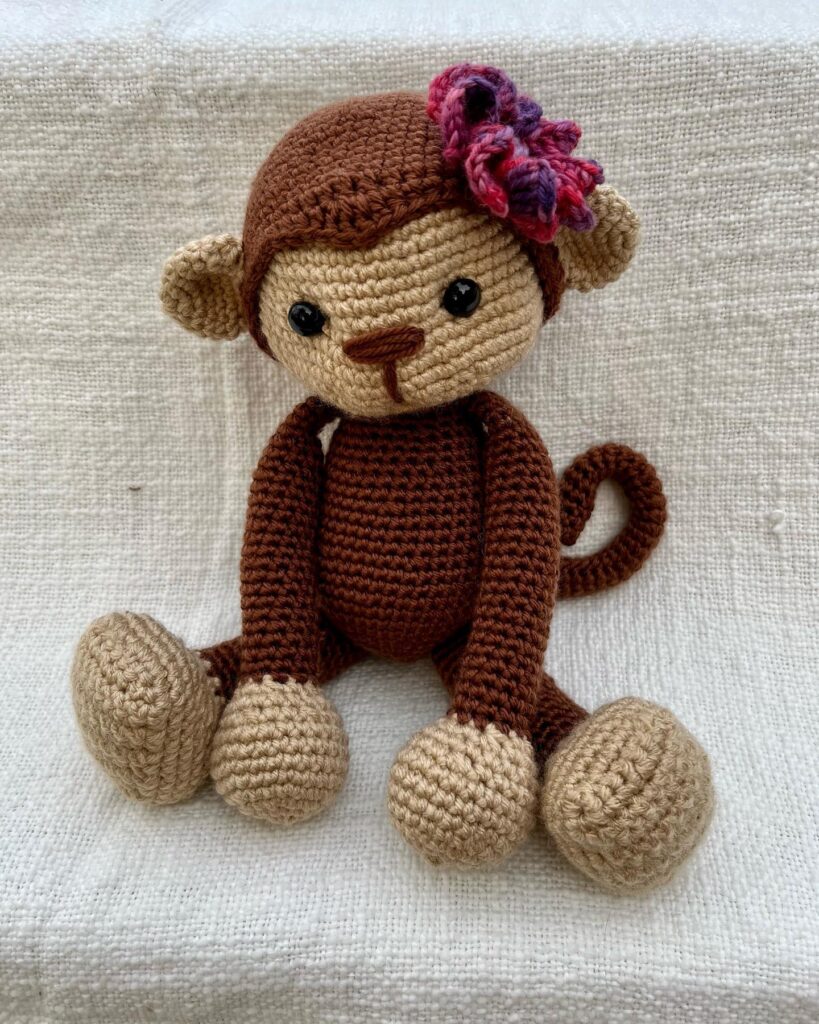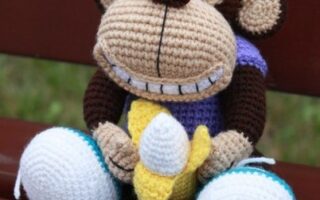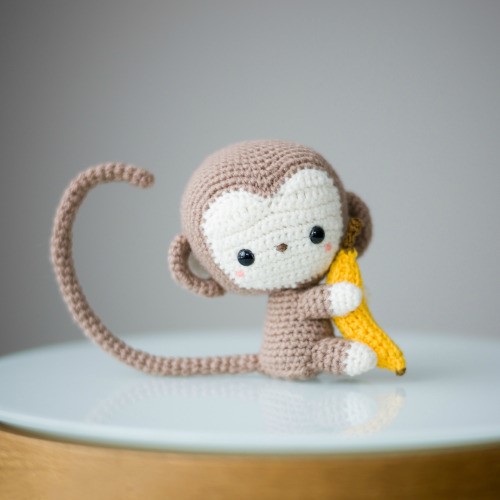
Hello amigurumi lovers and beautiful visitors, I wanted to share the free amigurumi patterns for you here. In my article I will share 1 pattern and how to make it for you. At the end of my article, I will share amigurumi patterns that can generate ideas for you.
You will need:
- light yarn ( 3 light ) tanning colors ( author took yarn “ Patons Astra ” colors “ Medium tan ” );
- light yarn ( 3 light ) beige ( author took yarn “ Patons Astra ” colors “ Aran ” );
- thin yellow yarn ( 2 Fine ) ( author took the yarn Lion Brand Bonbons of the color “ Beach ” );
- hooks Clover Amour 2 mm;
- needle with a curved sharp end ( is convenient for sewing amigurumi parts )
- fibrous filler;
- safe eyes 9 mm;
- brown mulina ( for nose / mouth and banana );
- beige felt ( for the ear );
- markers for loops;
- optional: wire, pink marker / paint / blush for cheeks.
Please note: the author knitted ( without closing the ranks of ). Wire is optional in this toy. It must be used with caution, because it is not safe for infants and young children. The wire allows you to bend your tail, arms and legs.
Lıtzo
Beige yarn and 2 mm hook
11 vp ( in this part we will knit in rows )
Row 1: Starting from the second hook loop, 10 SBN ( 10 loops )
Row 2: 1 vp, expand. Add., Add., 6 SBN, increase, increase. ( 14 loops )
Row 3: 1 vp, expand. Add., 12 SBN, increase. ( 16 loops )
Row 4-5: 1 vp, expand. 16 SBN
Row 6: 1 vp, expand. Add., 14 SBN, increase. ( 18 loops )
Row 7-11: 1 vp, expand. 18 SBN ( 18 loops )
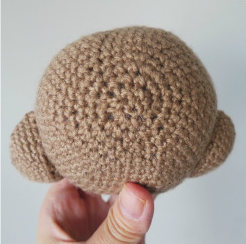
Now split the face in half to get the forehead in the shape of a heart. Attach two markers to an average of 2 loops ( 9 loops on each side ).
Row 12: 1 vp, expand. SBN, PSN, PSN, SN, SN, CH, PSN, PSN, SBN ( 9 loops )
Row 13: 1 vp, expand. Ubav., PSN, SN, SN, SN, PSN, Ubav. ( 7 loops )
Close the last loop. Tie the yarn to the extreme right side, as shown in the figure below Repeat Rows 12-13:
Row 12: SBN, PSN, PSN, SN, SN, CH, PSN, PSN, SBN ( 9 loops )
Row 13: 1 vp, expand. Ubav., PSN, SN, SN, SN, PSN, Ubav. ( 7 loops )
Continue to knit around the perimeter of the face, as shown below.
Row 14: Knit counterclockwise, starting from the red dot, as shown in the diagram above: 13 SBN down the side, 10 SBN across, 13 SBN up the side, 7 SBN around the bend, 5 soyed. Art. in the hole between the bends ( 2 soyed.st., 1 soyed.st., 2 soyed. ), and then 7 SBN around another bend. 55 loops
Close the last loop.
Voice
Go to the tanning bar, as shown in the diagram below. 10 loops are located along the bottom — mark the middle of the ( 6th loop ) with the marker and start knitting brown yarn from this place.
Row 1: 5 SBN, increase., 10 SBN, * Add., 1 SBN * x 5 times. 3 SBN, * 1 SBN, increase. * x 5 times. 10 SBN, increase, 5 SBN ( 67 loops ).
Row 2: 17 SBN, * increase, 2 SBN * x 4 times Ubav. x 2 times, 1 SBN, ubav. x 2 times * 2 SBN, added.* x 4 times 17 SBN ( 71 loops )
Row 3: 33 SBN, ubav., 1 SBN, ubav., 33 SBN ( 69 loops )
Row 4: 32 SBN, ubav., 1 SBN, ubav., 32 SBN ( 67 loops )
Row 5-9: 67 SBN
Row 10: *5 SBN, ubav. * x 9 times 4 SBN ( 58 loops )
Row 11-13: 58 SBN
Row 14: *7 SBN, ubav. * x 6 times 4 SBN ( 52 loops )
Row 15: *11 SBN, ubav. * x 4 times ( 48 loops )
Row 16: *6 SBN, ubav. * x 6 times ( 42 loops )
Row 17: *5 SBN, ubav. * x 6 times ( 36 loops )
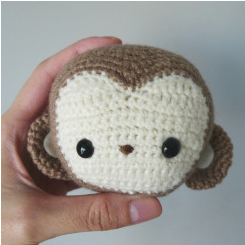
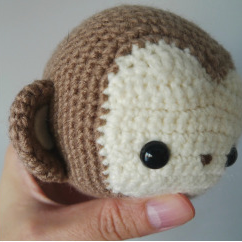
Sew your nose in brown mulina and insert the eyes between rows 7 and 8 at a distance of 8 loops from each other. Start stuffing your head.
Row 18: *4 SBN, ubav. * x 6 times ( 30 loops )
Row 19: *3 SBN, ubav. * x 6 times ( 24 loops )
Row 20: *2 SBN, ubav. * x 6 times ( 18 loops )
Row 21: *SBN, ubav. * x 6 times ( 12 loops )
Finish head stuffing
Row 22: *Ubav. * x 6 times ( 6 loops )
Pull the thread through the front walls of the last loops and tighten tight. Add pink cheeks with a pink marker, paints or blush.
Ushi: 2 pcs.
The right color of tanning
Row 1: 8 SBN in Amigurumi Ring ( 8 loops )
Row 2: 2 SBN in each SBN in a circle ( 16 loops )
Row 3: *1 SBN, increase. * x 8 times ( 24 loops )
Row 4-6: 24 SBN
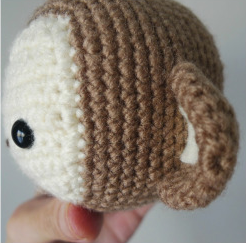
Sew open ends. Sew on the sides of the head at a distance of 8-10 rows of tanning yarn. For the inside of the ear, cut out two half-circles from the beige felt and paste into the ear from the inside.
Telo
The right color of the tan begins to form a triangular base:
2 vp ( in this part we will knit in rows )
Row 1: Starting from the second hook loop, 1 SBN ( 1 loop )
Row 2: 1 vp, expand. Add. ( 2 loops )
Row 3: 1 vp, expand. Add. x 2 times ( 4 loops )
Row 4: 1 vp, expand. Add., 2 SBN, increase. ( 6 loops )
Row 5: 1 vp, expand. 6 SBN ( 6 loops )
Row 6: 1 vp, expand. Pribav., 4 SBN, increase. ( 8 loops )
Row 7: 1 vp, expand. 8 SBN ( 8 loops )
Row 8: 1 vp, expand. Pribav., 6 SBN, increase. ( 10 loops )
Row 9: 1 vp, expand. 10 SBN ( 10 loops )
Row 10: Knit counterclockwise around the triangle, starting from the red dot, as shown in the diagram above ( is more knitting in a circle ): 8 SBN down one side, 1 SBN down the bottom, 8 SBN up the other side, 10 SBN on the upper side.
Row 11: On the back walls of the loops, 27 SBN ( 27 loops )
Row 12-13: 27 SBN ( 27 loops )
Row 14: *7 SBN, ubav. * x 3 times ( 24 loops )
Row 15: 24 SBN ( 24 loops )
Row 16: *6 SBN, ubav. * x 3 times ( 21 loops )
Row 17: 21 SBN ( 21 loops )
Row 18: *5 SBN, ubav. * x 3 times ( 18 loops )
Row 19-20: 18 SBN ( 18 loops )
Close the last loop, leaving a long tail for stitching. If you plan to use wire, cut at least 38 cm. Bend the base in the shape of a triangle so that it approaches the lower body. Place the triangular base in the body and stick the other end through the corner of the triangle. This is the future tail. Fasten the triangle by tying each corner of the yarn. Bend the end of the tail and wrap it with electrical tape so that it does not protrude out. The tail is approximately 23 cm long ( with the curved end ).
Make pens and legs as shown below, wrap the ends with electrical tape. The limbs turn out to be about 3 cm long after bending. You can first tie the pens and legs themselves to determine the length of the required wire.
Now fill the body and sew the body to your head. Sew your head so that it tilts slightly forward in the place where the beige face goes into the brown head.
Hands: 2 pcs.
Beige yarn ( when using wire you do not need to fill )
Row 1: 6 SBN in Amigurumi Ring ( 6 loops )
Row 2: *2 SBN, increase. * x 2 times ( 8 loops )
Row 3-4: 8 SBN ( 8 loops )
Go to tanning yarn
Row 5-8: 8 SBN ( 8 loops )
Close the last loop, leaving a long tail for stitching. Insert wire for pens and sew to the body.
Nogi: 2 pcs.
Beige yarn ( when using wire you do not need to fill )
Row 1: 6 SBN in Amigurumi Ring ( 6 loops )
Row 2: *2 SBN, increase. * x 2 times ( 8 loops )
Row 3: *3 SBN, increase. * x 2 times ( 10 loops )
Row 4: 10 SBN ( 10 loops )
Go to tanning yarn
Row 5-8: 10 SBN ( 10 loops )
Close the last loop, leaving a long tail for stitching. Insert the wire for the legs and sew to the body.
Tail
Beige yarn ( when using wire you do not need to fill )
Row 1: 6 SBN in Amigurumi Ring ( 5 loops )
Row 2-44: 6 SBN ( 6 loops )
Choose the length so that it matches the length of the wire tail. Insert the wire tail and sew to the back of the body.
Pay attention to ( if you did not use wire ):
- Fill your pens and legs only slightly.
- Hit the tail very little ( maybe only at the base where the tail connects to the body ) so that the tail does not outweigh the monkey too much. Shorten the tail length ( possible in half ) to lighten the weight.
- Do not stuff the body too hard — pay attention to the triangular base so that the monkey can sit well. If you fill too hard, the base will become convex, and the monkey will be knocked over.
Banana
Yellow yarn
21 vp ( in this part we will knit in rows )
Row 1: Starting from the second loop on the hook, 2 sockets. Art., 16 PSN, 2nd connection ( 20 loops ).
Row 2: 1 vp, expand. For the front walls of the loops, 2nd. Art. For the third walls of the loops, 16 PSN For the rear walls of the loops, 2nd co-eater. ( 20 loops ) Here you will find material on how to find the third walls of the loops at the half-columns with a cape!
Row 3: 1 vp, expand. 2 soyed.st., 16 PSN, 2 soyed.st. ( 20 loops )
Row 4: Repeat row 2
Row 5: Repeat row 3
Row 6: Repeat row 2
Row 7: Repeat row 3
Row 8: 2nd. Art., * 2 PSN, diminishing. PSN * x 4 times, 2 meetings Art. ( 16 loops )
Sew a banana in the second row, as shown below.
With a brown mulina, sew an asterisk from one end of the banana. Then walk around the perimeter of the asterisk.
Stebelek
KR 1: For 4 loops 4 SBN ( 4 loops )
KR 2-4: 4 SBN ( 4 loops )
Row 5: 1 SBN, increase, 2 SBN ( 5 loops ).
Close the last loop and hide the ends of the threads.
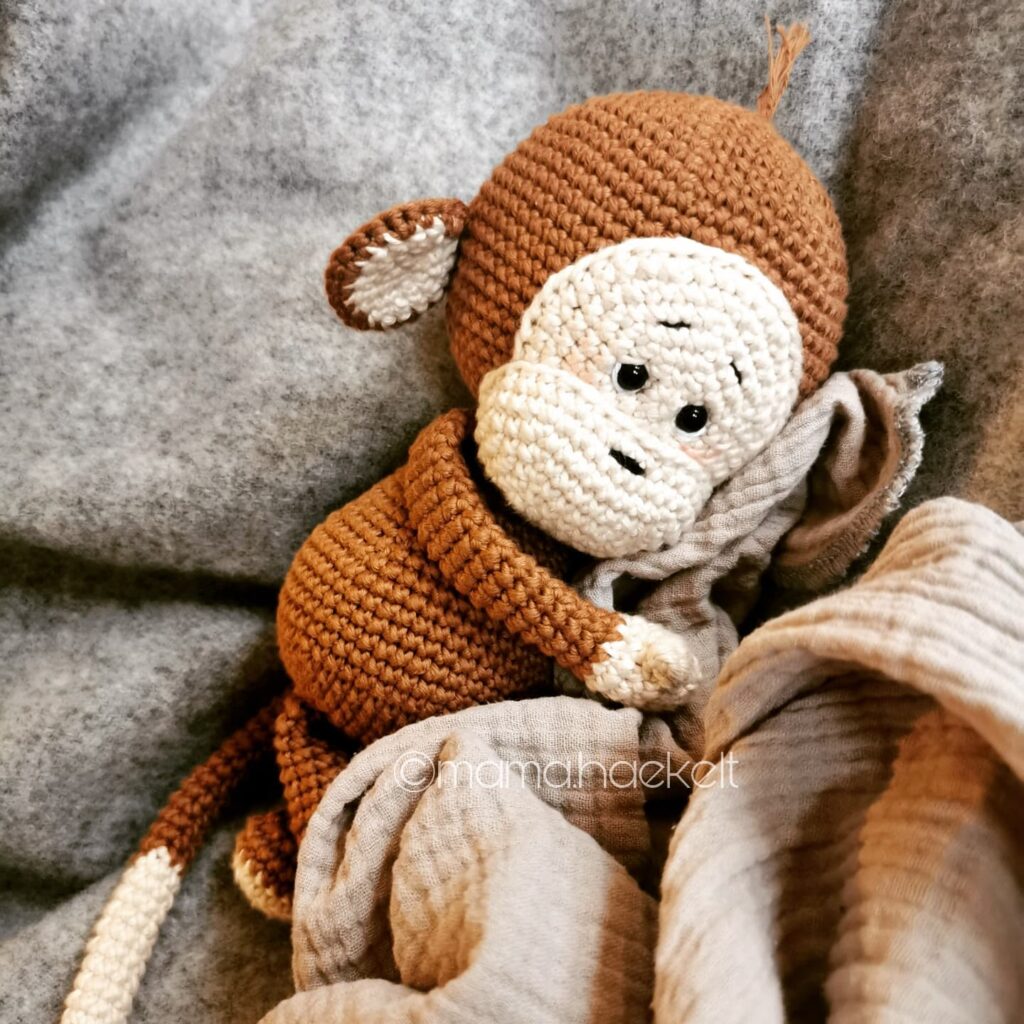
Feel free to tag me (@freeamigurumii) in your photos on Instagram or Facebook if you’d like!
All Finished.