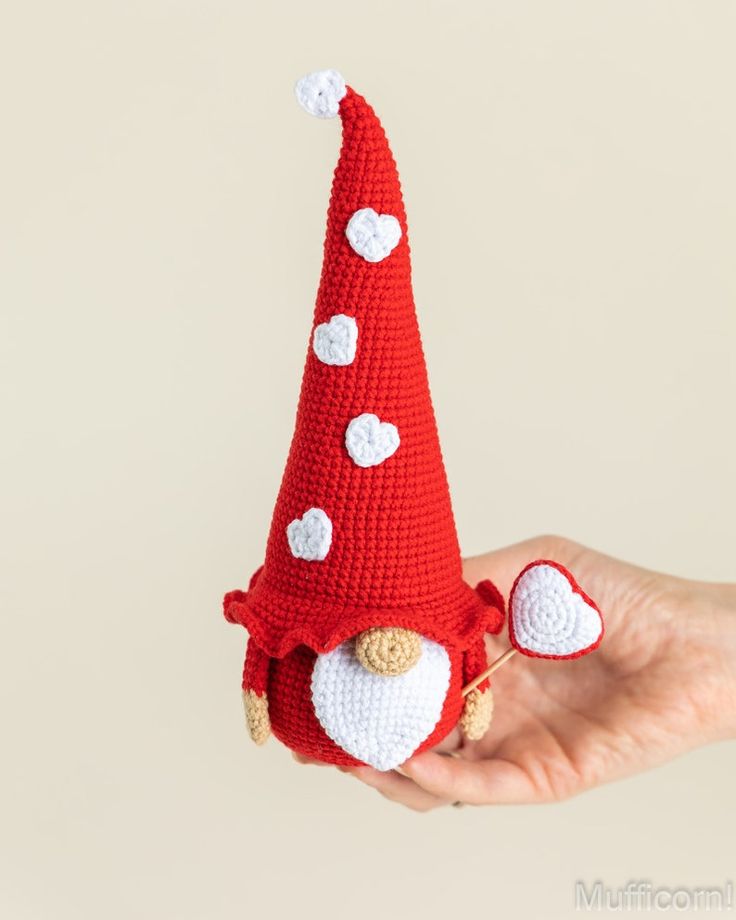
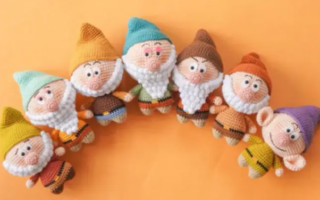
Hello amigurumi lovers and beautiful visitors, I wanted to share the free amigurumi patterns for you here. In my article I will share 1 pattern and how to make it for you. At the end of my article, I will share amigurumi patterns that can generate ideas for you.
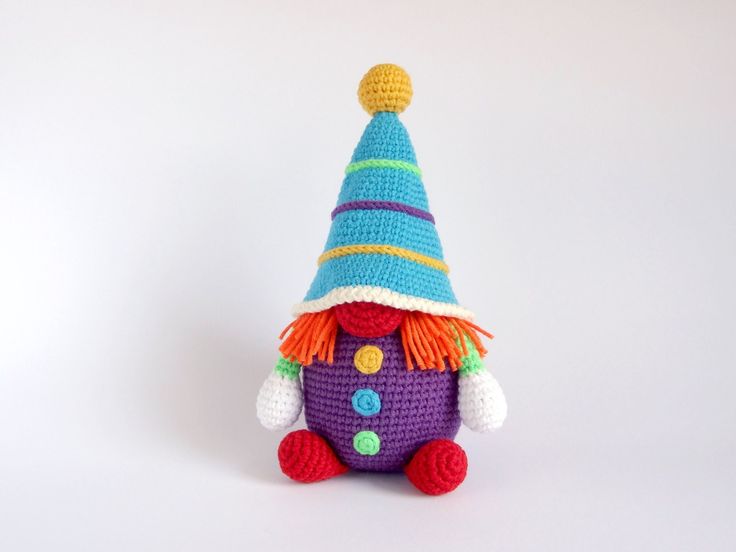
Materials
• Thread color A (skin color – for hands and nose)
• Thread color B (beard)
• Thread color C (hat)
• Thread color D (clothes/body)
• Optional: [Color of yarn E (for strips on clothes)]
• Hook suitable for the yarn you have chosen
• Stuffing
Abbreviations
(sc)/(sc): single crochet
(BO)Hazelnut point
(ml)/(ch): Chain, Air stitch
(MR): Magic Ring
(dim)/(dec): decrease, decreasing, decrease
(increase)/(inc): increase
(M)/(st): Stitch (pt) stitch
(FLO): work only in front loops
(BLO): work only in the back loops
(d-br,dble.b)/(tr): Double flange
(br)/(dc): bridle
(dB)/(hdc): half flange
(mc)/(sl-st): slip stitch, small stitch
(db / dbr) (dtr): Double Flange
(mct)/(tch): chain stitches to turn
(3sm)/(sc3tog): 3 sc in the same stitch
(F.o.): Stop the thread.
Corps
Rnd 1. Fil D- 6 ms en MR
Rnd 2. 6 augm (12)
Rnd 3. (1ms,augm)*6 (18)
Rnd 4. (2ms,augm)*6 (24)
Rnd 5. (3ms,augm)*6 (30)
Rnd 6. BLO 30 ms
Rnd 7. Fil E- (3ms,dim)*6 (24)
Rnd 8. Fil A- (2ms,dim)*6 (18)
Rnd 9. Fil D- 18 ms
Rnd 10. 18 ms
Rnd 11. Brun- 18 ms
Rnd 12. Vert- (1ms,dim)*6 (12)
Rnd 13. 12 ms
Arms (x2)
Rnd 1. Fil A- 5 ms en MR
Rnd 2. 5 ms
Rnd 3. Fil D- 5 ms
Rnd 4-5. 5 ms
Rnd 6. 3 ms
Leave a long thread for sewing.
Beard
Rnd 1. Fil B- 4 ms en MR
Rnd 2. (1ms,augm)*2 (6)
Rnd 3. 6 ms
Rnd 4. 6 augm (12)
Rnd 5. (1ms,augm)*6 (18)
Rnd 6. 18 ms
Leave a long thread for sewing.
Nose
Rnd 1. Fil B- 4 ms en MR
Rnd 2. (1ms,augm)*2 (6)
Rnd 3. 6 ms
Rnd 4. 6 augm (12)
Rnd 5. (1ms,augm)*6 (18)
Rnd 6. 18 ms
Leave a long thread for sewing.
Hat
Rnd 1. 6 ms en MR
Rnd 2. (1ms,augm)*3 (9)
Rnd 3. 9 ms
Rnd 4. (2ms,augm)*3 (12)
Rnd 5. 12 ms
Rnd 6. (2ms,augm)*4 (16)
Rnd 7. 16 ms
Rnd 8. (1ms,augm)*8 (24)
Rnd 9-11. 24 ms
Leave a long thread for sewing.
Assembly
1. Connect the beard and the nose with the remaining thread (place the nose at the top in the middle of the beard).
2. Sew them (1) at the top in the middle of the body.
3. Sew the arms on both sides of the body.
4. Place the hat around the body and slightly above the nose (it will be tight) and tilt the hat backwards.
5. Sew it.
Feel free to tag me (@freeamigurumii) in your photos on Instagram or Facebook if you’d like!
All Finished.