Hello amigurumi lovers and beautiful visitors, I wanted to share the free amigurumi patterns for you here. In my article I will share 1 pattern and how to make it for you. At the end of my article, I will share amigurumi patterns that can generate ideas for you.
Materials
• Large plush wire ( white ) and hook — 0 5.5 mm
• Thick cotton yarn ( black + other color ) and 3.5 mm hook
• Fine cotton yarn ( orange ) and 2.5 mm hook
• A tapestry needle, padding, a piece of cardboard and a few sticks from your garden.
Notes
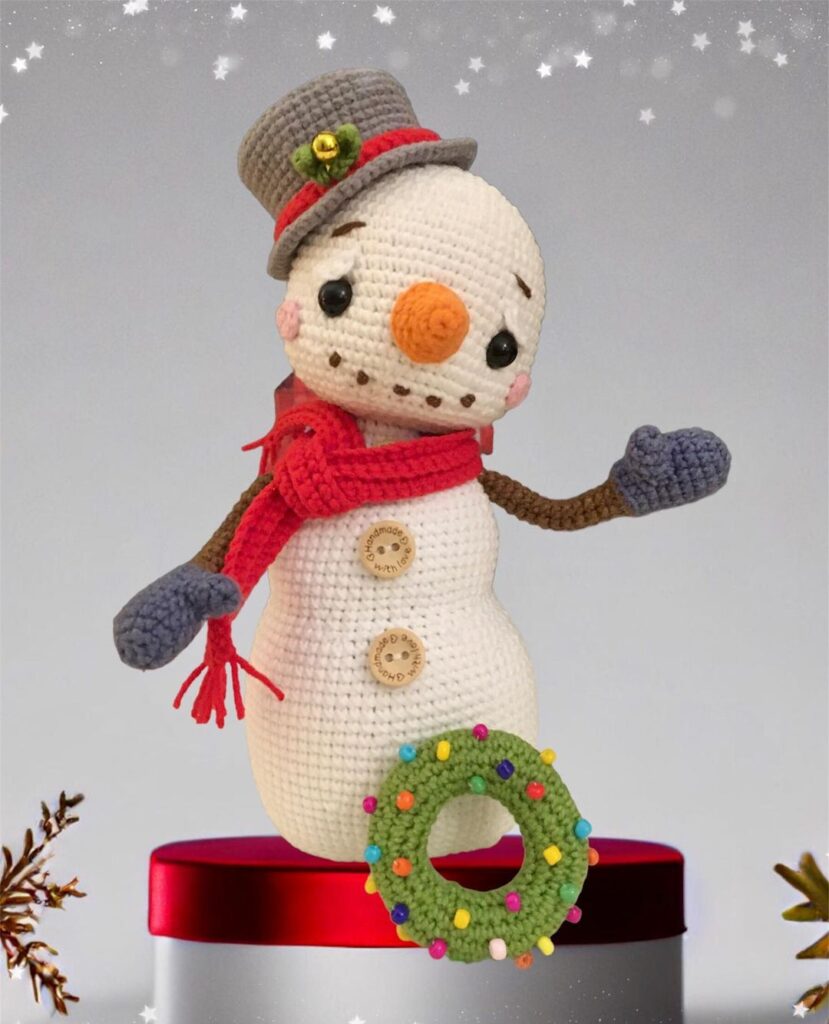
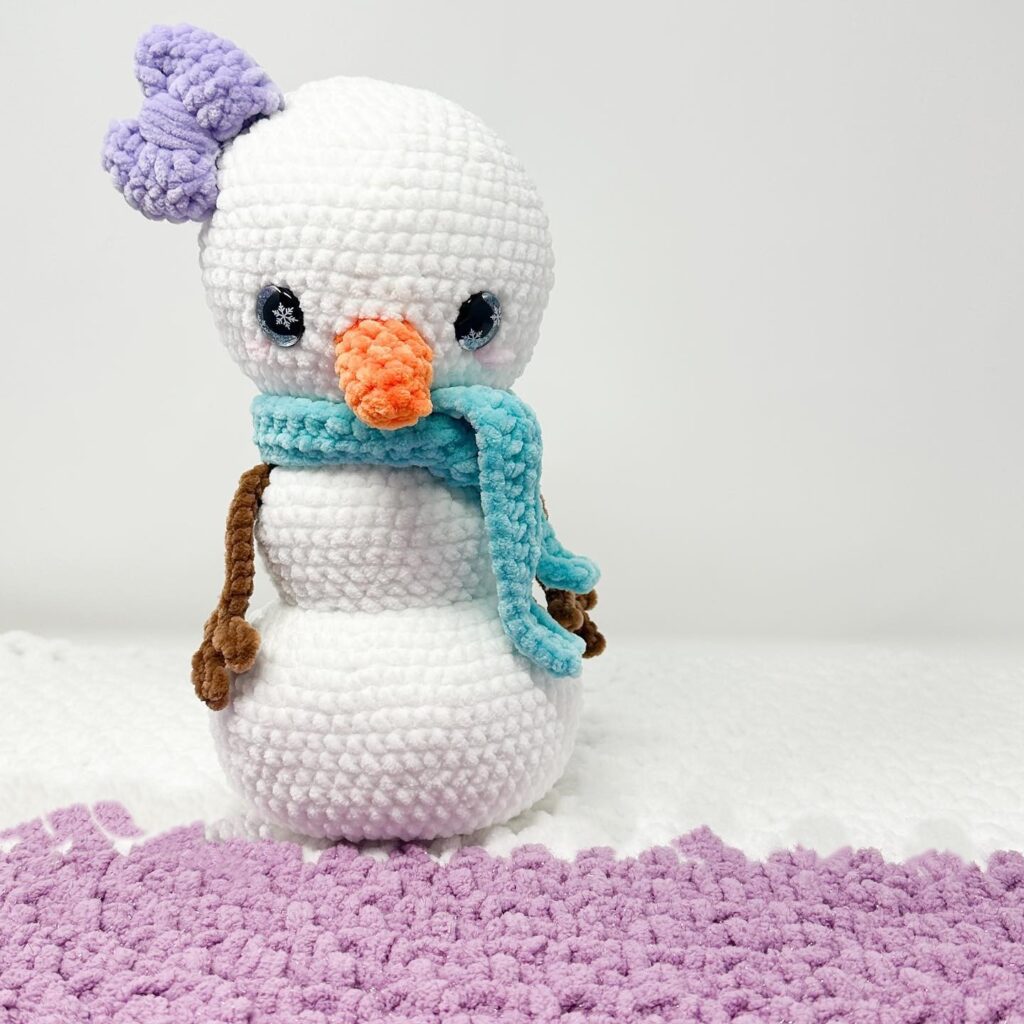
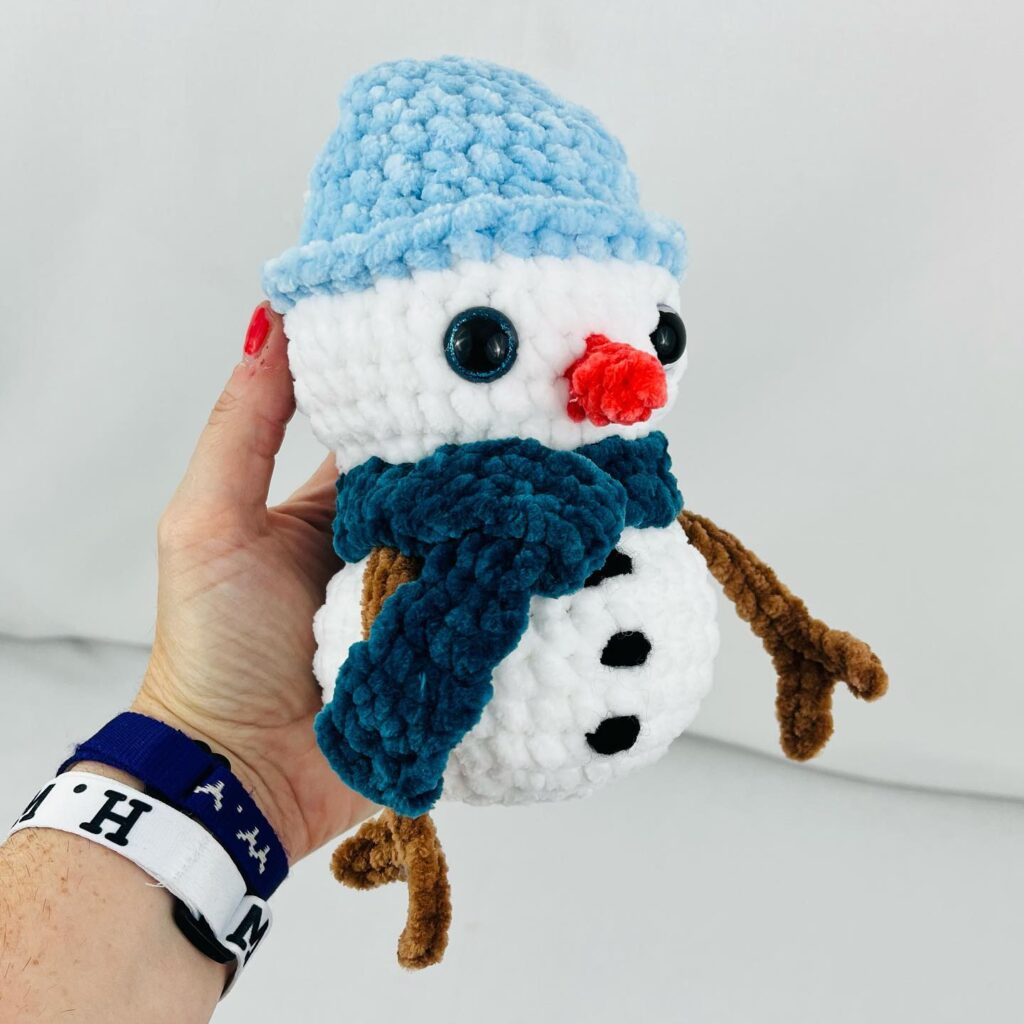
• The snowman measures approximately 15 cm with the recommended wire and hook size
• Work in spirals, do not join the rounds.
• This boss was designed by Boulette & Cie, he is a FREE boss. It is prohibited to sell, distribute or copy any part of this model without my consent. You are more than welcome to sell the finished product.
• This is supposed to be a decoration, it is not suitable for children under 3 years of age.
• Don’t forget to tag @job_hook if you post your snowman, I would love to see your photos !
Abbreviations
( ms ) / ( sc ): greenhouse mesh
( ml ) / ( ch ): Chainette, Air mesh
( MR ): Magic ring
( dim ) / ( dec ): decrease, decrease, decrease
( augm ) / ( inc ): increase
( M ) / ( st ): Point ( pt ) mesh
( FLO ): work only in the front loops
( BLO ): work only in rear loops
( br ) / ( dc ): flange
( mc ) / ( sl-st ): casting mesh, small mesh
( F.o. ): Stop the wire.
Body and Head
Large plush yarn ( white ) and 5.5 mm hook
1 ) 6 ms in MR ( 6 )
2 ) 6 augm ( 12 )
3 ) ( 1 ms, 1 augm ) x6 ( 18 )
4 ) ( 2 ms, 1 augm ) x6 ( 24 )
5 ) ( 3 ms, 1 augm ) x6 ( 30 )
6 ) BLO 30 ms ( 30 )
7-12 ) 30 ms ( 6 rnds )
Cut a circle with cardboard or plastic and place it at the bottom so that your snowman can stand without falling.
13 ) ( 3 ms, 1 dim ) x6 ( 24 )
* start filling the body*
14 ) ( 2 ms, 1 dim ) x6 ( 18 )
15 ) ( 1 ms, 1 dim ) x6 ( 12 )
16 ) 12 ms ( 12 )
17 ) 12 augm ( 24 )
18-23 ) 24 ms all around ( 6 rnds )
Insert safety eyes between rows 21 & 22, leave 3 m between the eyes.
24 ) ( 2 ms, 1 dim ) x6 ( 18 )
*start filling the head*
25 ) ( 1 ms, 1 dim ) ( 12 )
26 ) 6 dim ( 6 )
Hat
With thick cotton yarn ( black + other color ) and hook 3.5 mm
1 ) 6 ms in MR ( 6 )
2 ) 6 augm ( 12 )
3 ) ( 1 ms, 1 augm ) x6 ( 18 )
4 ) ( 2 ms, 1 augm ) x6 ( 24 )
5 ) BLO 24 ms
6-8 ) 24 ms ( 3 rnds )
Switch to second color, do not cut the thread
9 ) 24 dB
Go black, fix the second color
610 ) BLO 24 ms
11 ) FLO ( 3 ms, 1 augm ) x6 ( 30 )
12 ) 30 ms
F.o. leaving a long tail for sewing.
Sew the cap on the head using the back loops of tower 11. The cap should be slightly tilted to the side, not exactly in the middle of the head
Scarf
With thick cotton yarn ( second color ) and 3.5 mm hook
1 ) 71 ml
2 ) Jump the 1m chain, 70 ms ( 70 )
3 ) ml1 & turn, 70 ms ( 70 )
F.o.
Cut a few pieces of wire and attach them to the ends of the scarf: fold the piece of wire in half, insert the hook into the scarf, pass under the wire and pull your hook on the same mesh. You will have a loop. Enter the two ends of your piece of wire and pass them inside the loop. Pull over the two ends to close the loop. Repeat until you have enough details and cut the wire so that they are all about 2 cm long.
Carrot
With a fine cotton yarn ( orange ) and a 2.5 mm hook
1 ) 6 ms in MR
2 ) 6 ms ( 3 rnds ) ( 6 )
3 ) ( 1 ms, 1 dim ) x2 ( 4 )
Cut the wire, leaving a long tail for the seam. With a tapestry needle, pass the wire through the front strands of the last 4 m, pull to close and prick the needle in the middle of the last 4 m, take out the needle in the middle of the MR ( 1st round ). Sew the carrot on the face, 1 row in front of the eyes.
Final details
Using embroidery thread, add eyebrows and a smile to your snowman.
Add a little blush on the cheeks
Sew 3 small buttons on the body, leaving 2 rows between each button.
Insert a small stick on each side of the body to make the arms. I do not recommend using glue or any other material to fix them permanently; as the sticks are fragile and can break, you should be able to remove and replace them easily.
Feel free to tag me (@freeamigurumii) in your photos on Instagram or Facebook if you’d like!
All Finished.