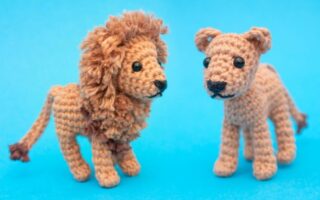
Hello amigurumi lovers and beautiful visitors, I wanted to share the free amigurumi patterns for you here. In my article I will share 1 pattern and how to make it for you. At the end of my article, I will share amigurumi patterns that can generate ideas for you.
You will need:
- yarn 100% polyacryl, 50 g / 133 m;
- hook: 3.5 mm;
- fibrous filler;
- safe eyes ( 8 mm ).
Head
Insert eyes between KR 8 and KR 9 at a distance of 8 SBN between them.
KR 1: 6 SBN in Amigurumi Ring ( 6 )
KR 2: Addendum x 6 times ( 12 )
KR 3 [ SBN, increase ] x 6 times ( 18 )
KR 4: SBN, increase [ SBN 2, increase ] x 5 times, SBN ( 24 )
KR 5 [ 3 SBN, increase ] x 6 times ( 30 )
KR 6-9: SBN in each SBN in a circle ( 30 )
KR 10 [ 3 SBN, decrease ] x 6 times ( 24 )
KR 11: SBN, decrease [ SBN 2, decrease ] x 5 times, SBN ( 18 )
KR 12 [ SBN, decrease ] x 6 times ( 12 )
Stuff your head.
KR 13: [ decrease ] x 6 times ( 6 )
Close the last loop.
Ear
KR 1: 6 SBN in Amigurumi Ring ( 6 )
KR 2: [ SBN, increase ] x 3 times ( 9 )
KR 3: SBN in each SBN in a circle ( 9 )
Roth
KR 1: 6 SBN in Amigurumi Ring ( 6 )
KR 2: Addendum x 6 times ( 12 )
Sew out a small nose.
Ear
KR 1: 6 SBN in Amigurumi Ring ( 6 )
KR 2: [ SBN, increase ] x 3 times ( 9 )
KR 3: SBN in each SBN in a circle ( 9 )
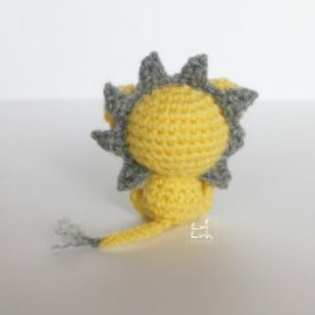
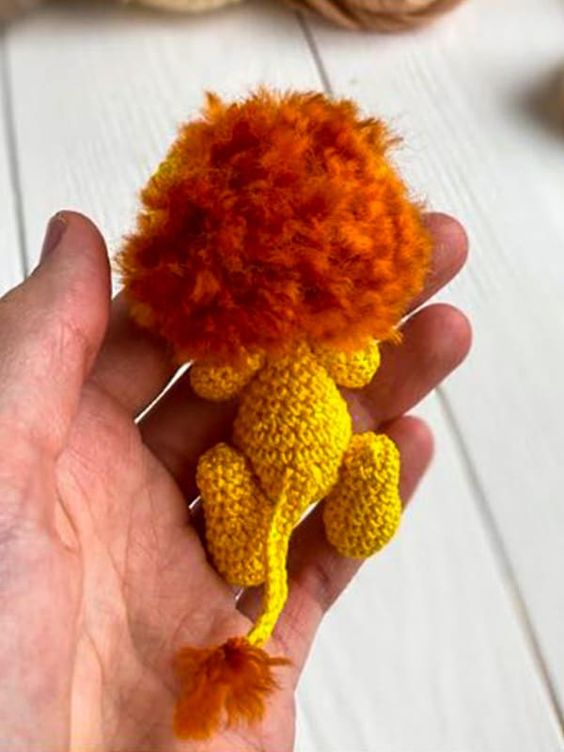
Mane
The mane consists of eight small triangles.
4 vp, 1 SBN in the second loop from the hook, PSN in the third loop, SN in the last loop, socket. Art. between triangles.
Body
KR 1: 6 SBN in Amigurumi Ring ( 6 )
KR 2: Addendum x 6 times ( 12 )
KR 3 [ SBN, increase ] x 6 times ( 18 )
KR 4: SBN in each SBN in a circle ( 18 )
KR 5 [ SBN, decrease ] x 6 times ( 12 )
KR 6: SBN in each SBN in a circle ( 12 )
Stuff the body.
Close the last loop, leaving a long tail for sewing to the head.
Paws: 4 pcs.
KR 1: 6 SBN in Amigurumi Ring ( 6 )
Color change
KR 2: Addendum x 6 times ( 12 )
Put one part on the other and sew together all over the edge to get thick strong paws.
Tail
9 vp, soyed. Art. in every loop. Tie, leave the tail 1 cm at the end, trim it.
End of work
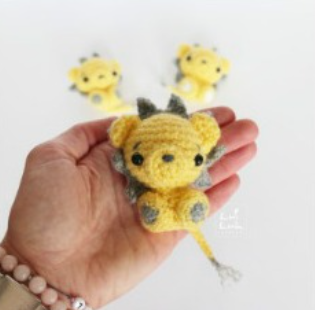
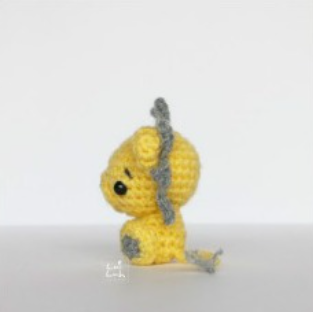
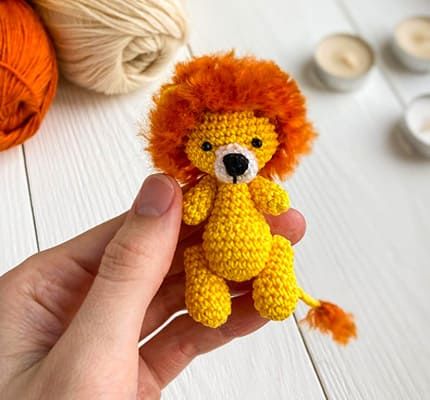
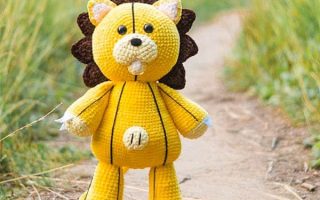
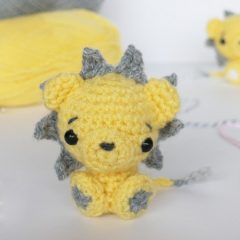
Sew parts together. Sew out the beams. Amigurumi lion cub is ready for a photo shoot! Post photos with your knitted toys in the comments! : )
Feel free to tag me (@freeamigurumii) in your photos on Instagram or Facebook if you’d like!
All Finished.